 Pin This
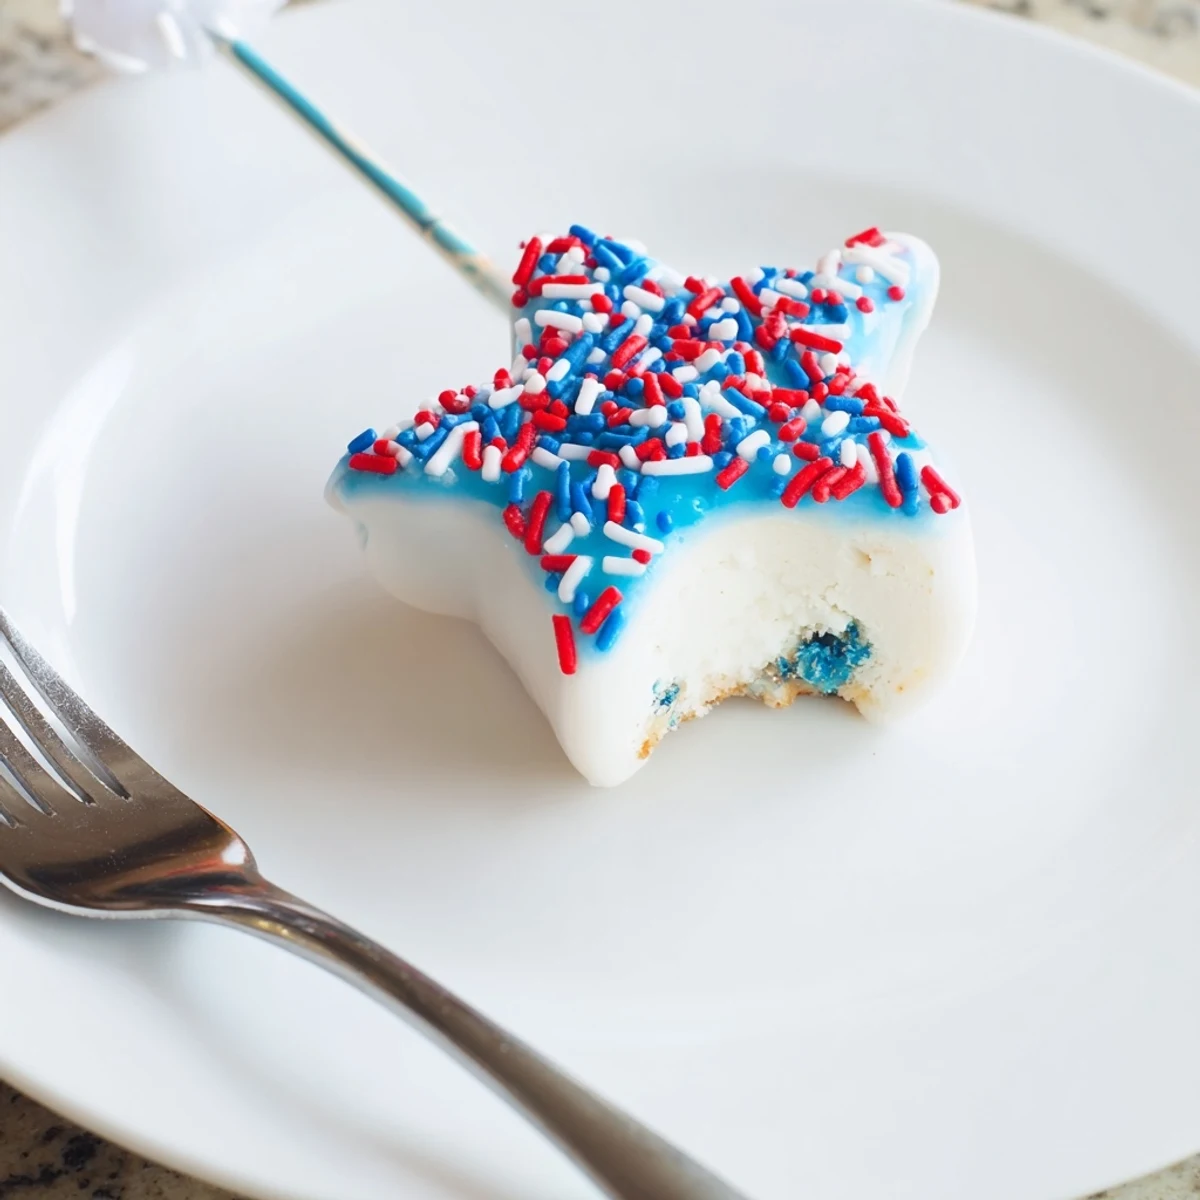
 These Fourth of July star cheesecake pops turn a simple no-bake filling into festive handheld bites. Blend cream cheese, powdered sugar and graham crumbs, press and freeze, then cut stars and add sticks. Dip in tinted white chocolate, decorate with sprinkles and chill until set. Freeze time firms the centers and makes dunking easier; store chilled up to 4 days.
The kitchen was abuzz with chatter and the sharp snap of candy topping hitting the countertop as we feverishly assembled these star-shaped cheesecake pops last July. Someone had the idea to bring a bit of fireworks into dessert, and before I knew it, our hands were dusted with sprinkles and speckled with streaks of red and blue chocolate. There’s a contagious satisfaction that comes with seeing treats this pretty line up on a tray, like edible confetti. And honestly, the process is almost as delightful as the eating.
One afternoon before the big fireworks, my neighbor’s kids wandered in drawn by the promise of sprinkles and a messy project. We laughed over who managed the shakiest stars, and I’m convinced the slightly lopsided ones tasted best. These pops became a badge of our joint kitchen effort and a running joke throughout the evening party. There’s a memory in every uneven star and every sticky finger.
Ingredients
- Cream cheese (225 g): Must be softened—straight from the fridge and you’ll end up frustrated with lumps.
- Powdered sugar (80 g): It melts perfectly into the cheese, leaving no graininess (I learned not to swap this with granulated, trust me).
- Vanilla extract (1 tsp): It gives real warmth; don’t skimp or these taste flat.
- Graham cracker crumbs (90 g): The base that adds that classic cheesecake flavor—I like to pulse mine extra fine for the smoothest texture.
- White chocolate or candy melts (200 g): These coat the pops smoothly (heating them gently is best—rush and they seize).
- Red and blue food coloring: Opt for gel colors so the chocolate doesn’t seize up.
- Red, white, and blue sprinkles: The brighter the better; I keep an extra bowl for liberally dipping each pop.
- Lollipop sticks (16): Essential for creating “pops” and make them irresistible to kids and grown-ups alike.
Instructions
- Mix the Base:
- Blend the softened cream cheese, powdered sugar, and vanilla until completely smooth—scrape down the sides to get every bit. The mixture should look thick and silky.
- Add the Crunch:
- Fold in the graham cracker crumbs gently, just until combined; overmixing makes the dough tough.
- Shape and Chill:
- Spread the mix evenly to about half-inch thick on a parchment-lined baking sheet. Freeze for 1 hour; it should feel firm when gently pressed.
- Cut Your Stars:
- Use a star-shaped cutter to punch out stars, working quickly if it’s warm—the mixture softens fast. Arrange stars onto a fresh parchment sheet as you go.
- Add the Pops:
- Carefully insert a lollipop stick into each star, pushing slowly to avoid splitting. Then pop them back in the freezer for 30 minutes so they don’t slip off later.
- Prep the Coating:
- Melt the white chocolate in short, gentle bursts; divide into three bowls if using colors and tint one red, one blue, leave one white. Stir gently until each is smooth.
- Dip & Decorate:
- Working one at a time, dip each star into chocolate, letting any excess drip before sprinkling with red, white, and blue decorations. The chocolate sets fast, so add sprinkles right after each dip for maximum stick.
- Set and Serve:
- Let the pops stand on parchment at room temperature or chill in the fridge until the shell hardens. Serve chilled, and watch them disappear.
 Pin This
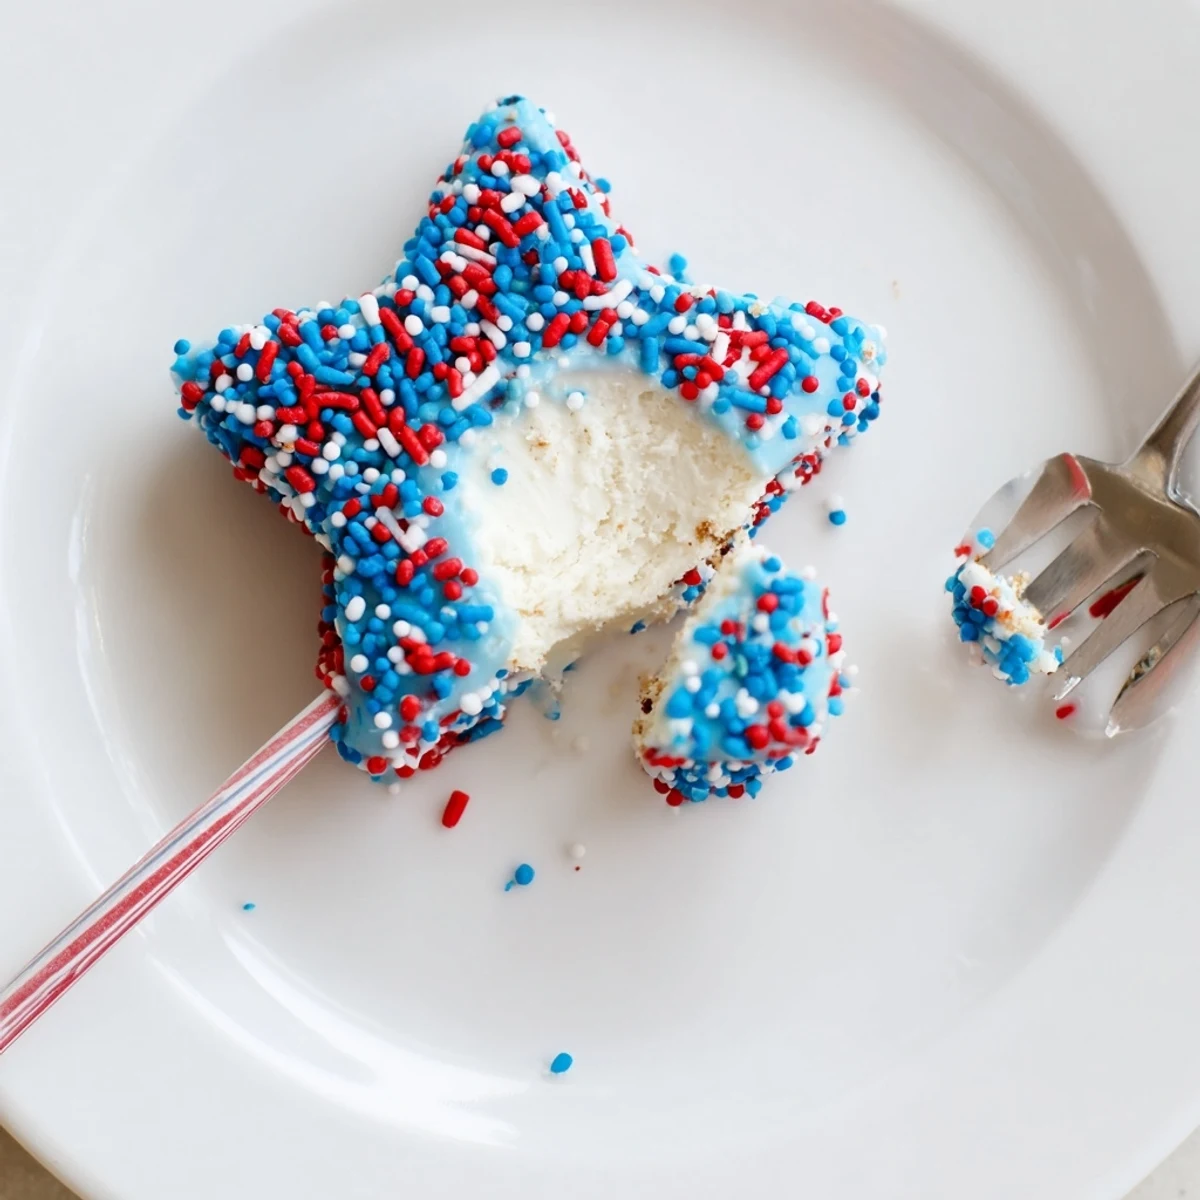
 The first year we brought these to the community barbecue, a crowd formed before I could even arrange them on the platter. Older neighbors marveled at the shapes, kids claimed “best one” rights, and for a few hours sweets trumped sparklers as the main event. That’s the magic of edible creativity on a hot July day.
The Joy of Letting Kids Help
I’ve learned these pops are the rare treat where imperfections add charm. Letting little hands dip and sprinkle means the results are always unique—and the mess is half the fun. If you embrace the chaos, your kitchen ends up speckled in sprinkles, but the laughter is always worth it.
Troubleshooting Cheesecake Pops
If the stars fall off the sticks, don’t panic—it just means you need an extra chill. Warm days can make the cheesecake soft, so keep the tray tucked in the fridge between steps. And if shapes start to stick, a quick dip of your cutter in hot water works wonders.
Make-Ahead Magic for Busy Gatherings
I rely on this recipe because you can make the pops a day ahead, and the chocolate shield keeps them fresh. If you like a little extra snap, store them uncovered for the first half hour in the fridge, then transfer to an airtight container. You’ll be glad for the head start when the party crowd descends!
- Lay parchment between layers to prevent sticking.
- Have extra sprinkles nearby for any patch-ups just before serving.
- Keep a few uncoated pops aside for guest allergies.
 Pin This
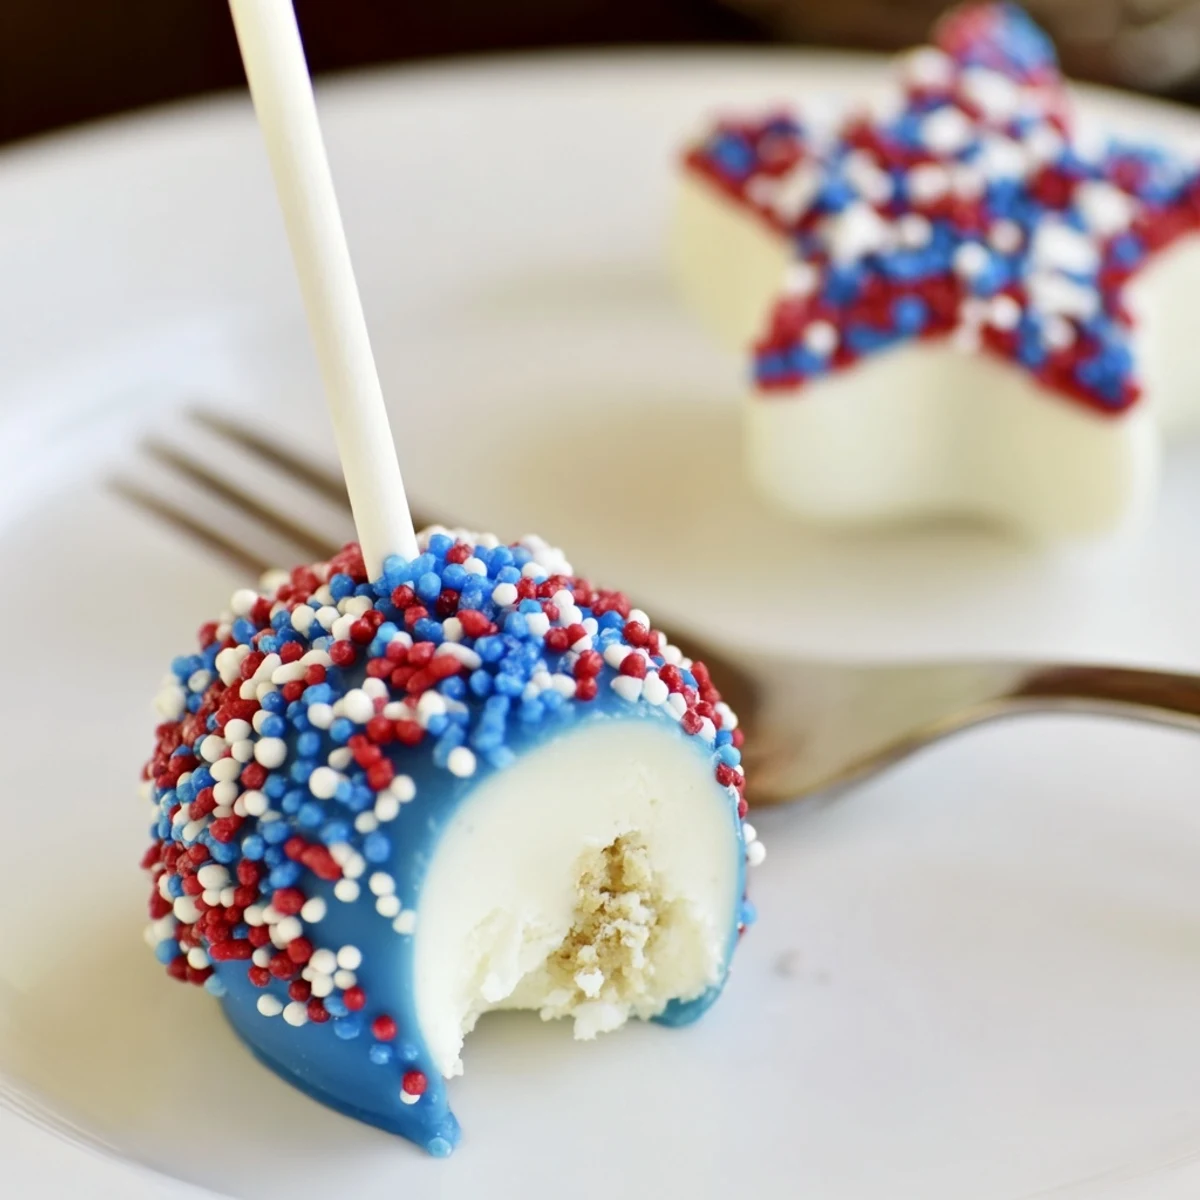
 Cheesecake pops are a guaranteed crowd-pleaser—these stars always disappear in a flash and leave just enough sweet memory to last until the next celebration. May your kitchen be filled with laughter, color, and at least a few perfectly wobbly stars.
Recipe FAQs
- → How long should the cheesecake slab be frozen before cutting stars?
-
Freeze for about 1 hour until firm enough to hold its shape, then cut quickly with a star cutter. Returning cut stars to the freezer for 30 minutes helps when inserting sticks and dipping.
- → What’s the best way to dip the pops without breaking them?
-
Use fully chilled pops and thin melted white chocolate slightly with a little vegetable oil if needed. Dip gently, tap off excess, and work on parchment to avoid handling until the coating sets.
- → Can I make these gluten-free or swap ingredients?
-
Yes—replace graham crumbs with gluten-free biscuit crumbs. For a different flavor, use milk or dark chocolate instead of white, and adjust chilling time if centers become softer.
- → How long do the pops keep and how should they be stored?
-
Store in an airtight container in the refrigerator for up to 4 days. For longer storage, freeze spaced on a tray then transfer to a sealed bag for up to 1 month, thawing briefly before serving.
- → Any tips for coloring the coating evenly?
-
Divide melted white chocolate into bowls and add gel or oil-based color sparingly for vibrant shades. Stir thoroughly and keep the bowls warm over a low water bath to maintain dipping consistency.
- → Are there common allergen swaps or precautions?
-
These contain dairy and gluten by default. Use dairy-free cream cheese and gluten-free crumbs to avoid those allergens, and check candy melt labels for soy or other additives.
