 Pin This
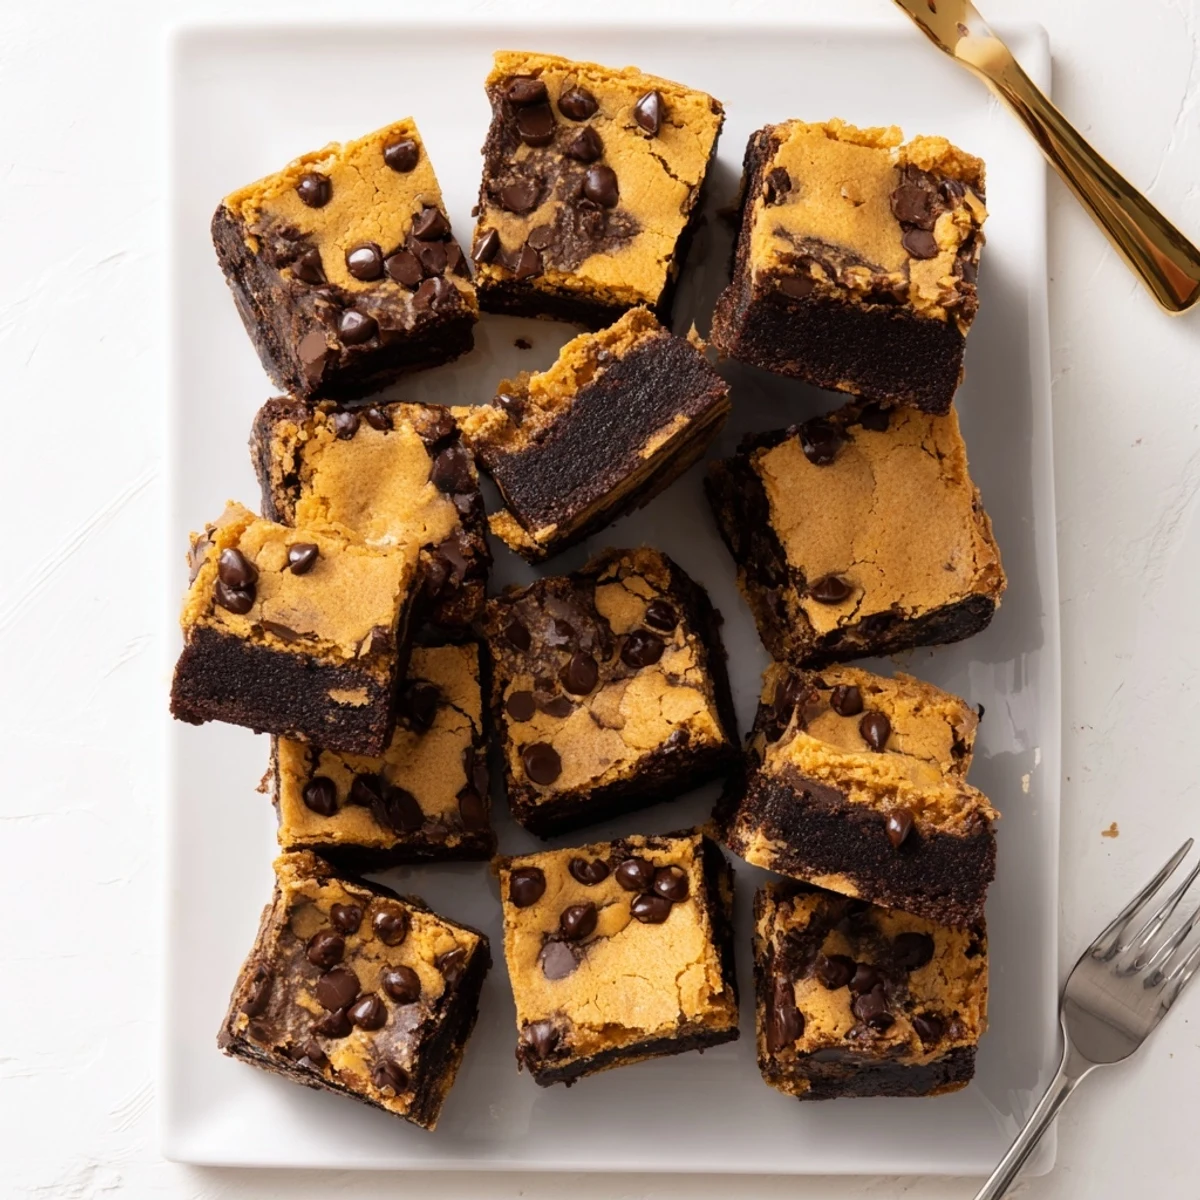
 These indulgent fudgy chewy browkies deliver the ultimate dessert experience by marrying two beloved treats into one spectacular bar. The bottom layer features a dense, rich dark chocolate brownie base made with melted butter and chopped dark chocolate, while the top layer adds a buttery cookie dough studded with semi-sweet chocolate chips. When baked together, the layers create a marbled effect with textures ranging from fudgy and dense to chewy and tender.
The preparation involves making two separate batters—the brownie mixture comes together quickly by melting chocolate and butter, then whisking in eggs and sugar. The cookie layer uses creamed butter and sugars for that classic chewy texture. Both layers require minimal mixing to prevent tough results.
Bake until golden with moist crumbs for the perfect fudgy consistency. These bars improve with an overnight rest, allowing flavors to meld and texture to set. Serve plain or with vanilla ice cream for an extra special dessert experience.
The first time I made browkies was during a rainy weekend when I couldn't decide between baking brownies or chocolate chip cookies. My kitchen smelled like melted chocolate and butter for hours, and when they came out of the oven, something magical happened—fudgy brownie meets chewy cookie in the same pan.
Last summer I brought a batch to a potluck, and my friend Sarah literally stopped mid conversation after her first bite. She grabbed the recipe card before even finishing her square, and now she makes them for every family gathering.
Ingredients
- Dark chocolate: I used 70% cocoa for depth, but 60% works beautifully too—just chop it yourself for even melting
- Unsalted butter: Control the salt level and use room temperature butter for the cookie layer to prevent spreading issues
- Both sugars: The brown sugar in the cookie layer creates those irresistible chewy edges while white sugar keeps the brownie dense
- Two eggs plus one yolk: This ratio was discovered through happy accidents, giving structure without drying out either layer
- All-purpose flour: Measure by weight if possible, as too much flour makes the brownie layer cakey instead of fudgy
- Semi-sweet chocolate chips: They hold their shape during baking and create pockets of melted chocolate throughout the cookie layer
Instructions
- Melt your chocolate base:
- Set up a double boiler with simmering water and stir the butter and chocolate together until completely smooth, then let it cool slightly while you prep the rest.
- Build the brownie foundation:
- Whisk in the sugar first to temper the eggs, then add eggs one at a time, and finally fold in the flour just until no streaks remain.
- Spread the fudgy layer:
- Pour the brownie batter into your lined pan and use an offset spatula to create an even base—it will be thick, so take your time.
- Prepare the cookie dough:
- Cream the softened butter with both sugars until pale and fluffy, then beat in the egg yolk and vanilla before adding the dry ingredients.
- Layer and marble:
- Drop dollops of cookie dough across the brownie base, then gently swirl with a spatula—dont overmix or you will lose the distinct layers.
- Bake to perfection:
- Check at 32 minutes for slightly underbaked squares, or go the full 36 minutes if you prefer a set center, but remember they continue cooking as they cool.
 Pin This
 My dad called me after trying these at a family dinner, demanding the recipe. He said they reminded him of the chocolate shop downtown where he proposed to my mom, which was completely unexpected but incredibly sweet.
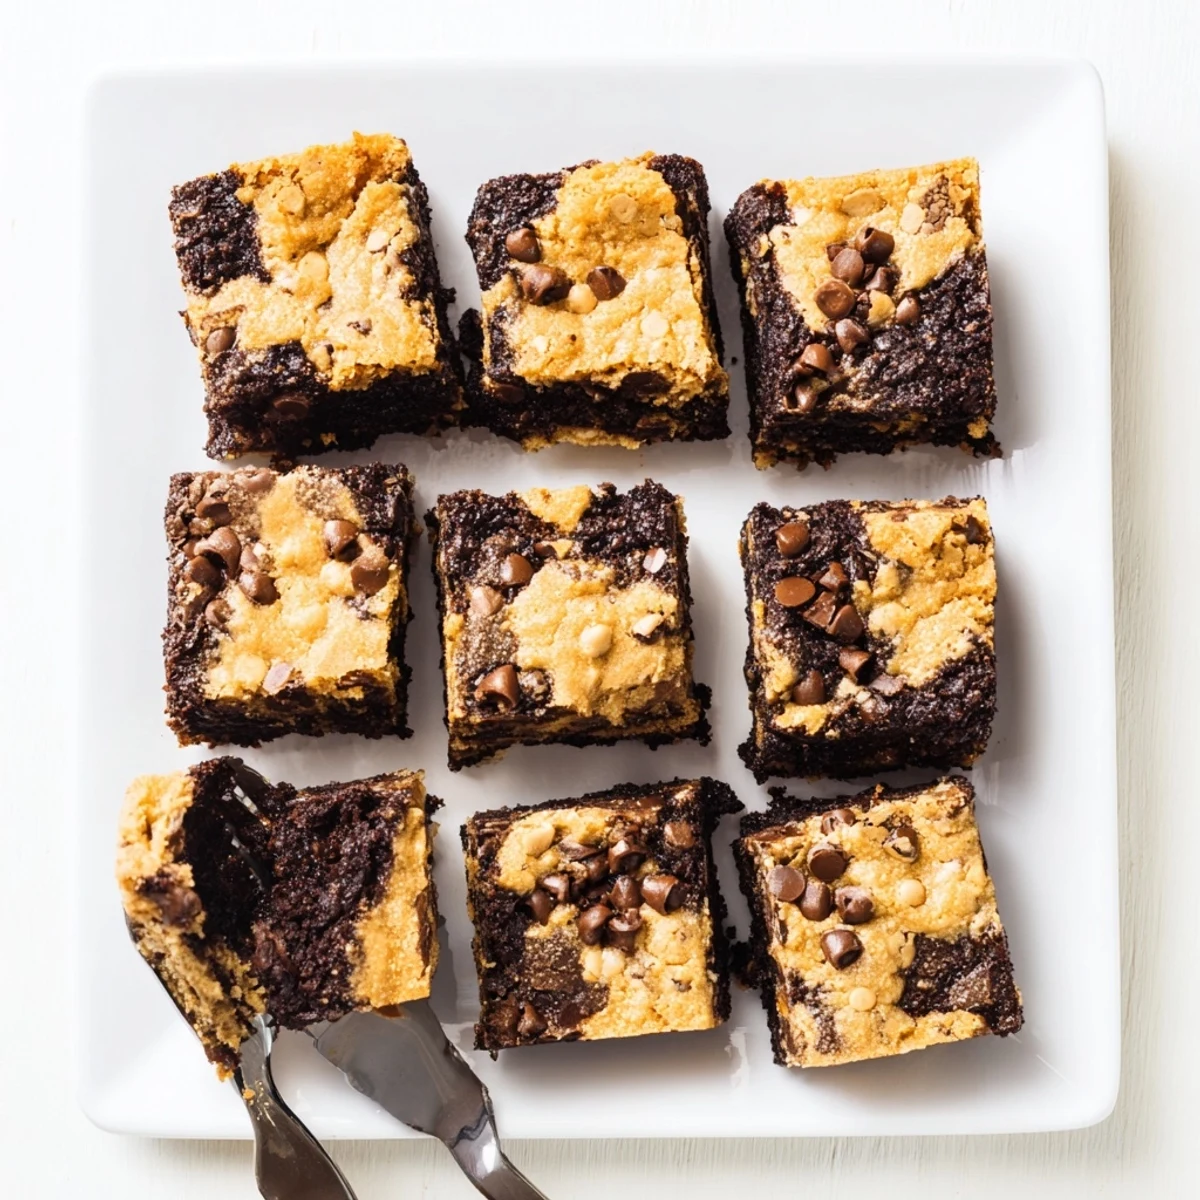
Getting the Swirl Right
The trick is dropping cookie dough in small mounds across the entire brownie surface, then using just two or three gentle figure-eight motions with your spatula. Too much swirling blends the layers, while too little leaves you with distinct sections that do not bake evenly.
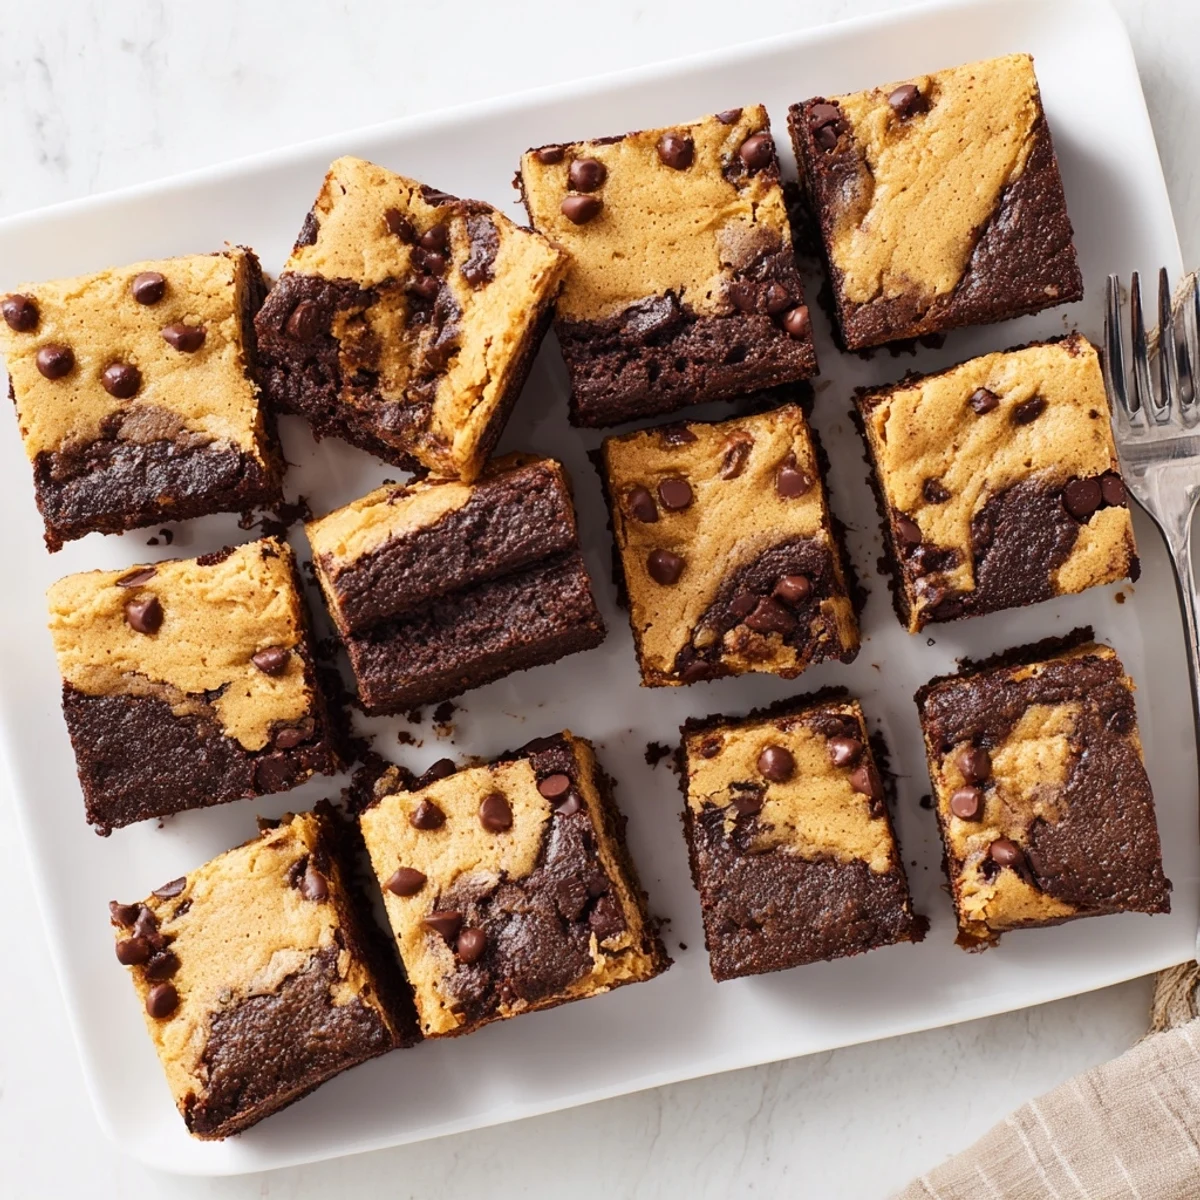
Pan Size Matters
An 8-inch square pan creates the ideal thickness—too small and the center never sets, too large and you lose that decadent fudgy texture. If you only have a 9-inch pan, reduce baking time by about 4 minutes.
Storage Secrets
These actually improve overnight as the flavors meld and the textures settle into perfect harmony. Store them at room temperature in an airtight container, and place parchment paper between layers if you stack them.
- Freeze individual squares wrapped tightly for up to 3 months
- A 10-second microwave revive brings back that fresh-baked texture
- Never refrigerate or the cookie layer becomes hard and loses its chew
 Pin This
 Every time I serve these, someone asks for the recipe. They are the kind of dessert that turns a regular Tuesday into something worth celebrating.
Recipe FAQs
- → What makes browkies different from regular brownies?
-
Browkies combine the dense, fudgy texture of brownies with the chewy, tender crumb of chocolate chip cookies. The dual-layer creation creates a marbled effect with contrasting textures—rich chocolate intensity from the brownie base and buttery sweetness from the cookie dough topping.
- → How do I know when browkies are done baking?
-
Insert a toothpick into the center—it should come out with moist crumbs rather than wet batter. The top should appear golden and set. Slight underbaking produces extra fudgy results, while overbaking yields a drier texture. Aim for 32-36 minutes at 175°C (350°F).
- → Can I make browkies ahead of time?
-
Absolutely. Browkies actually improve after resting overnight—the flavors deepen and the texture sets perfectly. Store in an airtight container at room temperature for up to 4 days, or freeze individually wrapped squares for up to 3 months.
- → What's the best way to cut clean browkie squares?
-
Let the bars cool completely in the pan, then refrigerate for 1-2 hours before cutting. Use a sharp knife warmed in hot water, wiping clean between cuts. The parchment paper overhang makes lifting the entire batch out easy for precise slicing.
- → Can I customize the ingredients?
-
Certainly. Substitute milk chocolate for dark chocolate in the brownie layer for a sweeter profile. Add chopped nuts, sea salt sprinkles, or swirl in caramel or peanut butter. For dietary adjustments, use gluten-free flour blends and plant-based butter substitutes.
- → Why do I need to cool browkies completely before cutting?
-
Warm browkies are fragile and may crumble or lose their shape. Cooling allows the structure to set fully, ensuring clean cuts and maintaining the distinct layers. Room temperature or chilled browkies also showcase the fudgy texture better than warm ones.
