 Pin This
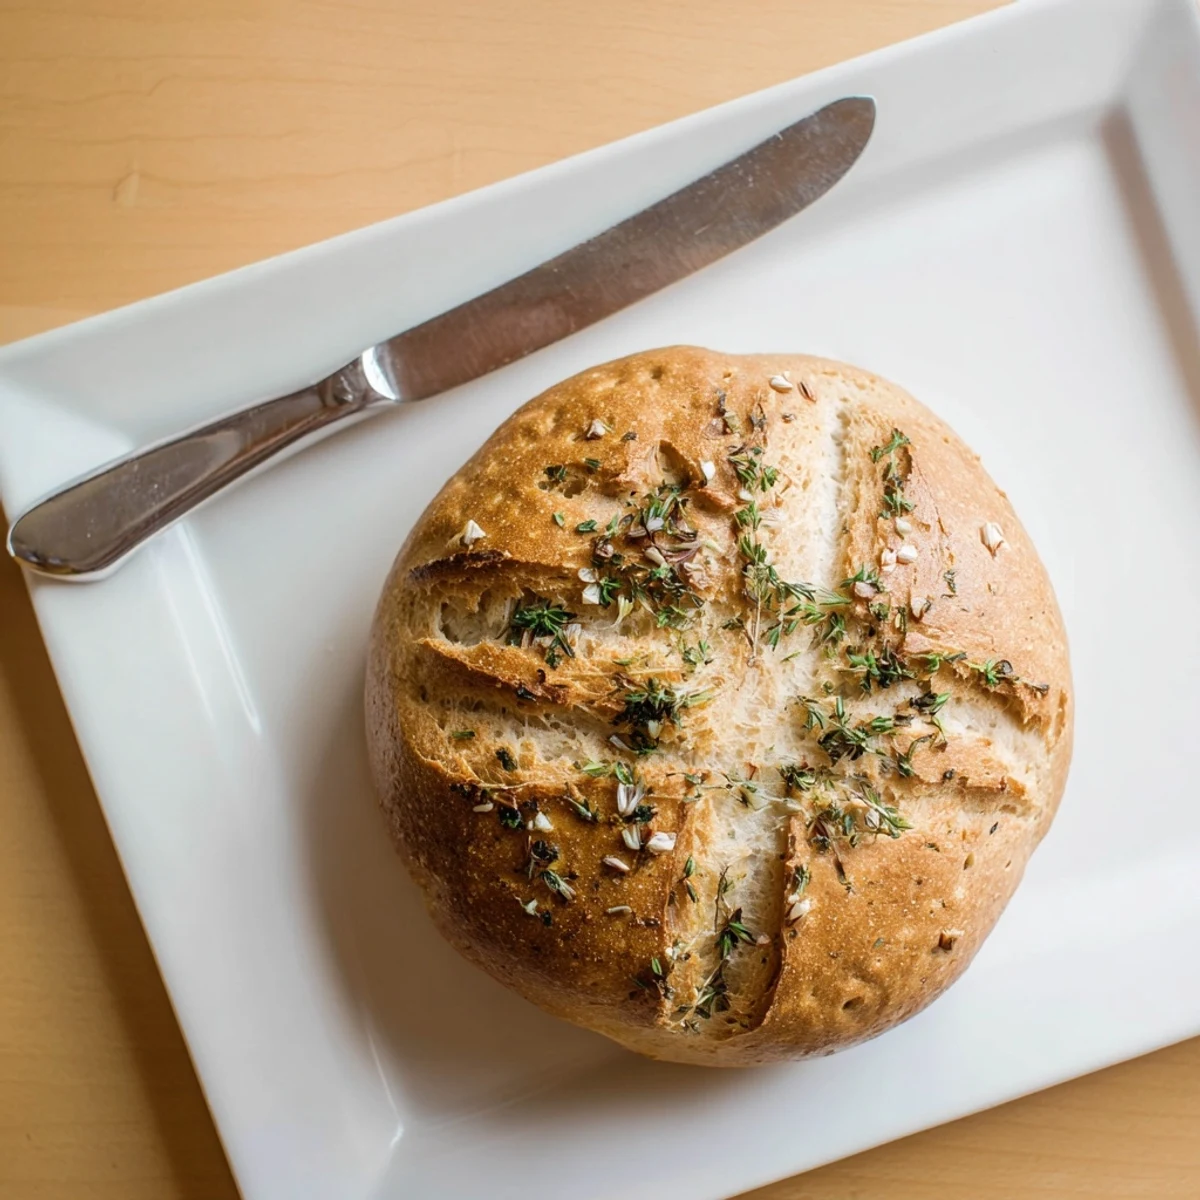
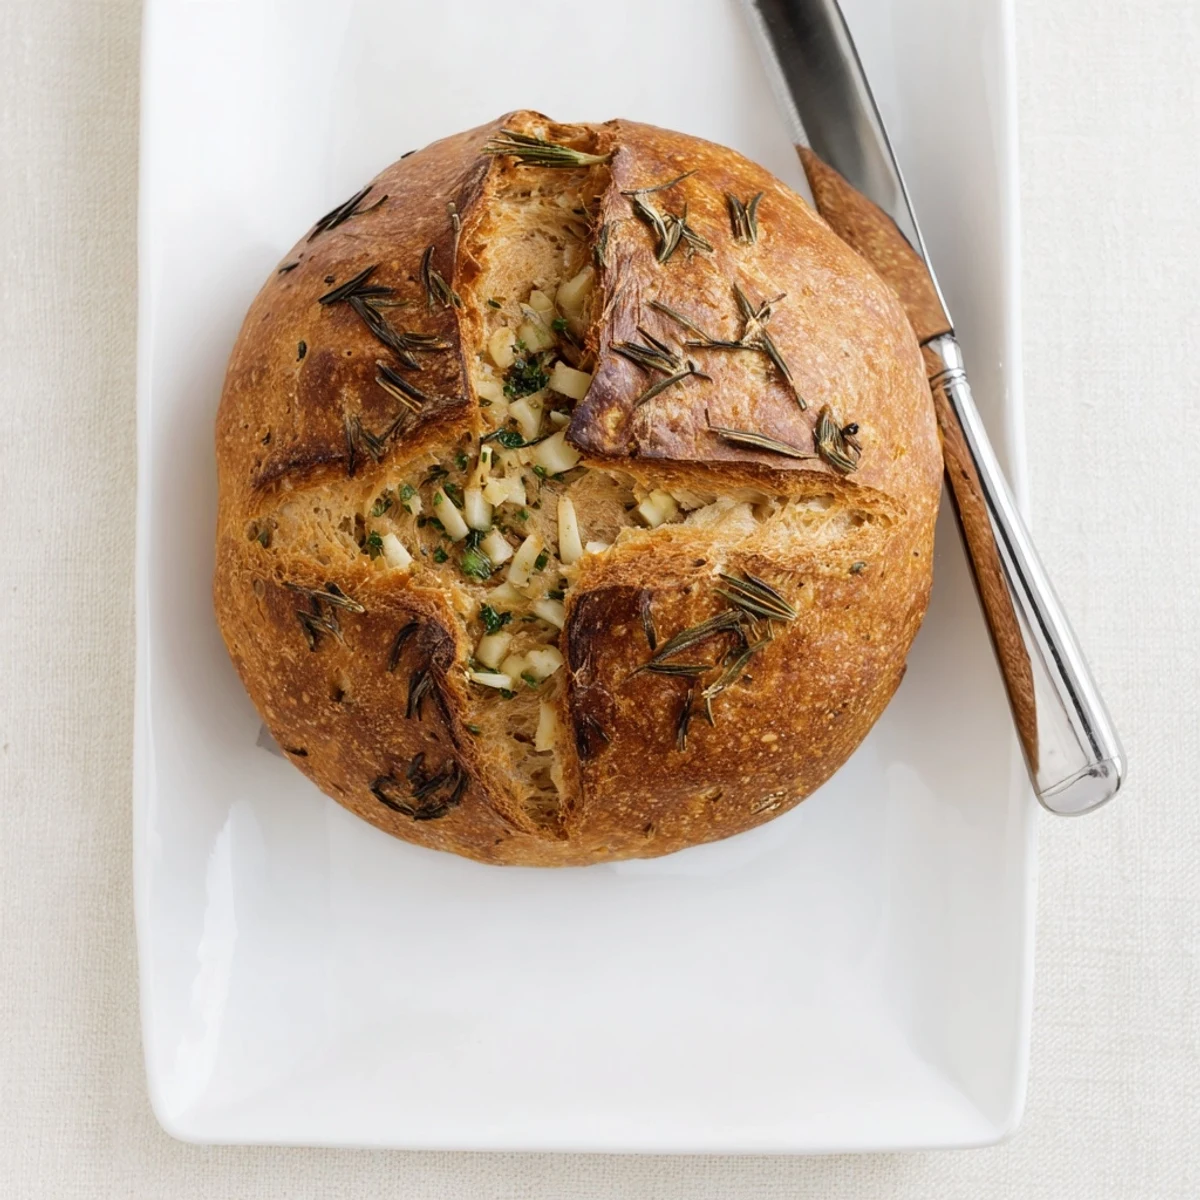
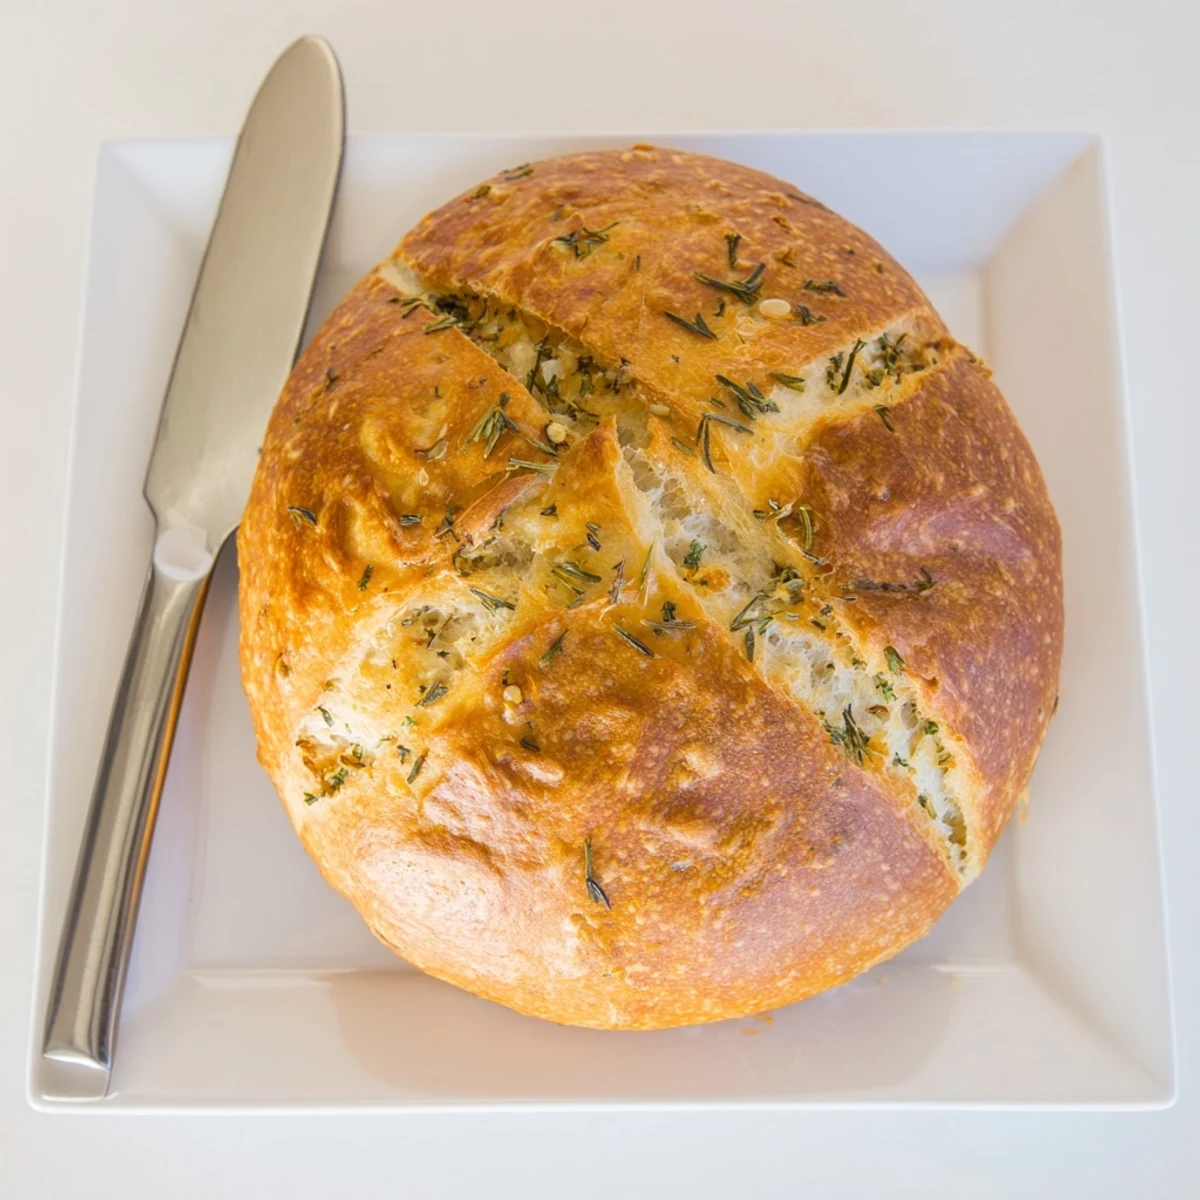
 This artisan-style bread combines the earthy aroma of roasted garlic with fragrant fresh rosemary, thyme, and parsley. The Dutch oven baking method creates professional bakery results at home, producing a crackling golden crust and pillowy soft interior. With just 20 minutes of active prep time, this versatile loaf pairs beautifully with soups, salads, or simply dipped in quality olive oil.
The smell of garlic and rosemary baking through my entire apartment is something I've come to crave on gray Sunday mornings. My roommate stumbled out of her bedroom that first time, half-asleep but fully alert to whatever was happening in the kitchen. We stood around the Dutch oven like it was delivering news, watching the crust turn that impossible golden brown. Now it's the only bread that gets requested for every dinner party.
I brought this loaf to my parents' house last Thanksgiving, expecting it to be overshadowed by all the sides. My dad, who's been baking bread for forty years, asked for the recipe before we even sat down to eat. Watching people tear into it while it was still warm, butter running down their fingers, that's when I knew this wasn't just bread anymore.
Ingredients
- Bread flour: Higher protein content gives this bread structure and that satisfying chewy texture
- Active dry yeast: Make sure your water is warm but not hot or you'll kill the yeast before it can work
- Garlic: Fresh minced garlic infuses the entire dough with mellow sweetness as it bakes
- Fresh herbs: Rosemary and thyme hold up beautifully to baking, parsley adds fresh brightness
- Olive oil: Keeps the crumb tender and adds richness that complements the garlic
- Butter: Brushing the hot loaf with melted butter adds an irresistible finish and helps those extra herbs stick
Instructions
- Mix the base:
- Combine flour, salt, and sugar in a large bowl, then stir in the yeast until it's evenly distributed throughout the dry ingredients.
- Add liquids:
- Pour in the warm water and olive oil, stirring with a wooden spoon until you have a shaggy, sticky dough that holds together.
- Flavor the dough:
- Fold in the minced garlic and chopped herbs until they're evenly incorporated, then cover the bowl and let it rise for 2 hours.
- Shape the loaf:
- Turn the dough onto a floured surface and gently tuck the edges underneath to form a round, smooth ball.
- Second rest:
- Place the shaped dough on parchment paper, cover loosely, and let it rest for 30 minutes while you preheat your Dutch oven.
- Preheat the oven:
- Place your Dutch oven with its lid inside a cold oven, then heat to 450°F for at least 30 minutes to get it screaming hot.
- Bake covered:
- Carefully lift the dough by the parchment and lower it into the hot Dutch oven, score the top, cover with the lid, and bake for 30 minutes.
- Finish baking:
- Remove the lid and continue baking for 15 to 20 minutes until the crust is deep golden brown and sounds hollow when tapped.
- Add the finishing touches:
- Brush the hot loaf with melted butter and sprinkle with extra fresh herbs, then let it cool slightly before slicing.
 Pin This
 My niece was helping me make this once and got distracted, letting the dough rise way past the two-hour mark. We baked it anyway, expecting disaster, but it turned out to be the most flavorful loaf we'd ever made. Sometimes the mistakes teach you more than following the rules.
Choosing Your Herbs
Rosemary and thyme are classic choices that stand up to the high heat of baking without losing their personality. I've experimented with adding fresh sage in autumn, and a little oregano makes it feel more Italian. Just keep the total herb amount around three tablespoons so the dough still rises properly.
Getting That Perfect Rise
Warm your mixing bowl with hot water before adding ingredients if your kitchen runs cold. Find the warmest corner of your house for the rising period, but avoid direct sunlight which can dry out the surface. The dough should look puffy and alive, with visible bubbles on the surface.
Making It Your Own
This dough is incredibly forgiving and welcomes all kinds of additions. Try mixing in shredded sharp cheddar or grated Parmesan for a savory twist that melts throughout the crumb.
- Swap in dried herbs using one-third the amount if fresh aren't available
- Add roasted garlic cloves instead of fresh for a milder, sweeter flavor
- Brush with garlic butter instead of plain butter for an extra punch
 Pin This
 There's something almost meditative about the whole process, from that first bubble of yeast activity to the moment you pull the lid off and reveal what you've created. Hope this bread fills your kitchen with as much warmth as it has mine.
Recipe FAQs
- → Why bake bread in a Dutch oven?
-
The Dutch oven creates a steam-filled environment that mimics professional deck ovens, resulting in a crisp, crackling crust and excellent oven spring for a beautifully risen loaf.
- → Can I use dried herbs instead of fresh?
-
Yes, substitute 1 teaspoon of each dried herb in place of the fresh versions. Dried herbs are more concentrated, so you'll need smaller quantities.
- → How do I know when the bread is done?
-
The bread is ready when the crust is deep golden brown and the loaf sounds hollow when tapped on the bottom. An instant thermometer inserted into the center should read 200°F.
- → Can I freeze this bread?
-
Absolutely. Wrap the cooled loaf tightly in plastic wrap and foil, then freeze for up to 3 months. Thaw at room temperature and refresh in a 350°F oven for 10 minutes.
- → What size Dutch oven works best?
-
A 4 to 6 quart Dutch oven with a tight-fitting lid is ideal. The dough should have enough room to expand without touching the sides too much during baking.
