 Pin This
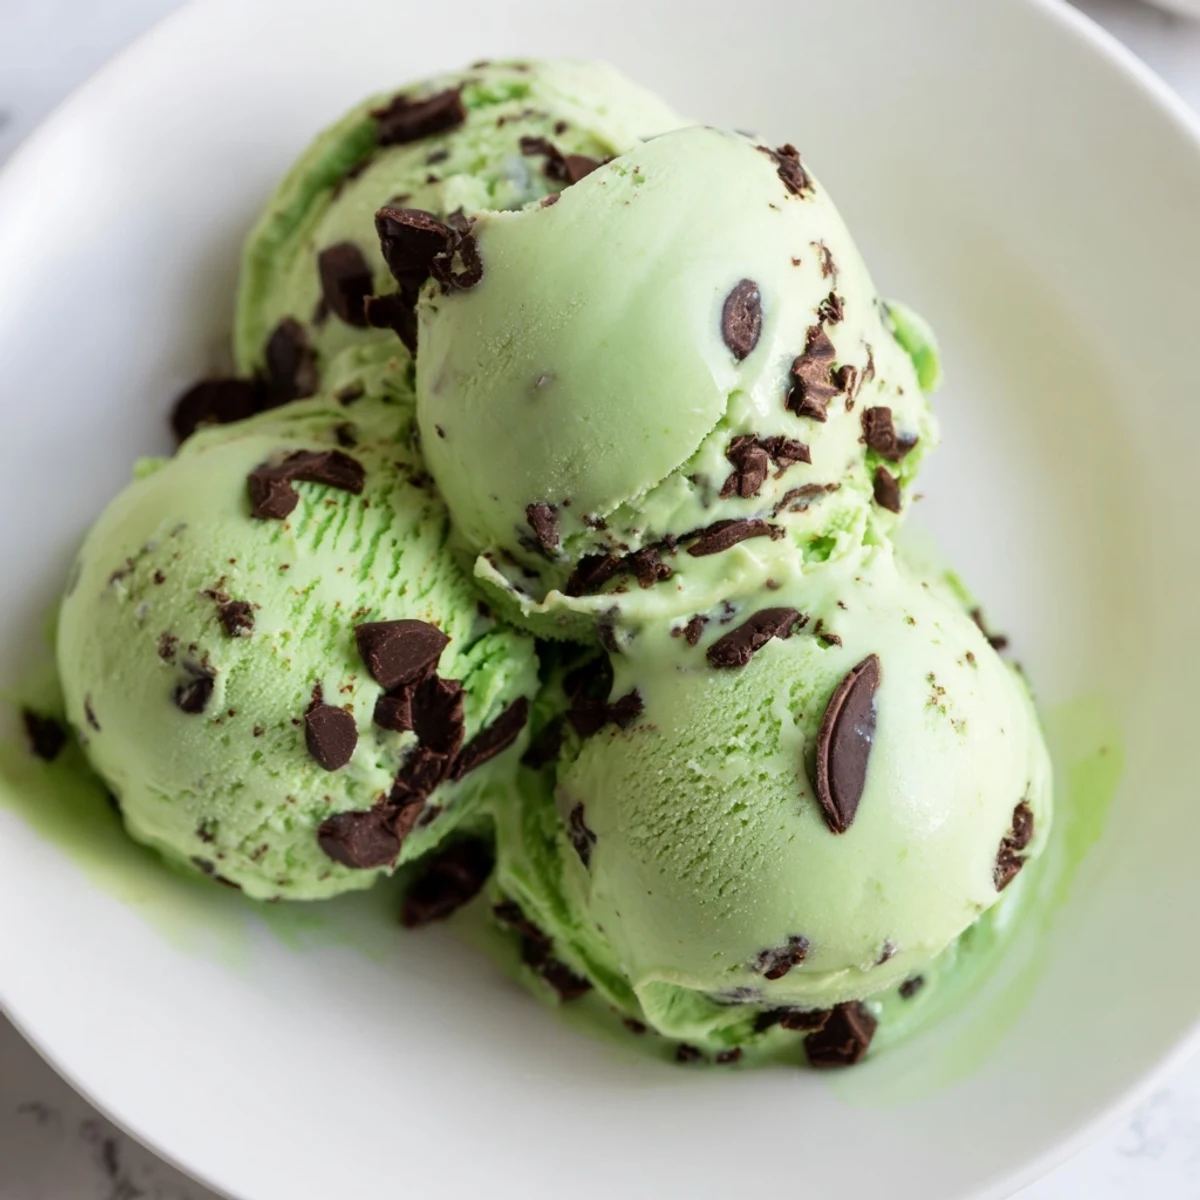
 This creamy frozen treat combines cool peppermint flavor with rich chocolate chips for a refreshing experience. Made with heavy cream, milk, and natural coloring, it offers a vibrant green color and smooth texture. The custard base is gently cooked, chilled, and churned before adding chopped chocolate chips. Perfectly balanced sweetness and freshness make it a wonderful summer delight to enjoy on warm days.
My daughter announced we were making mint chocolate chip ice cream at 7 AM on a Saturday. The enthusiasm was impossible to deny, and honestly, nothing beats homemade ice cream on a lazy summer morning.
We discovered the food coloring trick by accident. The first batch looked perfectly white but tasted amazing. My kids kept asking why it was not green like the ice cream from the grocery store, and now we add just enough natural coloring to make them smile without going full cartoon green.
Ingredients
- Heavy cream: The high fat content is essential for that luxurious creamy texture that makes homemade ice cream so superior
- Whole milk: Balances the richness of the cream while keeping the base smooth and scoopable
- Granulated sugar: Sweetens and also helps prevent ice crystals from forming during freezing
- Egg yolks: Create the custard base that gives this ice cream its silky mouthfeel
- Peppermint extract: Pure extract is potent so start with less than you think, you can always add more
- Vanilla extract: Rounds out the sharp mint and adds depth to the overall flavor
- Green food coloring: A tiny amount goes a long way, or try the spinach trick for natural color
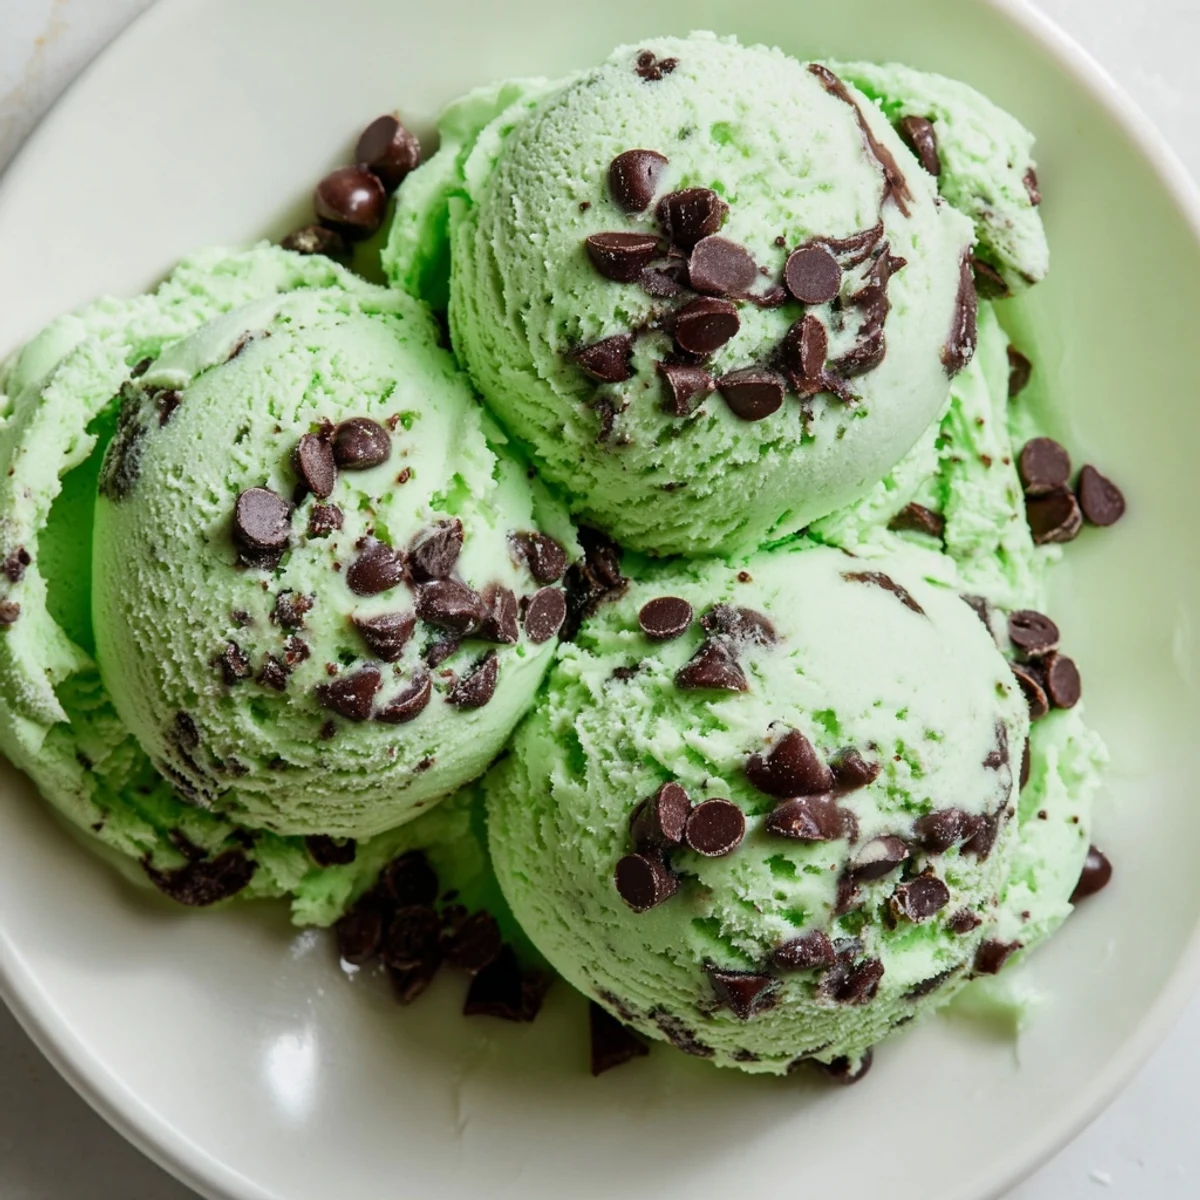
- Semisweet chocolate chips: Chopped slightly creates better distribution throughout the ice cream
Instructions
- Heat the dairy base:
- Combine the cream, milk, and half the sugar in a medium saucepan. Warm over medium heat until you see steam rising but the mixture is not boiling.
- Prepare the egg yolks:
- Whisk the yolks with remaining sugar until they turn pale yellow and slightly thickened.
- Temper the eggs:
- Slowly pour about one cup of the hot milk into the yolks while whisking continuously. This prevents scrambling.
- Cook the custard:
- Return everything to the saucepan and cook over low heat. Stir constantly until the mixture coats the back of a spoon.
- Add flavor and color:
- Remove from heat and stir in both extracts and food coloring until fully combined.
- Chill thoroughly:
- Strain through a fine mesh sieve and refrigerate for at least 4 hours. Overnight is even better.
- Churn the ice cream:
- Process in your ice cream maker. Add the chocolate chips during the final 2 minutes of churning.
- Freeze until firm:
- Transfer to a freezer container and freeze for 2 hours before serving.
 Pin This
 Last summer we served this at a backyard barbecue. My brother usually skips dessert, but he went back for seconds and asked if we could make it a permanent tradition.
Getting the Color Right
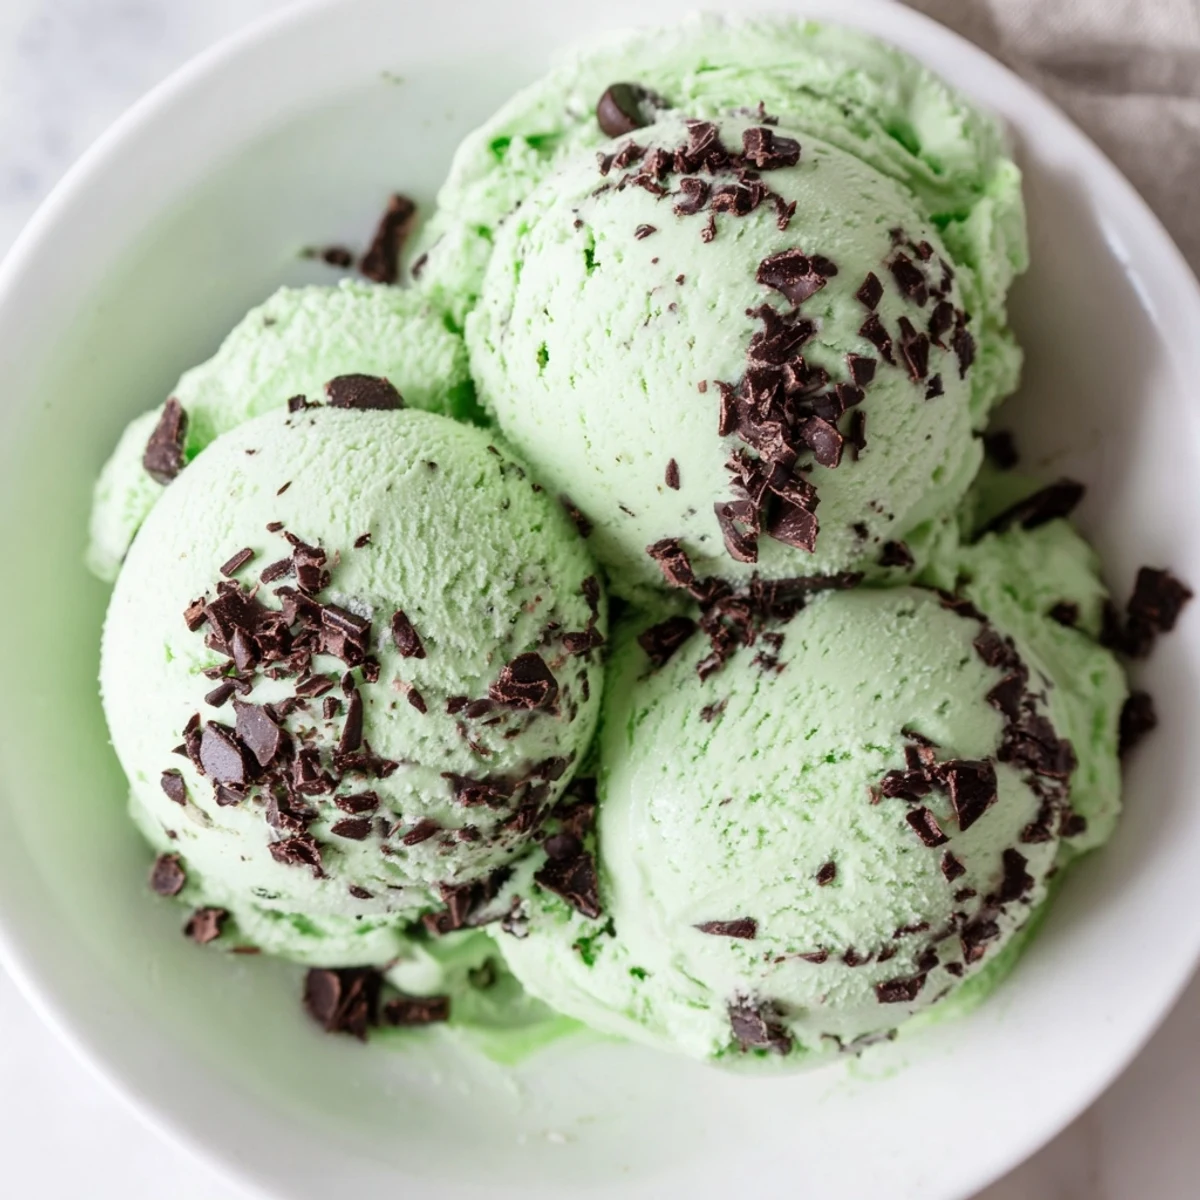
I prefer the natural spinach method because it gives a soft, muted green that looks sophisticated. The key is blending just a handful with the milk before heating and straining well. No spinach flavor remains, only the prettiest pale green hue that makes people ask what your secret ingredient is.
Chocolate Chip Strategy
Chopping the chips slightly before adding them ensures every bite gets chocolate. Large chips tend to cluster in one area, but smaller pieces distribute evenly throughout the churn. Dark chocolate chips work beautifully here and balance the sweet mint with their slight bitterness.
Storage and Serving
Homemade ice cream freezes harder than commercial brands, so let it sit on the counter for 5 to 10 minutes before scooping. This simple step transforms the texture from rock solid to perfectly creamy.
- Place a piece of parchment paper directly on the surface before freezing to prevent ice crystals
- Use an airtight container to keep the ice cream from absorbing other freezer odors
- Best enjoyed within 2 weeks while the texture is at its peak
 Pin This
 There is something magical about pulling out a container of homemade ice cream you made yourself. Watching faces light up with that first cool minty bite makes all the stirring and waiting completely worth it.
Recipe FAQs
- → What gives the dessert its green color?
-
Natural green food coloring or fresh spinach blended with milk provides the vibrant green hue.
- → Can I substitute the chocolate chips?
-
Yes, white chocolate chips or crushed peppermint candies work well as alternatives.
- → How long should the mixture chill before churning?
-
Refrigerate the custard base for at least 4 hours or until thoroughly chilled for best results.
- → What is the purpose of tempering the egg yolks?
-
Tempering gently raises the egg yolks’ temperature to prevent curdling when combined with hot milk mixture.
- → Is this suitable for a gluten-free diet?
-
Yes, all ingredients are gluten-free, making this dessert safe for gluten-sensitive diets.
