 Pin This
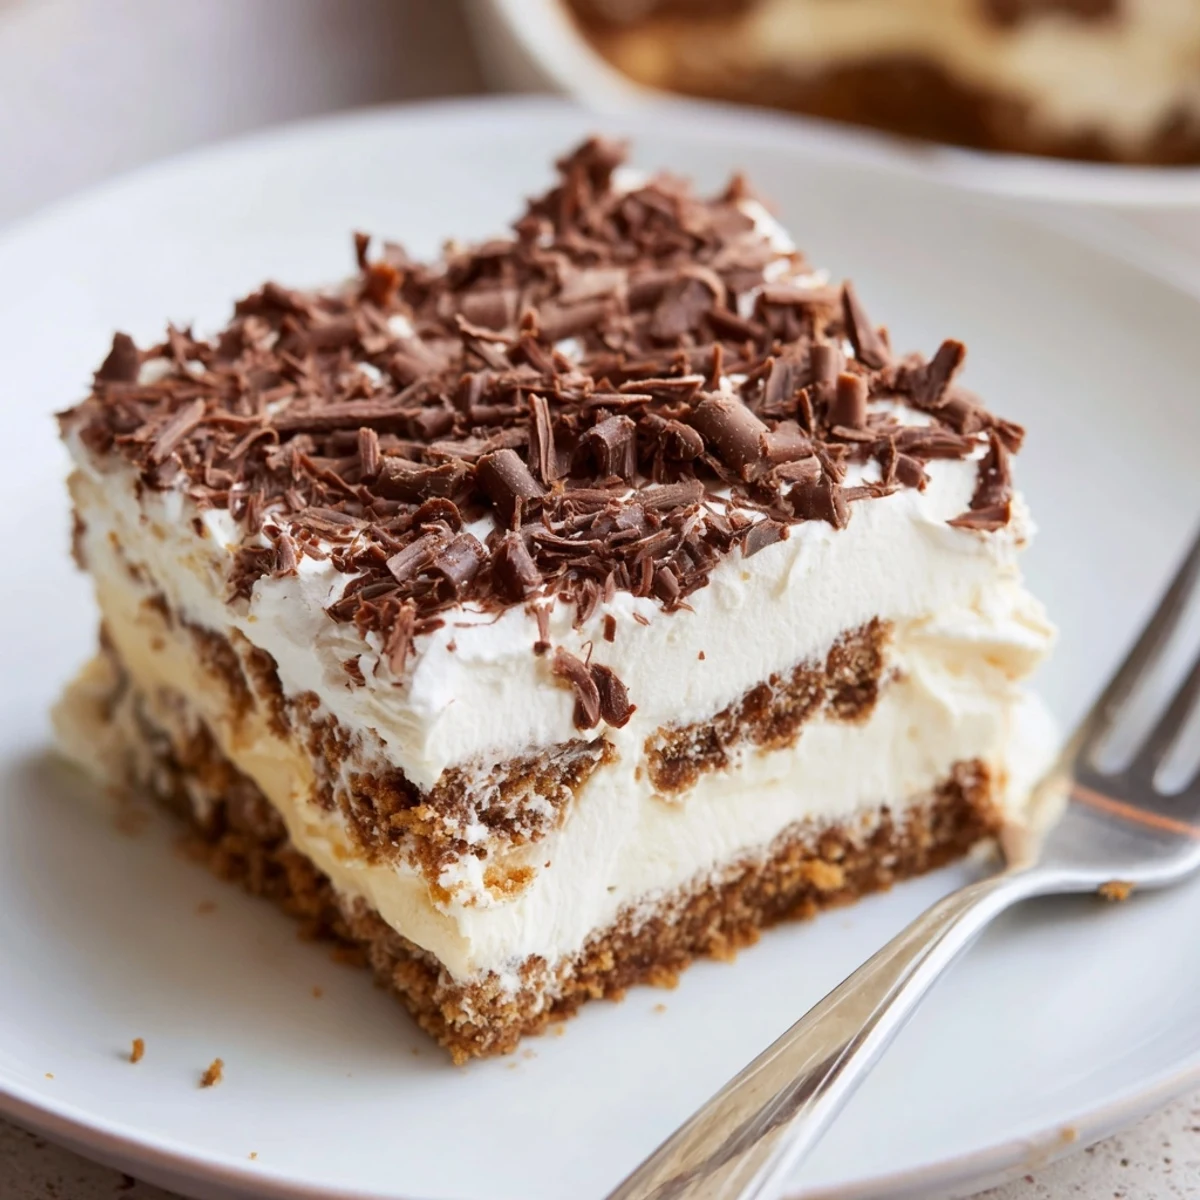
 This no-bake layered dessert builds a firm cookie base, a light whipped cream layer and a silky vanilla pudding center. Press crushed graham crackers with melted butter, whip cold cream to stiff peaks, whisk instant pudding with milk, then layer cream, pudding and cream. Chill at least 2 hours or overnight for best texture; slice and serve chilled.
There are days when the kitchen feels too warm for an oven and my sweet tooth is louder than my willpower. It was on one such lazy summer afternoon that I cobbled together this no bake layered dessert, inspired by a sudden craving for something creamy and cool yet satisfyingly rich. The first time I pressed the crumbly cookie base into the dish with slightly sticky fingers, the promise of something wonderful began in that simple crunch. You won’t believe how much joy you can create with just a couple of mixing bowls and a bit of patience while the layers chill.
I first made this for an impromptu Friday night gathering after a long work week, with friends bringing mismatched wine glasses and easy laughter. Watching them scoop spoonfuls straight from the dish, jockeying for the corner pieces with the most chocolate shavings, made the whole thing even sweeter. There might have been a pudding mishap or two, but the lopsided swirl ended up being the biggest crowd pleaser.
Ingredients
- Graham crackers or digestive biscuits: The backbone of a good base, choose a cookie with real crunch – pulse in a food processor for a sandy uniform crumb, but leaving a few bigger bits gives a rustic texture.
- Unsalted butter: It ties the base together and helps it set up with fridge time – be sure to melt but not boil it.
- Heavy whipping cream: Make sure this is ice cold so you get those glorious stiff peaks quickly without overbeating.
- Powdered sugar: Melts seamlessly into the cream and adds gentle sweetness, sift if it looks clumpy.
- Vanilla extract: A little goes a long way here for that homemade pudding-shop flavor.
- Instant vanilla pudding mix: Go for a quality one for real vanilla flavor; don’t skip the resting time or your layer won’t thicken properly.
- Whole milk: Adds extra creaminess to the pudding, and cold milk helps the mix set quickly.
- Chocolate shavings or cocoa powder: For an optional finishing flourish, use a vegetable peeler on a good chocolate bar right over the dish before serving.
Instructions
- Make the Cookie Base:
- Mix the crushed cookies and melted butter with your hands until everything feels damp and sandy. Press it firmly into your baking dish, making sure to reach into the corners, then set aside to chill while you prep the rest.
- Whip the Cream:
- Pour the heavy whipping cream into a chilled bowl, add powdered sugar and vanilla, and beat until thick peaks hold their shape – listen for the gentle slap of the beaters as your clue.
- Stir Up the Pudding:
- Whisk the pudding mix and cold milk vigorously for two minutes; the mixture will thicken as you stir, and a quick taste test is always rewarded. Let it sit quietly for five minutes, giving it time to set up properly.
- Layer and Build:
- Spread half of your whipped cream over the cookie base with an offset spatula, enjoying the smooth swish sound. Gently spoon the pudding across the cream then smooth it evenly; don't worry if some swirls peek through.
- Final Cream Layer:
- Spoon on the remaining whipped cream, using a spatula to create soft swoops. Give it a lick for quality control if no one's watching.
- Toppings and Chilling:
- Sprinkle chocolate shavings or dust cocoa powder across the top if you like. Cover and chill for at least two hours – overnight is even better for flavors to meld and layers to set.
- Slice and Enjoy:
- Carefully cut into squares and serve cold; listen for happy sighs from your guests.
 Pin This
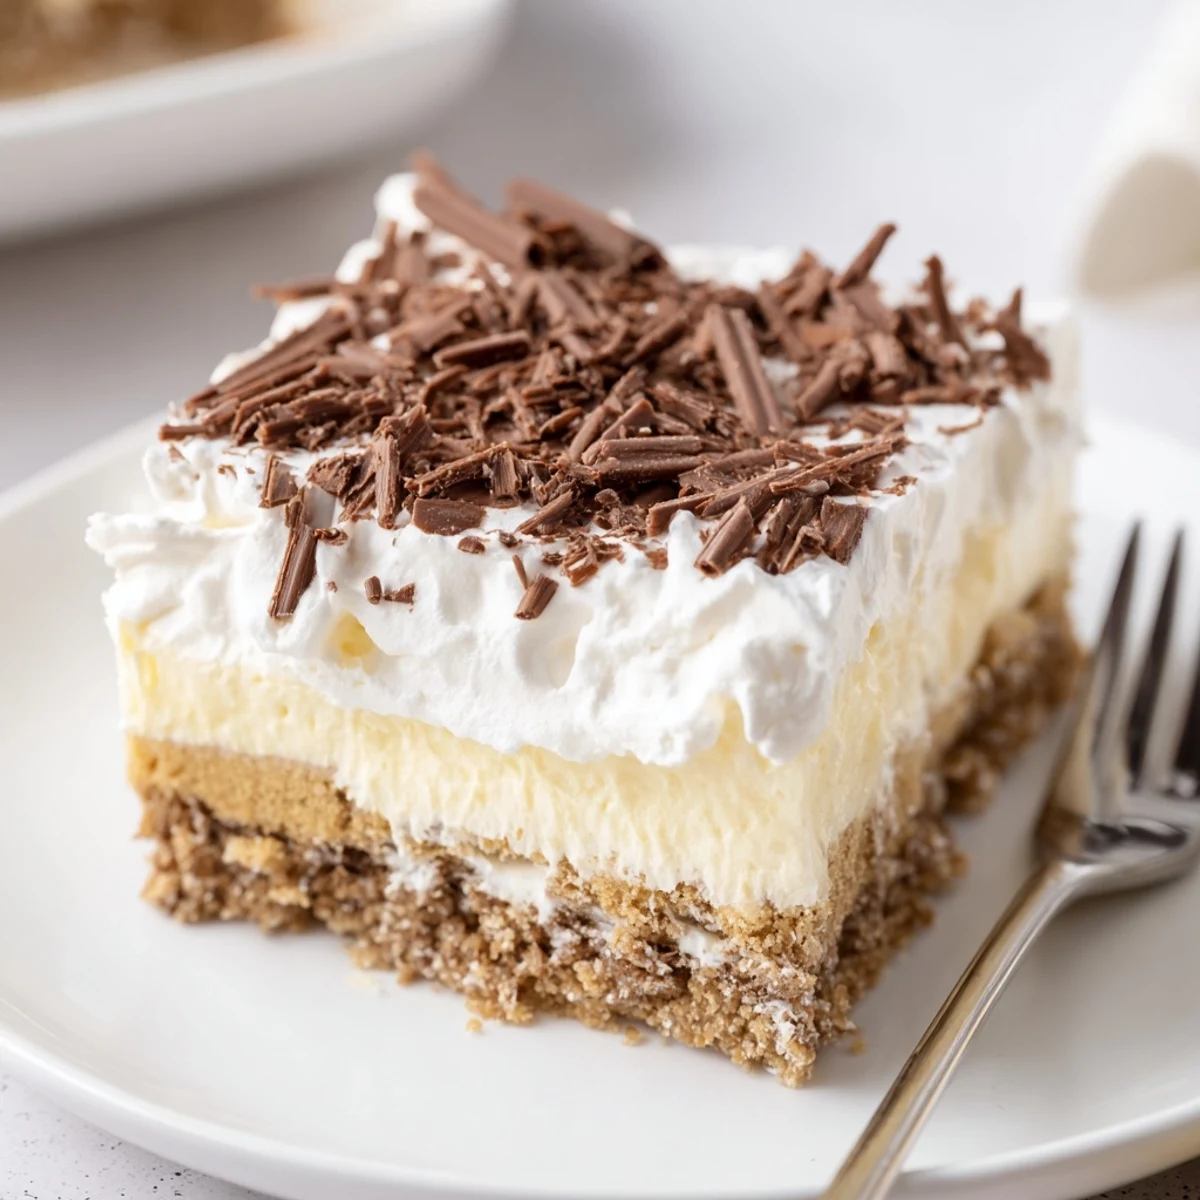
 The best version of this dessert happened late one night, everyone crowded around the table, forks clinking and laughter echoing across the kitchen. The last sliver disappeared before I could even reach for my own plate, but honestly, that felt like the biggest compliment.
Choosing Your Dessert Layers
Testing different combinations is half the fun – I’ve tried swapping in chocolate cookies and using coffee-flavored pudding or even sneaking in a thin layer of berry compote. Each variation brings a different mood, but the satisfaction of cutting a tidy slice and seeing each layer stand proud remains the true win.
Make It Ahead – The Smart Way
This dessert is forgiving about timing and truly shines when made the day before, freeing you up before a gathering or dinner party. It even tastes better after an overnight rest, as the cookies soften and the flavors deepen in the fridge.
Troubleshooting & Little Wins
If the base seems crumbly, press extra hard with the bottom of a glass – it packs things nicely. Adding a few fresh berries between the layers can lighten things up without extra fuss. Always cover tightly for the fridge, or the cream layer can pick up fridge flavors.
- If you forget to chill the bowl for whipping cream, pop it (empty) in the freezer for ten minutes first.
- Accidentally tore the top layer? Hide it with extra chocolate, and no one will notice.
- Use a knife dipped in hot water to slice cleaner, neater portions every time.
 Pin This
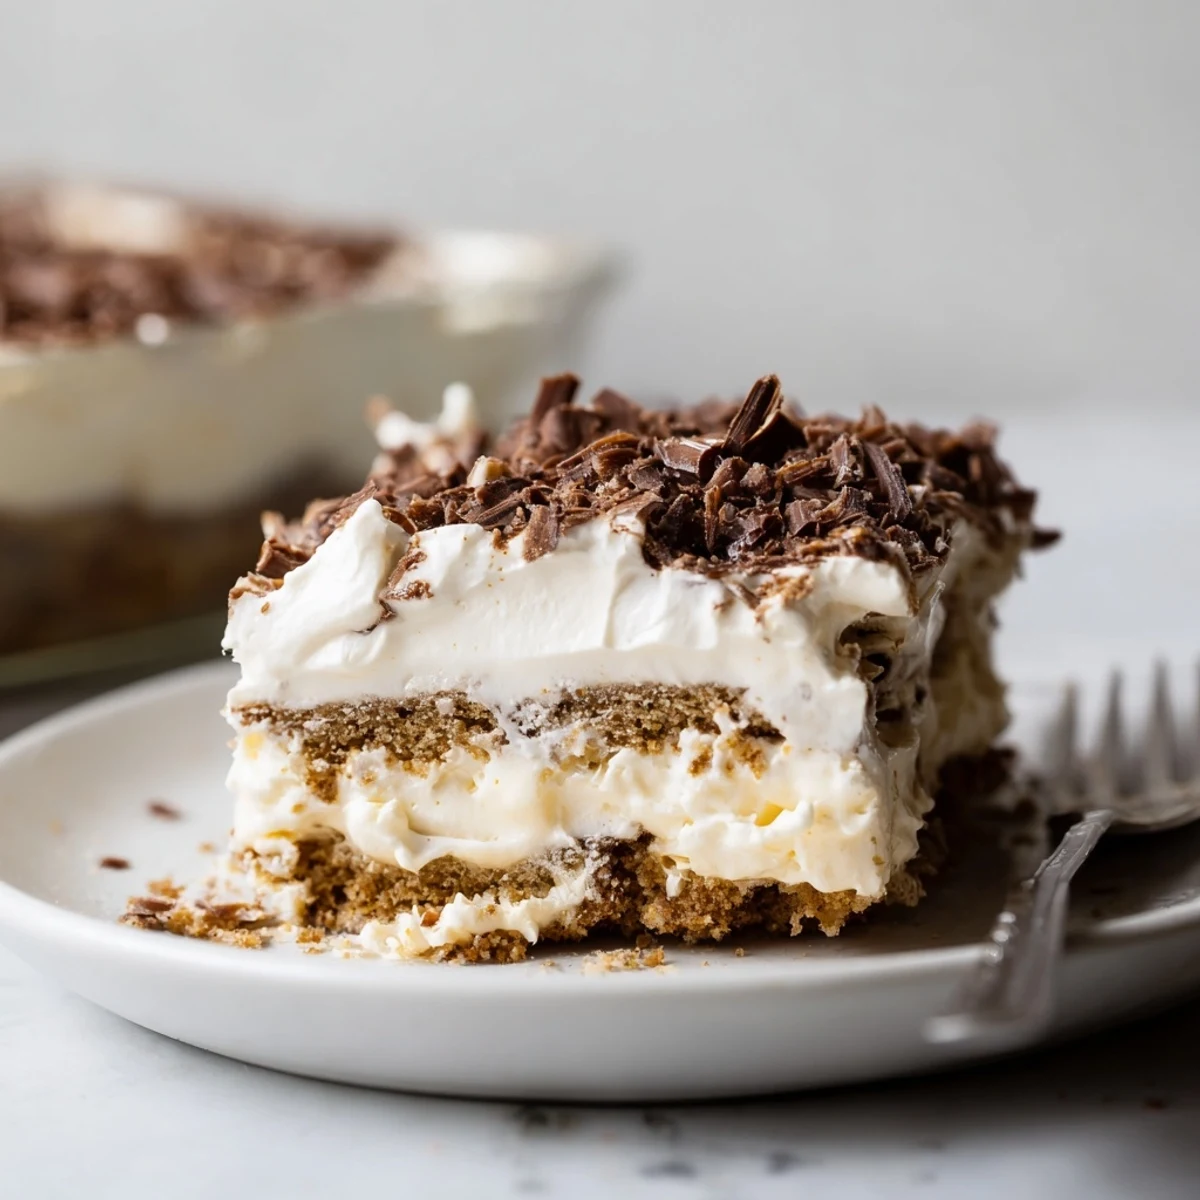
 Sharing a chilled square of this layered treat always lifts the mood, no matter the weather or season. Here’s hoping your kitchen is filled with the same laughter and sneaky second servings as mine.
Recipe FAQs
- → How long should it chill before serving?
-
Chill for a minimum of 2 hours to allow the pudding to set and the layers to firm up; overnight chilling yields cleaner slices and a more cohesive texture.
- → What can I use instead of graham crackers?
-
Digestive biscuits, chocolate cookies or crushed shortbread work well; choose a cookie with enough structure and mix with melted butter to form a stable base.
- → How do I prevent a soggy base?
-
Press the crumb mixture firmly into the pan and refrigerate to set the butter. Avoid adding wet fillings directly onto loose crumbs; a thin layer of cream before the pudding can help create a barrier.
- → Can this be made ahead and how long will it keep?
-
Yes — cover and refrigerate up to 2–3 days. For best texture, add delicate toppings like fresh berries just before serving to avoid sogginess.
- → Any tips for getting stable whipped cream?
-
Use very cold heavy cream and chilled bowls, whip to stiff peaks, and add powdered sugar for structure. For longer stability, fold in a small amount of mascarpone or use a stabilizer like gelatin if desired.
- → Can I make flavor variations?
-
Yes — swap vanilla pudding for chocolate, layer in fruit slices like bananas or berries, or use chocolate cookies for the base to create different flavor profiles.
