 Pin This
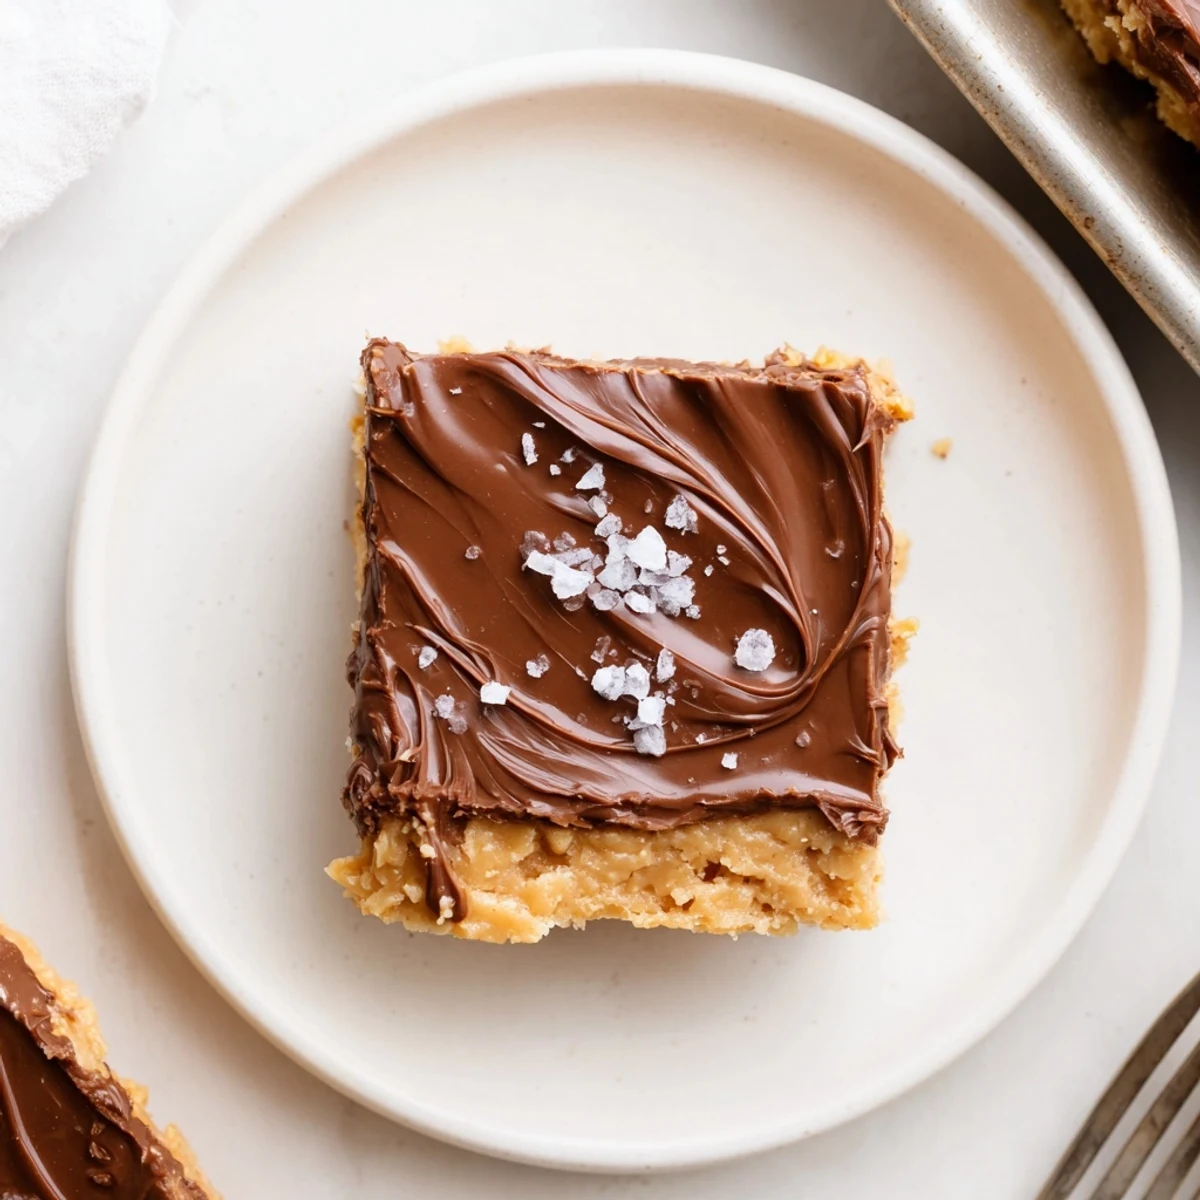
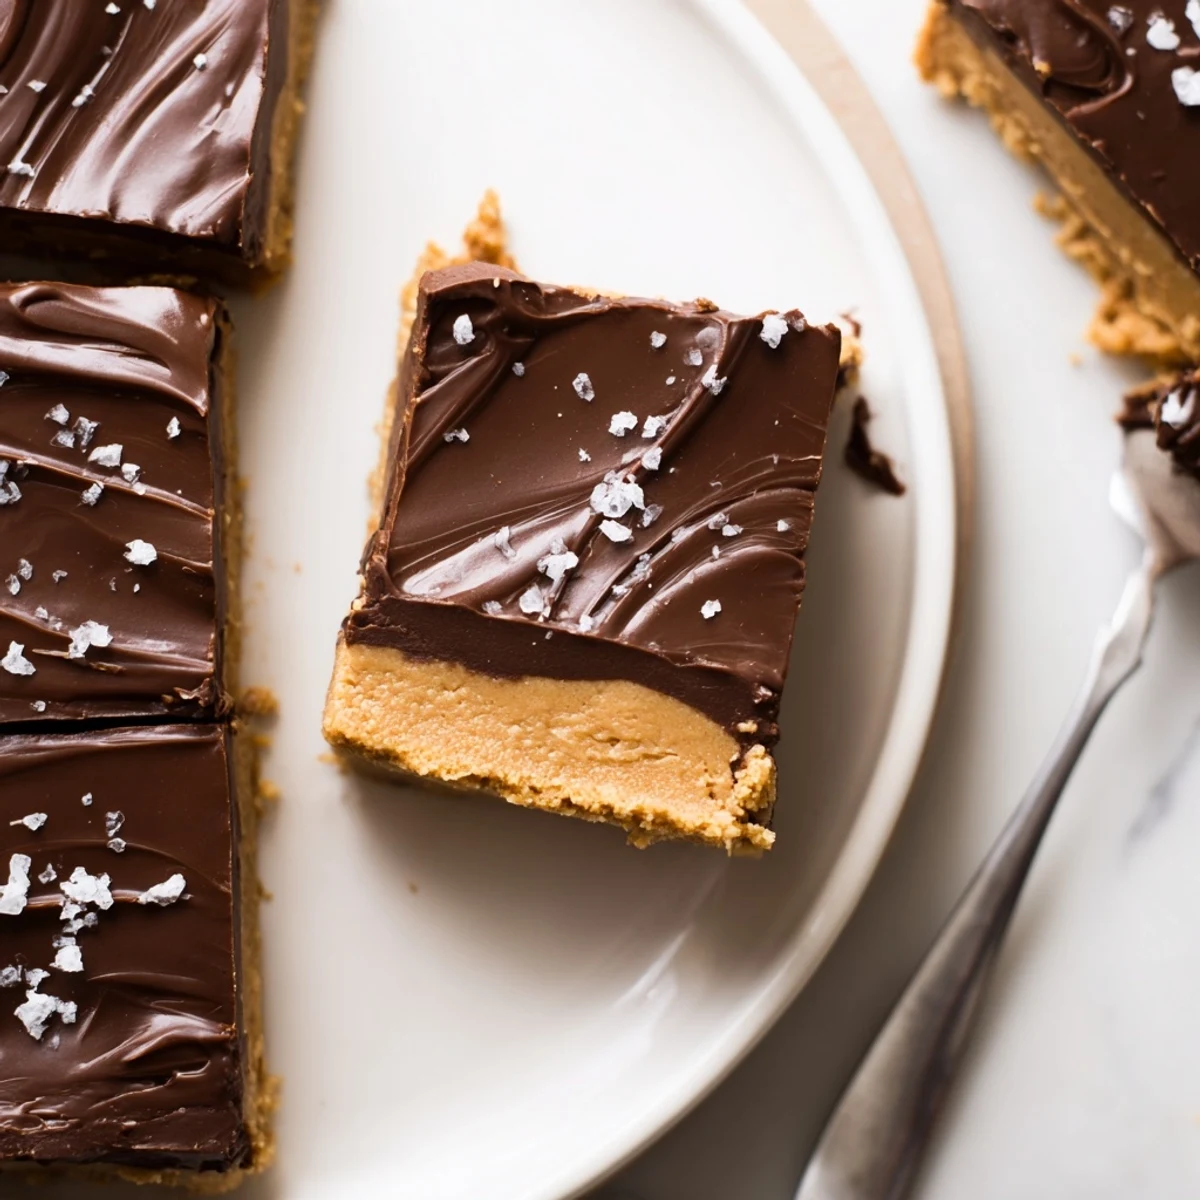
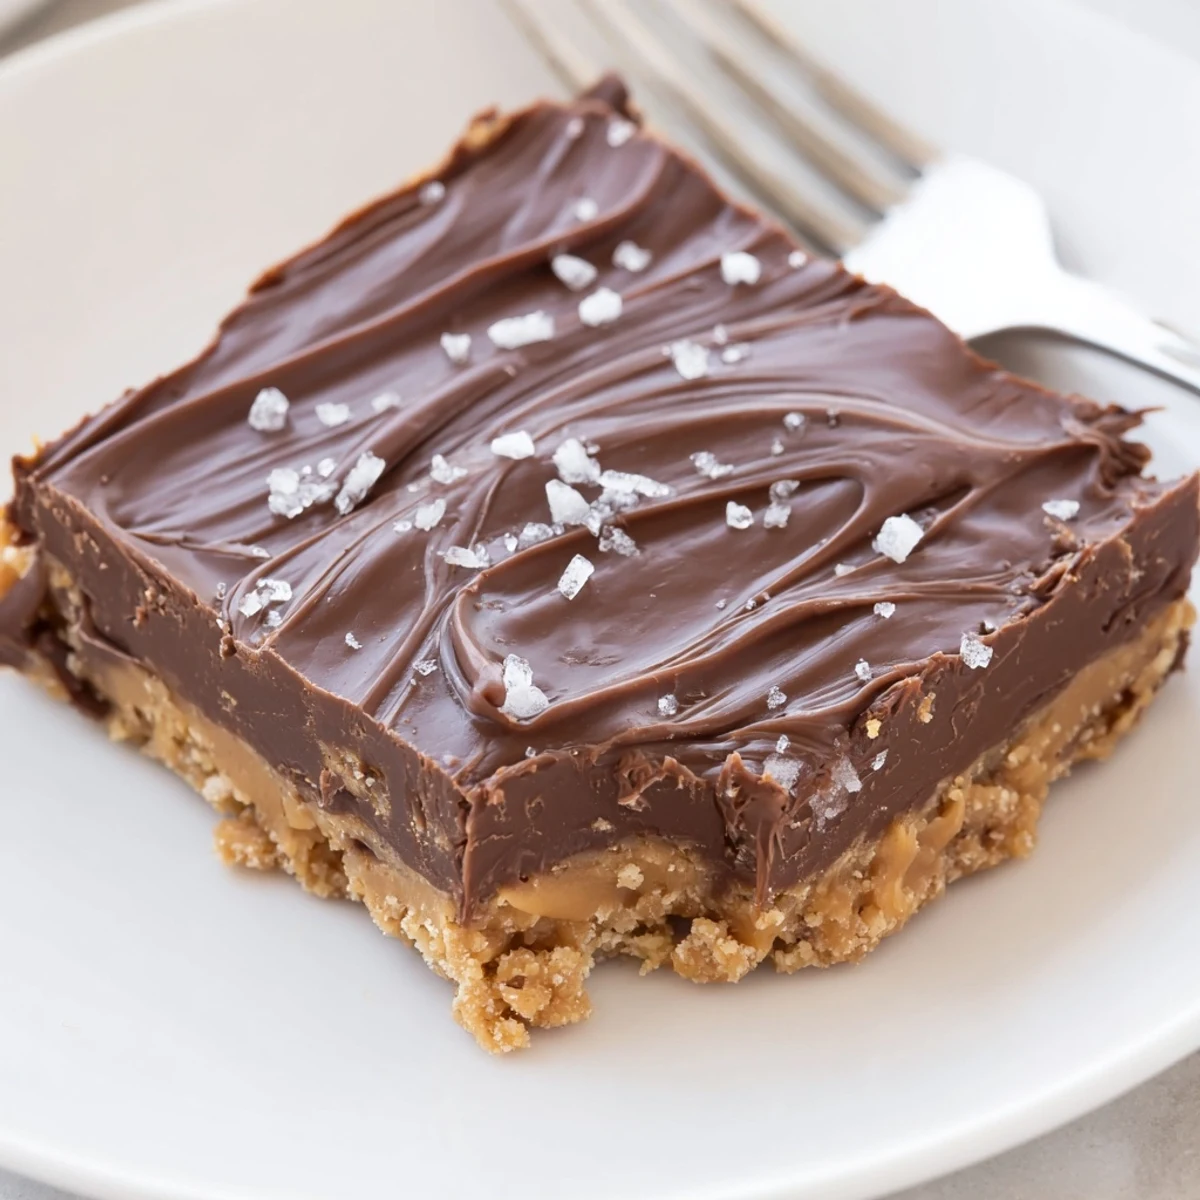
 These no-bake peanut butter bars begin with a smooth blend of creamy peanut butter, melted butter, powdered sugar and graham cracker crumbs pressed into an 8x8 pan. A melted semi-sweet chocolate and peanut butter topping is poured over, then chilled for at least 2 hours until firm. Slice into 16 bars. Try chunky peanut butter, chopped nuts or a sprinkle of sea salt to finish.
The aroma of peanut butter mingling with melting chocolate always brings a buzz of excitement to my kitchen& especially when I know there will be no oven heating up the house. One rainy afternoon after a failed attempt at baking cookies that refused to rise& I scoured my pantry in search of something speedy but decadent. That was the day these No Bake Peanut Butter Bars were born& crafted from a need to fix my sweet tooth with minimal fuss. Now they're my go-to for lazy weekends or those spontaneous dessert cravings.
One time I made these on a whim for my friends during a movie night& and they disappeared before the opening credits finished. Apparently& the sound of forks scraping the pan was louder than the dialogue& and everyone insisted on taking extras home. Moments like that turned this dessert from a personal treat into a party staple& always accompanied by laughter and requests for the recipe.
Ingredients
- Creamy peanut butter: The base's star ingredient brings smoothness and rich nutty flavor—I've learned to use fresh jars for the silkiest bars.
- Unsalted butter (melted): Essential for binding everything together and making sure the base is luscious but not greasy—let it cool slightly before mixing.
- Powdered sugar: Blends seamlessly into the mixture for a melt-in-your-mouth texture—sift if you spot any stubborn lumps.
- Graham cracker crumbs (or digestive biscuit crumbs): These add a tender crunch and help hold the bars together—use a food processor for perfectly even crumbs.
- Vanilla extract: A splash brings gentle warmth and complexity—don't skip even if it seems minor.
- Semi-sweet chocolate chips: The topping’s glossy, bittersweet layer makes every bite feel complete—choose good-quality chips for decadence.
- Creamy peanut butter (for topping): Mixed into the chocolate, it ensures the topping stays smooth with just the right hint of peanut flavor.
Instructions
- Prep Your Pan:
- Line an 8x8 inch pan with parchment paper, leaving enough overhang on the sides to easily lift the bars out later.
- Make the Base:
- In a large bowl, stir together melted butter and peanut butter; the mixture should smell toasty and nutty right away.
- Add the Dry Ingredients:
- Mix in powdered sugar, graham cracker crumbs, and vanilla until you have a thick, fudgy dough—don't be afraid to use your hands for the last bit.
- Shape and Smooth:
- Press the peanut butter layer evenly into your lined pan, smoothing with a spatula or the back of a spoon for a neat finish.
- Prepare the Chocolate Topping:
- Microwave the chocolate chips and remaining peanut butter in 30-second bursts, stirring after each—it's ready when glossy and pourable.
- Spread and Chill:
- Pour melted chocolate mixture over the base and tilt to cover completely; the aroma is heavenly. Refrigerate for at least 2 hours, until fully set.
- Slice and Serve:
- Lift the whole block out using the parchment overhang, slice into bars with a sharp knife, and serve chilled for the best texture.
 Pin This
 Making these bars became more than just a sweet fix the first time my niece joined me in the kitchen& proud to press down the buttery peanut base with her tiny hands. Watching her sneak chocolate-coated fingers into the bowl made me realize these treats are about creating memories as much as sharing dessert.
Mix-Ins and Variations
Sometimes I toss in a handful of chopped roasted peanuts or mini pretzels for a playful crunch. If you adore salty-sweet combinations& try scattering a pinch of flaky sea salt before chilling—the little surprise of salt balances the richness perfectly. These bars are also easy to make gluten-free by swapping in your favorite GF cookies for the crumb layer.
How To Store Your Bars
After slicing& I stash the bars in an airtight container in the fridge—stacking with parchment between layers stops them from sticking. They stay fresh for up to a week, not that they've ever lasted that long in my house. Freezing works too if you want to hide some from yourself for a future treat emergency.
Troubleshooting and Quick Fixes
If the base cracks or feels dry, it might need more melted butter or peanut butter—don't be shy about adding an extra spoonful to bring it together. Accidentally overheat the chocolate? Add a touch more peanut butter and stir vigorously to restore shine.
- When in doubt, chill a bit longer for neater slices.
- If the topping is patchy, use an offset spatula for a glassy finish.
- Always let the bars return to fridge-cold before serving—they taste best this way.
 Pin This
 Whip these up once, and you'll see how delightfully simple and indulgent no-bake treats can be. Share generously—they have a tendency to disappear faster than you think.
Recipe FAQs
- → How long to chill for best texture?
-
Chill at least 2 hours or until the topping and base are fully firm. For cleaner slices, refrigerate 3 hours or briefly freeze for 20–30 minutes before cutting.
- → Can I use crunchy peanut butter?
-
Yes. Use chunky peanut butter in the base or stir chopped roasted peanuts into the mixture for added crunch and texture contrast.
- → How should I melt the chocolate topping?
-
Melt chocolate chips and the extra peanut butter in 20–30 second microwave bursts, stirring between intervals. Alternatively, use a double boiler over low heat to avoid scorching.
- → What gluten-free swap works for graham crumbs?
-
Substitute gluten-free cookies or gluten-free graham crackers crushed to fine crumbs. Press the mixture firmly so the base holds together when chilled.
- → How to store and how long do they keep?
-
Store in an airtight container in the refrigerator for up to one week. For longer storage, freeze layers separated by parchment for up to 2 months and thaw in the fridge before serving.
- → Any tips for even bars and presentation?
-
Line the pan with parchment overhang for easy removal. After chilling, warm a knife under hot water, dry it, then slice using gentle, decisive strokes for neat edges.
