 Pin This
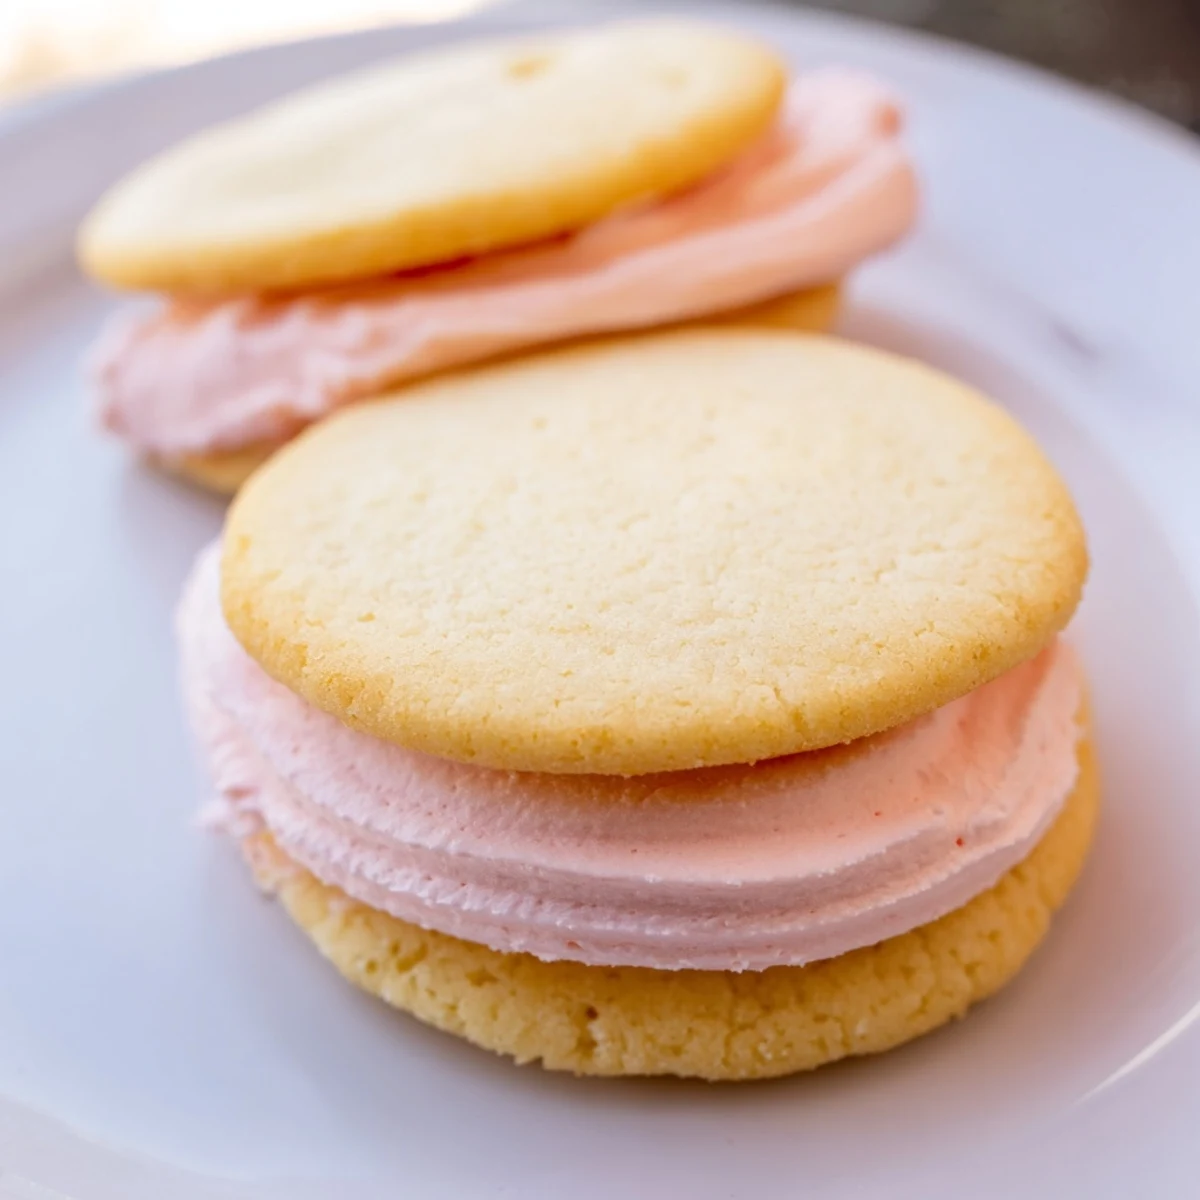
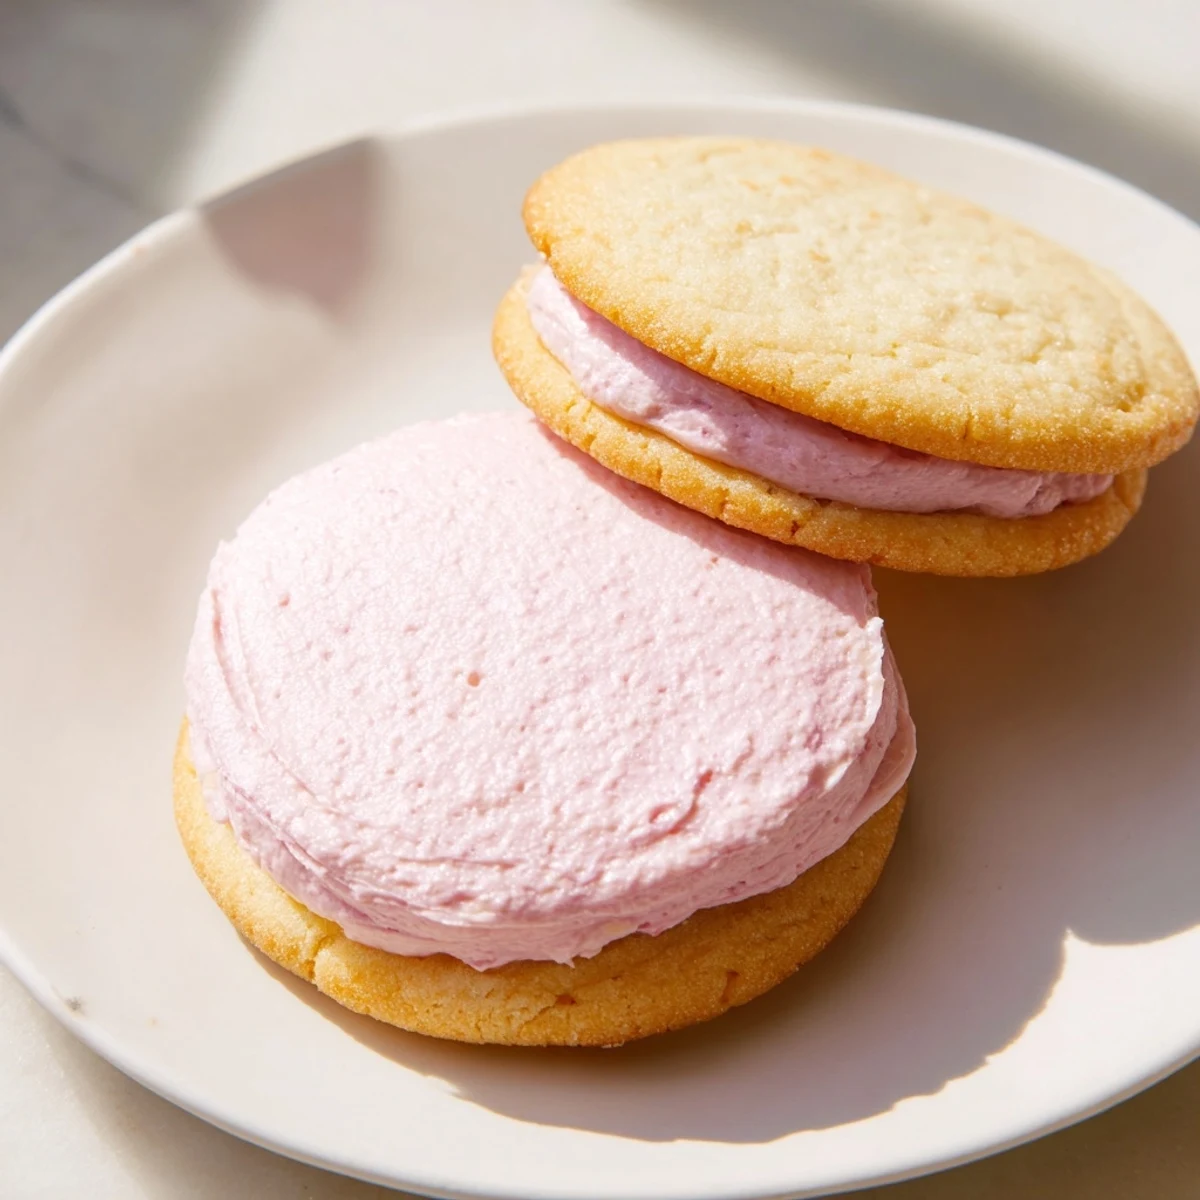
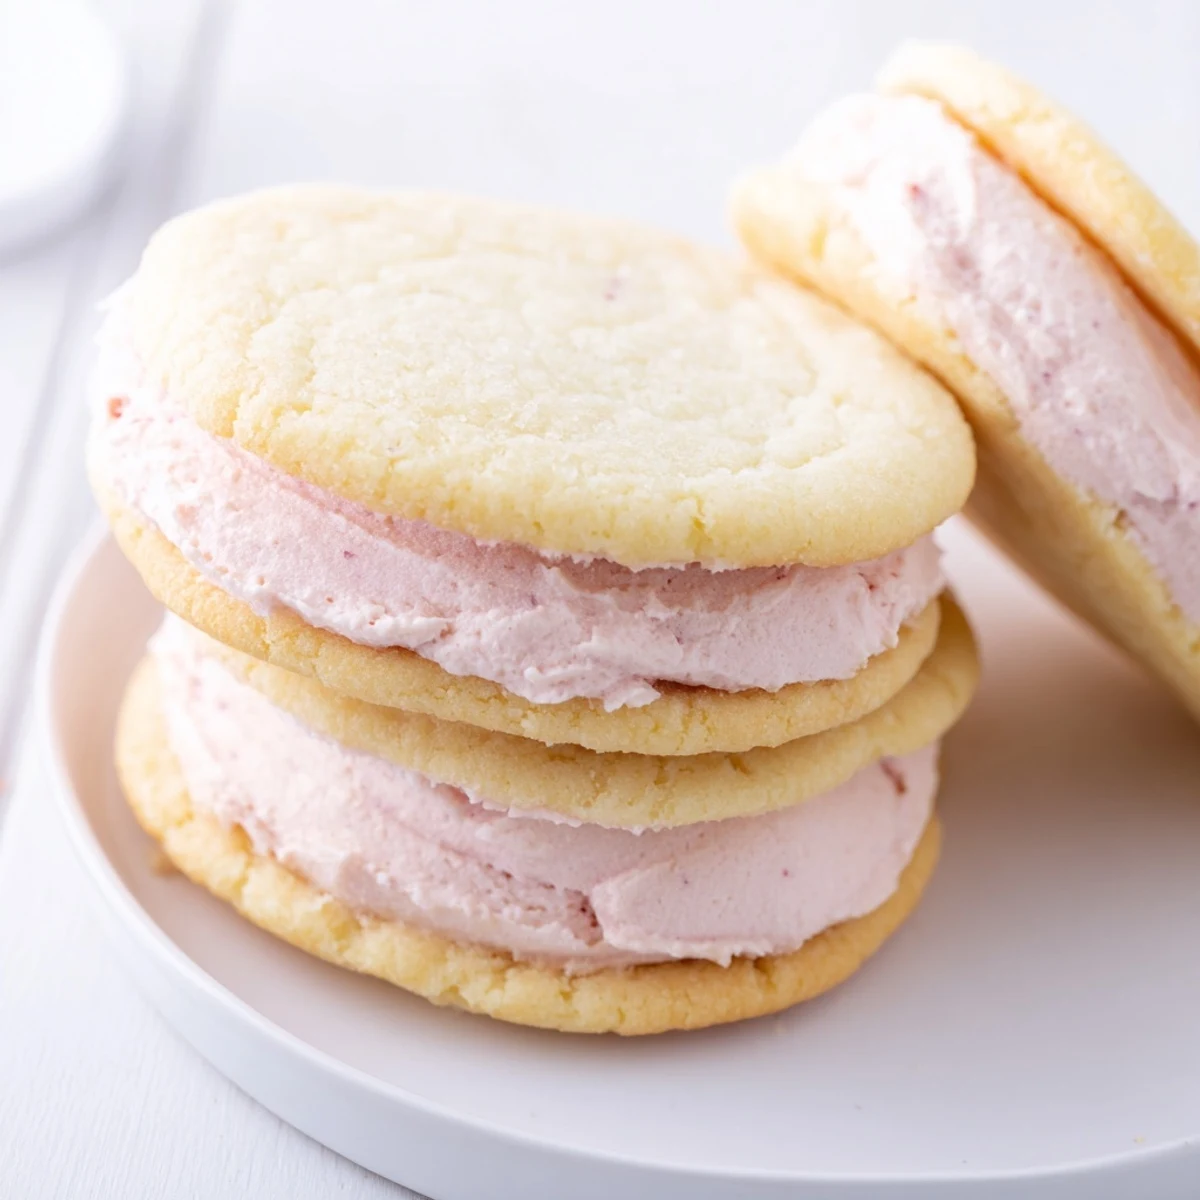
 These delicate sandwich cookies feature tender, buttery sugar cookies paired with smooth pastel buttercream in soft shades of pink, yellow, green, or blue. The dough comes together quickly and requires chilling for easy rolling. After baking until just golden, the cookies are filled with homemade buttercream that can be tinted to any pastel shade you desire. These handheld treats are perfect for spring celebrations, baby showers, birthday parties, or anytime you want something sweet and cheerful. The recipe yields 18 sandwich cookies that stay fresh for up to three days when stored properly.
The pastel buttercream was my daughters idea. She wanted something that looked like a garden party in cookie form. We made them for her birthday that first year, and somehow theyve become the official harbinger of spring in our kitchen ever since.
I learned the hard way that gel food coloring is non-negotiable here. The first batch I made with liquid coloring turned the buttercream into a sad, droopy mess that wouldnt hold its shape. Now I keep those tiny little gel pots in my pantry like theyre gold.
Ingredients
- All-purpose flour: Sifting it first makes such a difference in the texture, especially since were not overworking the dough
- Unsalted butter: Use it slightly softened but still cool to the touch, about 65°F, for the best structure
- Granulated sugar: Cream this thoroughly with the butter, those tiny air pockets are what give the cookies their delicate crumb
- Powdered sugar: Sifting this prevents any lumpy surprises in your buttercream
- Gel food coloring: Start with a toothpick amount and add more gradually, the colors concentrate quickly
Instructions
- Whisk the dry ingredients:
- In a medium bowl, combine the flour, baking powder, and salt until everything is evenly distributed
- Cream the butter and sugar:
- Beat the butter and granulated sugar on medium speed for 2 to 3 minutes until the mixture looks pale and fluffy
- Add the wet ingredients:
- Mix in the egg and vanilla extract until just combined, scrape down the bowl to catch any flour pockets
- Combine everything:
- Gradually add the flour mixture, mixing only until you no longer see dry streaks
- Chill the dough:
- Divide the dough in half, form into discs, wrap tightly, and refrigerate for at least 1 hour
- Prep for baking:
- Heat your oven to 350°F and line baking sheets with parchment paper
- Roll and cut:
- On a floured surface, roll dough to 1/4 inch thickness and cut with a 2-inch round cutter
- Bake until just golden:
- Bake for 8 to 10 minutes until the edges barely start turning golden, they should still look slightly underdone
- Make the buttercream:
- Beat the butter until creamy, gradually add powdered sugar, then milk and vanilla until fluffy
- Color and fill:
- Divide buttercream into bowls, tint each with pastel gel coloring, then sandwich between cooled cookies
 Pin This
 My neighbor asked for the recipe after seeing them on my Instagram, and when she made them she called me in a panic because the buttercream looked too pale. We had a good laugh about how pastel colors look almost white until you see them against the pure white cookie.
Getting the Perfect Pastel Shades
Ive found that pink, mint green, lemon yellow, and lavender work best as a quartet. The trick is adding gel color with a clean toothpick, literally one dot at a time, then mixing thoroughly before adding more. It always looks darker in the bowl than it does on the cookie.
Making Ahead for Gatherings
You can bake the cookies up to three days in advance and store them in an airtight container. The buttercream also keeps beautifully in the refrigerator for a week, just bring it to room temperature and give it a quick whip before using. I actually think they taste better assembled the day before serving.
Rolling the Cookie Dough Without Stickiness
After years of fighting with dough that sticks to everything, I finally discovered the secret. Roll between two sheets of parchment paper, occasionally flipping the whole packet over and peeling off the top sheet to check the thickness. No extra flour needed, which keeps the cookies tender.
- If the dough becomes too soft while rolling, pop it in the freezer for 10 minutes
- Dip your cookie cutter in flour between cuts to get clean edges
- Rotate your rolling pin as you work to ensure even thickness across all cookies
 Pin This
 Theres something so satisfying about a platter of these, like edible confetti. They make people smile before they even take a bite.
Recipe FAQs
- → How long should I chill the cookie dough?
-
Chill the dough for at least 1 hour before rolling. This step prevents the cookies from spreading too much while baking and makes the dough easier to work with when rolling and cutting shapes.
- → Can I make these cookies ahead of time?
-
Yes, you can prepare the dough up to 2 days in advance and store it wrapped in the refrigerator. You can also freeze the dough discs for up to 3 months. Thaw overnight in the refrigerator before rolling and baking.
- → What's the best way to achieve pastel colors?
-
Use gel food coloring instead of liquid for more vibrant yet controllable colors. Start with a tiny amount on a toothpick and add gradually until you reach the desired pastel shade. Gel coloring won't thin out the buttercream like liquid food coloring can.
- → How do I prevent my cookies from spreading too much?
-
Properly chilled dough is essential. Also, avoid over-creaming the butter and sugar mixture, and don't place cookies on warm baking sheets. Using parchment paper helps maintain consistent baking results.
- → Can I use different shapes besides circles?
-
Absolutely! These work beautifully with any cookie cutter shape—flowers, hearts, stars, or seasonal shapes. Just ensure the shapes are roughly the same size so they pair together evenly as sandwiches.
- → How should I store the finished sandwiches?
-
Store in an airtight container at room temperature for up to 3 days. Place parchment paper between layers to prevent sticking. Avoid refrigerating as this can make the cookies stale and the buttercream firm.
