 Pin This
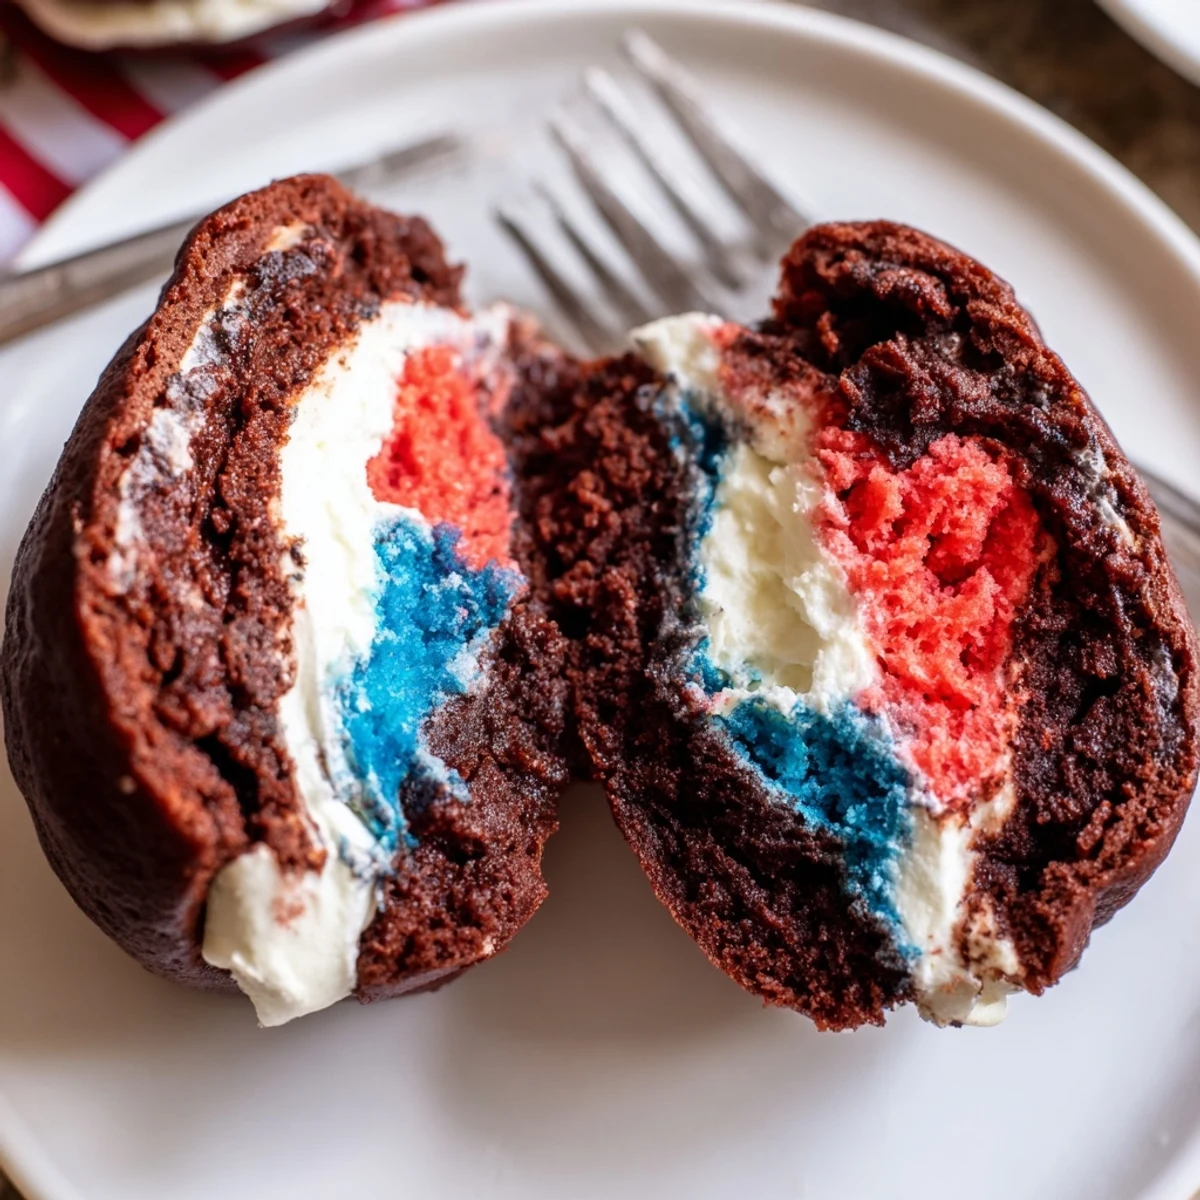
 These soft cocoa whoopie cakes bake until just springy, then are paired with a fluffy marshmallow-buttercream filling split into white, red and blue portions for vibrant assembly. Drop rounds, bake 10–12 minutes, cool completely, pipe or spoon filling onto flat sides, press to sandwich, roll edges in sprinkles and chill briefly for easier handling and cleaner presentation.
If you’ve ever caught the scent of a freshly baked treat swirling through the kitchen on a hot July afternoon, you know summer deserves something special. One year, the combination of laughter, sunburned noses, and an oversupply of patriotic sprinkles led me to these colorful whoopie pies, a dessert practically destined for summer gatherings. There’s something quietly thrilling about sandwiching cloud-like filling between two soft cakes, especially as food coloring swirls into the bowl. My kitchen counter became a sea of red, white, and blue smudges—and I wouldn’t change a thing.
The first time I made these, my cousin declared it a “festival on a plate” while sneaking handfuls of sprinkles from the bowl as I whipped the filling. In between dodging sticky fingers and giggles, I realized half the fun is watching everyone gather around as you assemble layer after squishy layer. It became an unspoken rule: whoever helps frost gets to sneak an extra whoopie pie.
Ingredients
- All-purpose flour: Gives the cakes their structure and keeps them pillowy soft—don’t overmix or they’ll toughen up.
- Unsweetened cocoa powder: Just enough for subtle chocolate flavor; sift for lump-free batter.
- Baking soda: Brings a gentle lift for that cake-like texture.
- Salt: Just a pinch sharpens every bite.
- Granulated sugar: Provides sweetness and that coveted hint of crackly top.
- Unsalted butter: Keeps the cakes rich, while a good softening gives an airy crumb.
- Egg: Binds everything; room-temperature eggs blend best here.
- Buttermilk: Adds tang and tenderness—don’t be tempted to swap for milk unless you’re in a pinch!
- Vanilla extract: Rounds out both the cake and the filling flavors.
- Powdered sugar: For the filling’s silkiness—sift if yours seems clumpy.
- Marshmallow creme: The secret weapon for ultra fluffy, sticky-sweet filling.
- Red and blue food coloring: Gel coloring delivers bold, festive hues that won’t water down your frosting.
- Patriotic sprinkles: No celebration is complete without their cheerful crunch.
Instructions
- Prep the kitchen:
- Start by lining your baking sheets with parchment and setting your oven to 350°F—the sizzle as you scoop batter will be music soon enough.
- Mix dry ingredients:
- Whisk your flour, cocoa, baking soda, and salt so the base is even and the cocoa scent drifts up.
- Cream butter & sugar:
- Beat butter and sugar together until pale and fluffy; it should look almost like frosting.
- Combine wet and dry:
- Add egg, then slowly blend buttermilk and vanilla, followed by your dry mix; stop as soon as the batter is smooth and chocolatey.
- Scoop & bake:
- Drop neat rounds of batter (about 24) onto sheets, spacing out for spreading, then bake 10–12 minutes until set with a gentle spring.
- Cool completely:
- Slide cakes onto a rack—just a few minutes on the trays, then let cool fully so they don’t melt the filling.
- Make the filling:
- Cream butter until smooth, beat in powdered sugar, then marshmallow creme, vanilla, and salt for a fluffy, cloudlike texture.
- Dye and divide:
- Scoop the filling into three bowls: one uncolored, one red, one blue, swirling dye gently for swaths of color.
- Assemble sandwiches:
- Pipe or spoon filling onto half the cakes, cap with the rest—squishing slightly for that classic whoopie crowning effect.
- Decorate wildly:
- Roll edges in sprinkles and, if you’re feeling extra, pipe red, white, and blue bursts over top for fireworks on a plate.
 Pin This
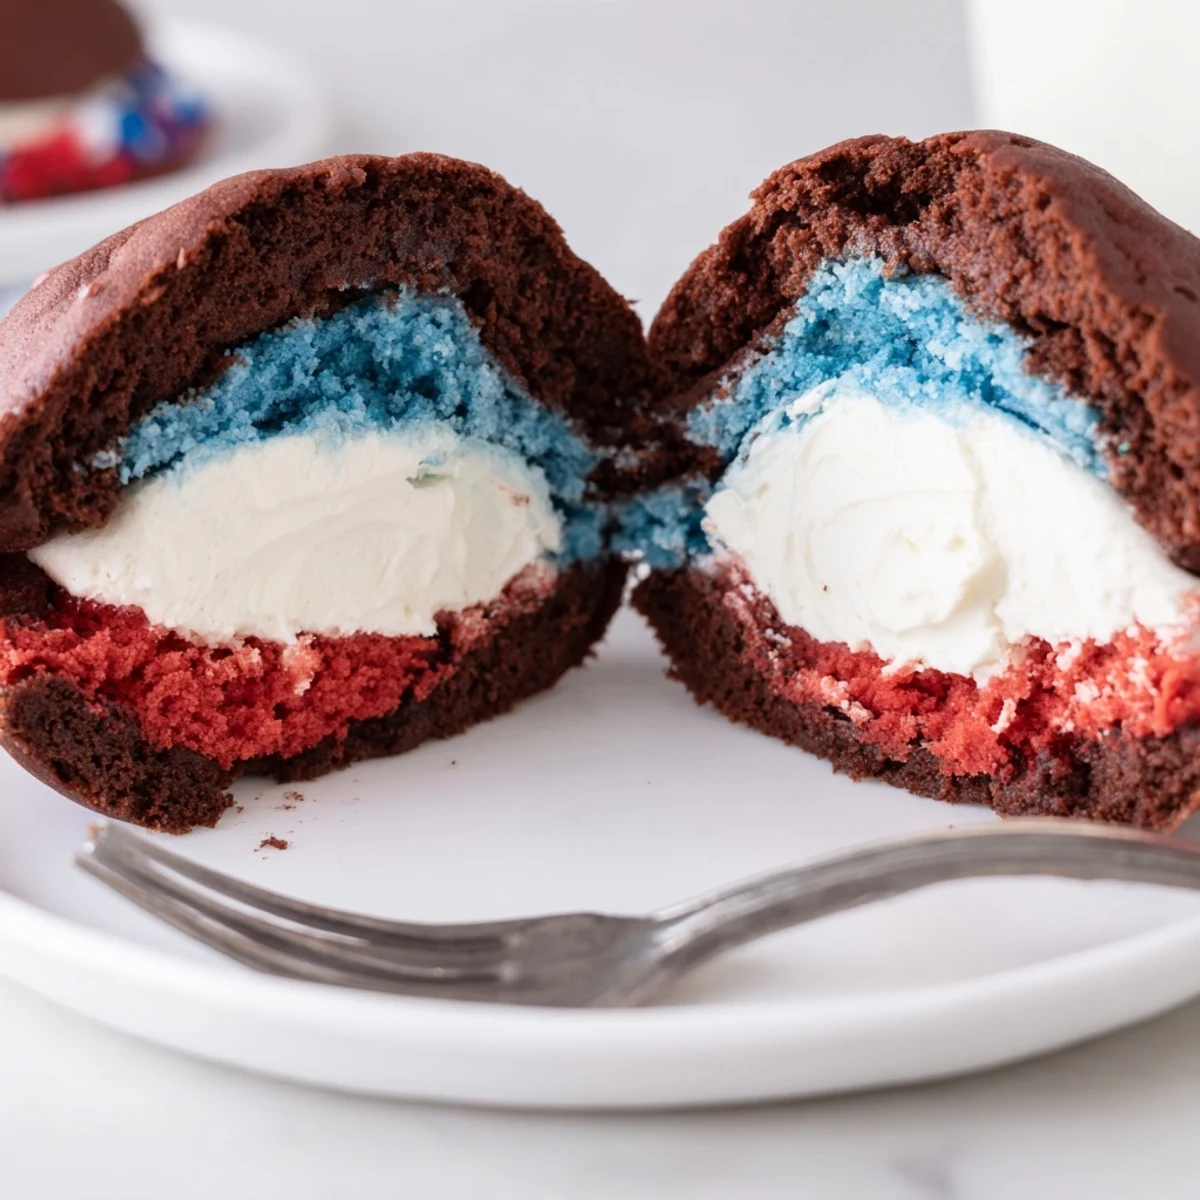
 One Fourth of July, as fireworks burst and neighborhood cheers echoed, I saw friends and family ditching utensils altogether just to grab these treats from the chilled tray. In the glow of sparklers, the whoopie pies looked like edible confetti. They’ve turned into my ultimate potluck bribe—always gone before the grill even cools.
Making It a Family Project
Kneading dye into the filling turned into a mini art session with the kids, who quickly found swirling colors together just as fun as actually eating the pies. Sprinkles end up everywhere, so don’t wear your best apron, but hearing all the giggles is worth every stray crumb. The key is giving everyone a piping bag or spoon so no one fights for their turn, which I learned the messy way.
Shortcuts and Fixes
If you’re running low on time, shop-bought marshmallow fluff and pre-colored frosting work in a pinch. Once, when a batch spread too much and came out odd-shaped, I just trimmed the edges (and snacked on the cuttings). No one noticed—they disappeared just as fast.
Troubleshooting and Last Hurrahs
Humidity can soften the cakes if you leave them sitting out, so tuck leftovers into an airtight container. If your filling gets too runny, just add an extra scoop of powdered sugar or chill it briefly before assembling—patience is your wingman. The final assembled whoopie pies look irresistible, so keeping a secret stash is fair game.
- If you’re short on sprinkles, colored sanding sugar shines beautifully too.
- Don’t worry about perfect uniformity—the wonky ones are always the tastiest.
- Letting the whoopies rest a bit before serving melds all the flavors together.
 Pin This
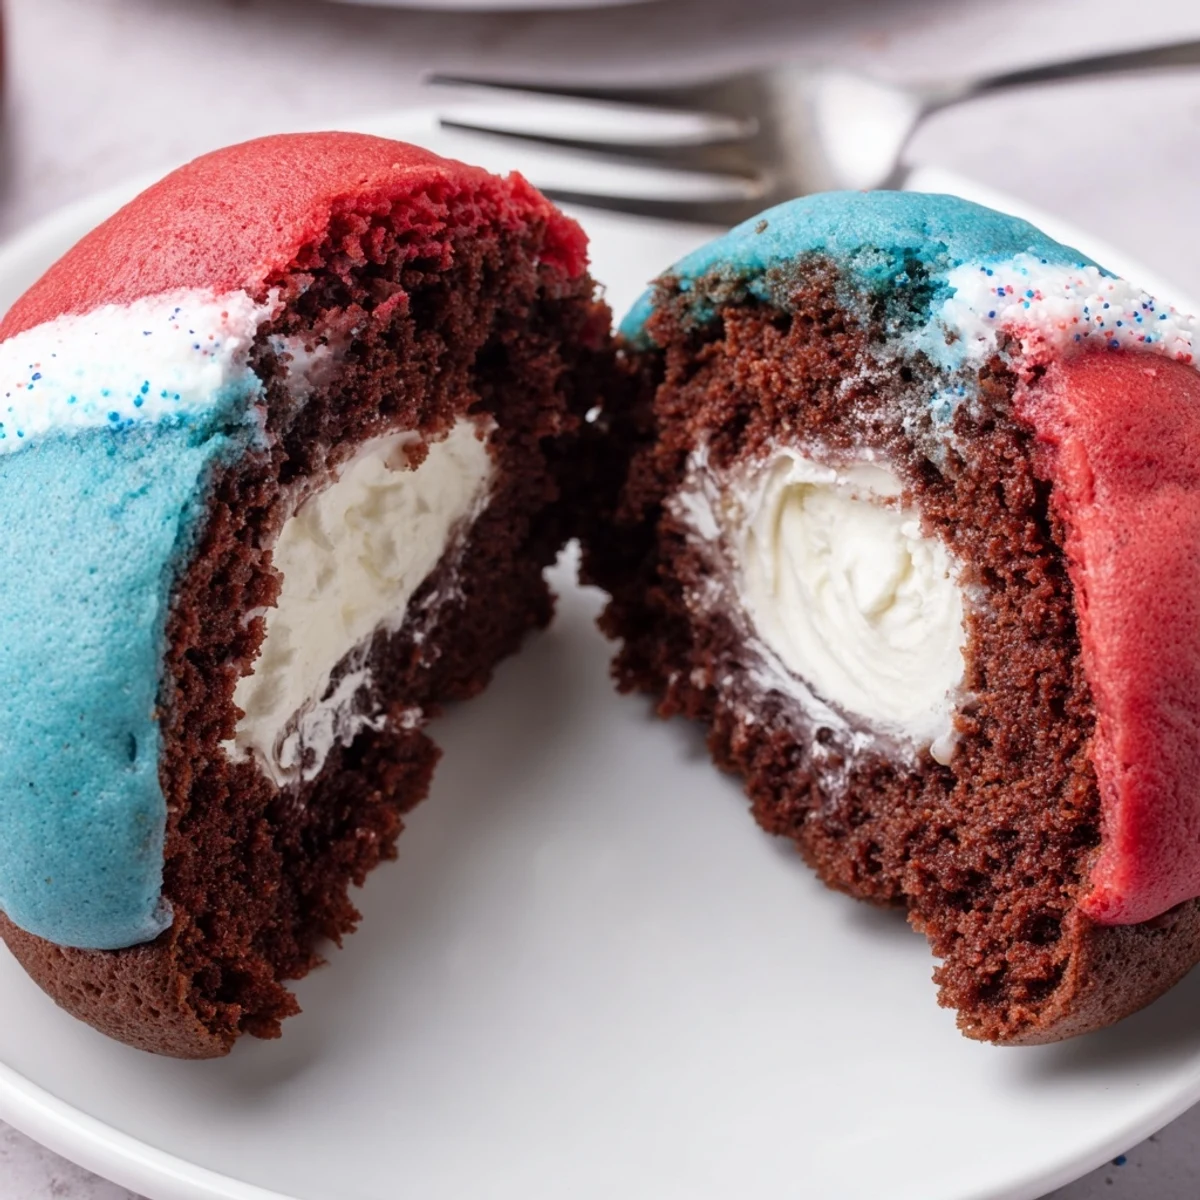
 Bring out these whoopie pies for any flag-waving occasion and savor how quickly they disappear. Make a double batch—you’ll be glad you did!
Recipe FAQs
- → How do I achieve a soft, cake-like texture?
-
Use buttermilk and cream the butter and sugar until light to incorporate air. Mix until just combined to avoid gluten development, and bake only until the cakes are set and spring back when touched.
- → Can these be prepared ahead of time?
-
Yes. Assemble and chill for up to 24 hours for convenience. For best texture, bring to room temperature 20–30 minutes before serving.
- → How do I color the filling without thinning it?
-
Use gel food coloring a small amount at a time; gels provide vivid color with minimal moisture. Fold in gently until evenly tinted to preserve the fluffy consistency.
- → What is the best gluten-free swap?
-
Replace all-purpose flour with a 1:1 gluten-free flour blend that contains xanthan gum. Check the blend's absorption and adjust the buttermilk slightly if the batter seems too thick or thin.
- → Any tips for cooling and assembling?
-
Cool cakes completely on a rack to prevent melting the filling. Pipe onto the flat side of half the cakes, top with the others, and chill assembled sandwiches for about 30 minutes for neater edges.
- → How should I store or freeze them?
-
Store in an airtight container in the refrigerator for up to three days. Freeze unfilled cakes or assembled whoopies layered with parchment for up to one month; thaw in the fridge before serving.
