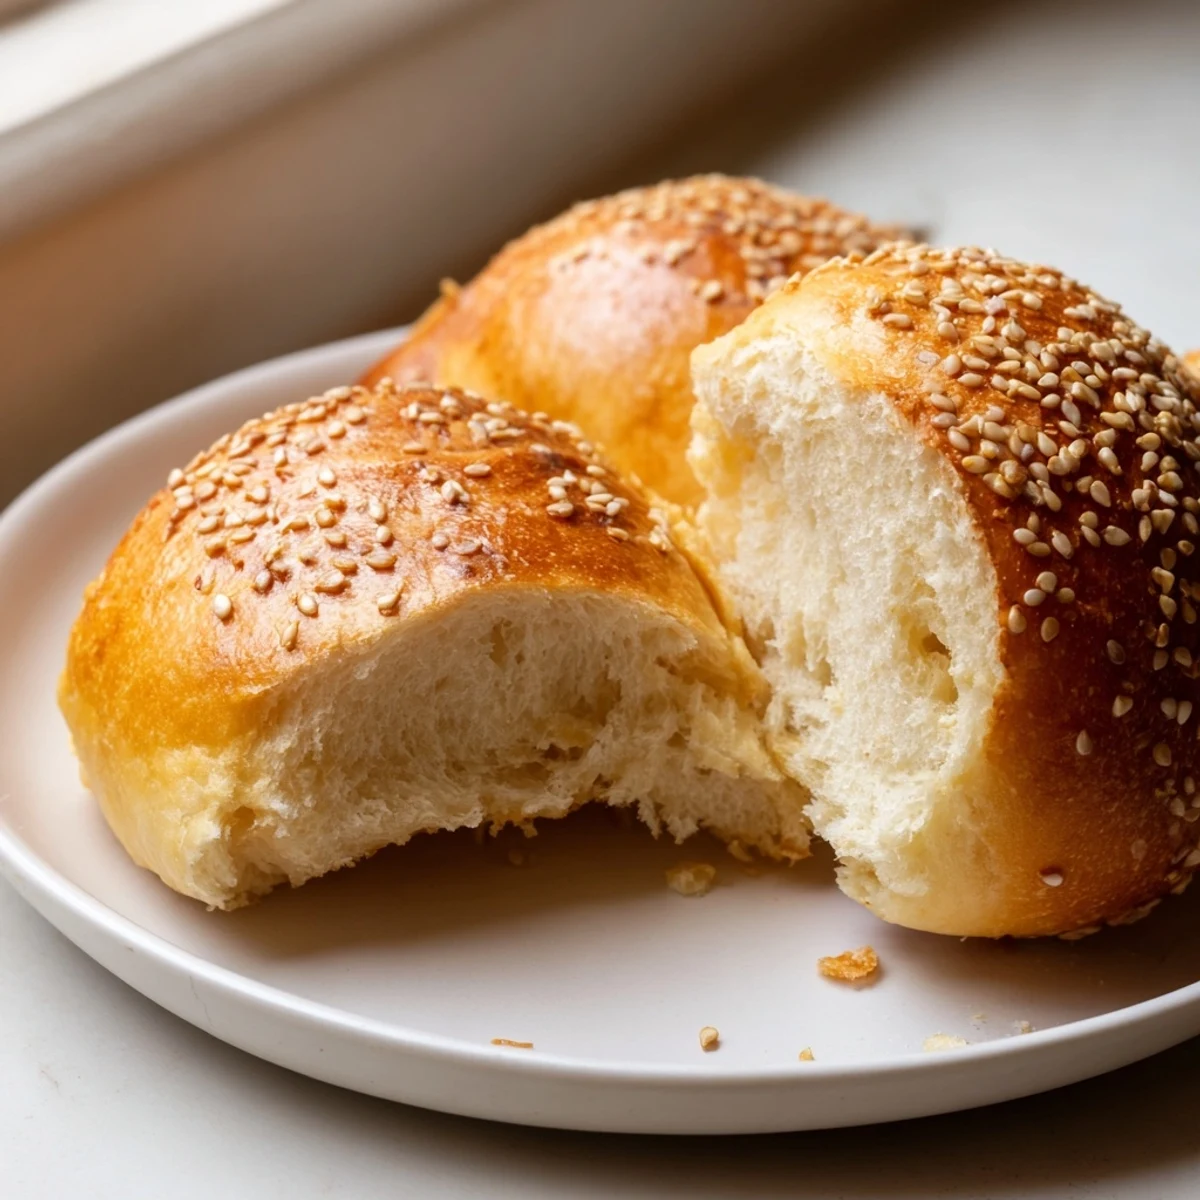
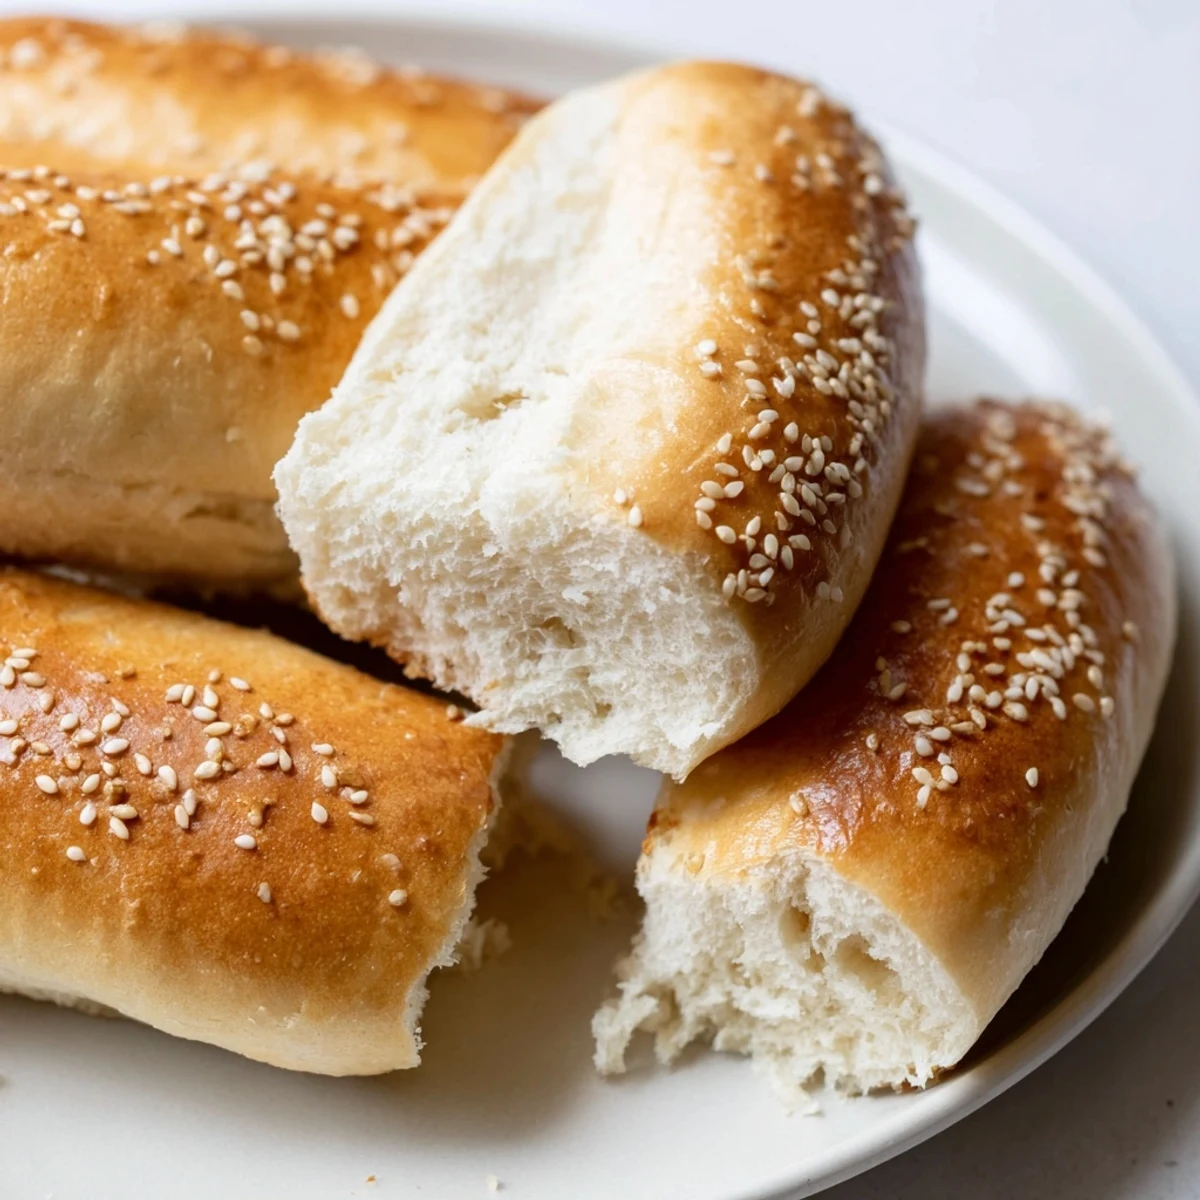
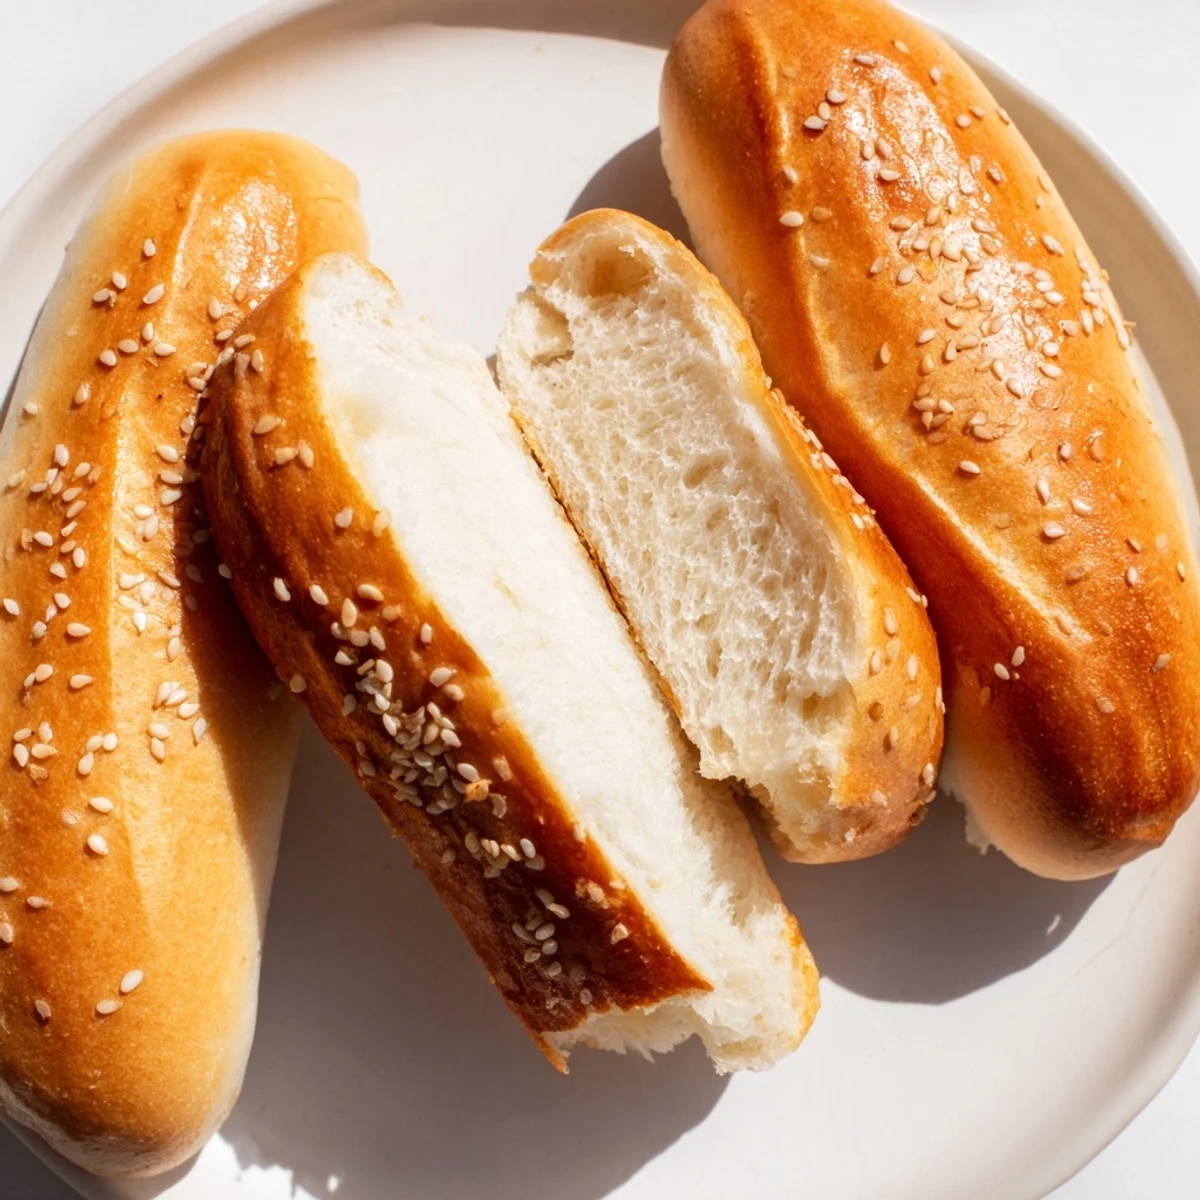
 Pin This
 These soft, pillowy hot dog buns incorporate sourdough discard for a gentle tang and incredible texture. The dough comes together quickly with warm milk, butter, and yeast, then rises until doubled before being shaped into eight classic bun forms. After a second rise, they bake until golden brown, emerging with a tender crumb and slightly chewy crust that holds up beautifully to your favorite toppings and condiments.
The smell of yeast blooming in warm milk takes me back to my grandmother's kitchen, where I'd watch flour dust dance in sunlight through the window. She swore by the finger test for water temperature, and now I find myself doing the same thing without thinking. These buns came together on a rainy Sunday when I couldn't bear to toss another jar of perfectly good sourdough discard. Something magical happens when that fermented tang meets a soft, enriched dough.
Last July I made three dozen of these for my brother's birthday barbecue, watching skeptics turn into believers after their first bite. My niece demanded I teach her how to shape the logs, and now she asks to help every time. There's something deeply satisfying about pulling a tray of golden buns from the oven, knowing you made something most people only buy in plastic bags.
Ingredients
- Sourdough discard: Use unfed starter from your fridge at 100 percent hydration for that characteristic tang
- Warm milk: Heat to about 110 degrees Fahrenheit, like bathwater temperature, to activate yeast without killing it
- Unsalted butter: Melted and slightly cooled, this adds richness and creates a tender crumb
- Sugar: Feeds the yeast and helps the buns develop that beautiful golden brown crust in the oven
- Large egg: Provides structure and contributes to the soft, pillowy texture
- Salt: Essential for flavor and helps control yeast activity
- All purpose flour: Start with less and add more until the dough feels right, humidity affects absorption
- Instant yeast: No need to proof separately, it activates beautifully in the warm milk mixture
- Milk for brushing: Creates the perfect surface for seeds to adhere
- Melted butter for finishing: This step makes all the difference for a soft, bakery style crust
Instructions
- Wake up the yeast:
- Combine warm milk and sugar in your largest bowl, sprinkle yeast on top, and watch it bloom into a fragrant foam
- Build the base:
- Stir in your sourdough discard, melted butter, egg, and salt until everything looks like a speckled tan mixture
- Bring it together:
- Add flour gradually, letting each cup incorporate fully before adding more, until the dough pulls away from the sides
- Knead with intention:
- Turn onto a floured surface and work the dough for about eight minutes until it feels smooth and bounces back when poked
- Let it rise:
- Place in a greased bowl, cover with a warm towel, and find something else to do for an hour or two
- Shape the buns:
- Divide dough into eight pieces, roll each into a six inch log, and place on parchment paper with room to grow
- Second rise:
- Cover and let the shaped buns puff up until they look pillowy and yield to gentle touch
- Bake to golden:
- Brush with milk, add seeds if you like, and bake at 375 degrees until they sound hollow when tapped
- The finishing touch:
- Brush immediately with melted butter and let them cool completely before slicing
 Pin This
 These became our go-to for Friday night dinners when everyone's too tired to cook anything elaborate. Something about homemade bread turns a simple meal into an occasion worth gathering around.
Shaping Secrets
Roll each piece under your palms with light, even pressure, letting your hands glide from center to edges. Tuck the ends under slightly for that classic bakery look. If the dough keeps springing back, let it rest for five minutes and try again.
Make It Your Own
Sprinkle everything seasoning or coarse sea salt before baking for something savory. Brush with honey butter instead of plain butter for a hint of sweetness. These adapt beautifully to whatever flavors you're craving.
Storage Solutions
Fresh buns keep at room temperature for two days in a sealed container, though they're best eaten the first day. Freeze cooled buns individually wrapped in plastic, then thaw and refresh in a 350 degree oven for five minutes.
- Slice before freezing for easy toast straight from the freezer
- Revive day old buns by sprinkling with water and warming briefly
- Never store warm buns or they'll develop a soggy bottom from trapped steam
 Pin This
 There's nothing quite like the pride of serving burgers or hot dogs on buns you made yourself. Your family might never want store bought again.
Recipe FAQs
- → Can I make these buns ahead of time?
-
Yes, you can prepare the dough the night before and let it rise slowly in the refrigerator overnight. Shape and bake the next day for fresh buns whenever you need them.
- → What if I don't have sourdough discard?
-
You can substitute with an equal amount of active sourdough starter or increase the flour by ½ cup and add an extra tablespoon of milk to maintain proper dough consistency.
- → How should I store these buns?
-
Store cooled buns in an airtight bag at room temperature for up to 3 days, or freeze for up to 3 months. Thaw frozen buns on the counter or warm them in the oven before serving.
- → Can I shape these as hamburger buns instead?
-
Absolutely! Divide the dough into 6-8 pieces and flatten into rounds instead of logs. Adjust baking time to 15-18 minutes for hamburger patties.
- → Why use bread flour instead of all-purpose?
-
Bread flour has higher protein content, creating more gluten for a chewier texture and better structure. All-purpose works well too, but bread flour gives that classic bakery-style bounce.
- → Can I make these dairy-free?
-
Yes! Use your favorite plant-based milk and vegan butter. The texture remains just as soft and delicious without any dairy ingredients.
