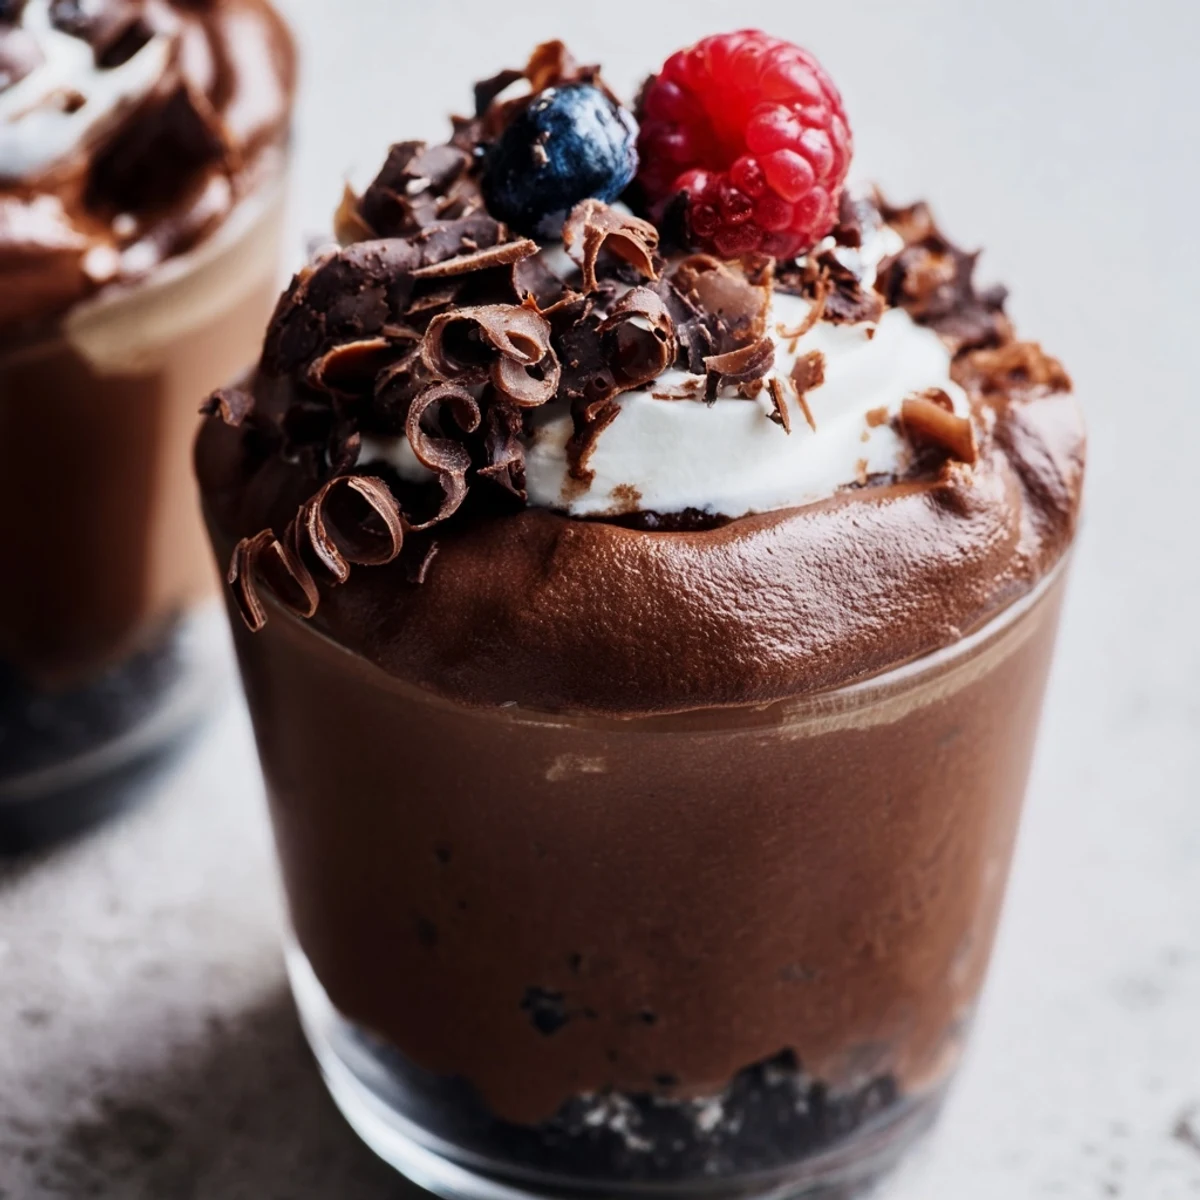
 Pin This
 This luscious chocolate cup features a rich mousse made from dark chocolate, whipped cream, and gently folded egg whites, resting on a crunchy cookie base. The dessert is chilled to set, creating a smooth, airy treat that's perfect for celebrations or a special indulgence. Garnishes like whipped cream, shavings, or fresh berries add a fresh touch and elegant finish to each serving.
There's something about chocolate mousse that transforms an ordinary evening into something worth remembering. I discovered these cups during a particularly stressful week when a friend brought one over, and I was struck by how something so elegant could be made in less than thirty minutes of actual work. The first spoonful—that moment when the crunchy cookie base gives way to silky chocolate—felt like a small rebellion against the day I'd been having. Now they're my go-to when I want to impress without spending hours in the kitchen.
I made these for my sister's book club last spring, and I watched them disappear while people were still in the middle of discussing the novel. One woman came back into the kitchen asking if I'd made them from scratch, genuinely surprised when I said yes. That moment—when someone realizes homemade doesn't have to mean complicated—is why I keep coming back to this recipe.
Ingredients
- Chocolate cookies (80 g, crushed): Any crispy variety works, though I've learned that slightly stale cookies actually pack more flavor when crushed and bind better with butter.
- Unsalted butter (40 g, melted): The butter is what transforms dry crumbs into something that holds together beautifully and tastes intentional.
- Dark chocolate (150 g, at least 60% cocoa, chopped): This is where quality matters—grab chocolate that you'd actually eat on its own, because it's the star here.
- Large eggs, separated (2): Room temperature eggs whip up faster and create more volume in both yolks and whites.
- Granulated sugar (30 g): Just enough to sweeten without weighing down the airy mousse.
- Heavy cream (200 ml, cold): Cold cream is crucial—it whips to proper peaks much faster than room temperature cream.
- Vanilla extract (1 tsp): A small amount that adds depth without announcing itself.
- Salt (pinch): This tiny amount sharpens the chocolate flavor in a way people won't be able to name.
Instructions
- Build your base:
- Crush the cookies until they're mostly fine crumbs with a few small pieces still visible—this gives you better texture than powdering them completely. Stir in the melted butter until everything looks evenly moistened, then press it firmly into the bottom of four serving glasses or cups, using the bottom of a spoon to create an even layer.
- Melt the chocolate gently:
- Whether you use a double boiler or microwave in ten-second bursts, go slowly—chocolate can seize or burn if you rush it. Once it's smooth and glossy, set it aside to cool for just a few minutes so it won't scramble the eggs.
- Whip the yolks:
- Beat the egg yolks with sugar and vanilla until the mixture is noticeably thicker and pale yellow, which takes about two minutes with an electric mixer. This creates air that lightens the entire mousse.
- Whip the cream:
- In a clean bowl (any leftover fat stops whipping), beat the cold cream until it holds soft peaks—it should look like clouds but still flow slightly when you tilt the bowl.
- Beat the whites:
- With a clean whisk attachment, beat the egg whites with salt until stiff peaks form, which means they should stand straight up when you lift the whisk. This is your secret weapon for creating that impossibly light texture.
- Combine the chocolate and yolks:
- Fold the cooled chocolate into the yolk mixture using a spatula with broad strokes, making sure there are no streaks of unmixed chocolate remaining.
- Layer in the cream and whites:
- Gently fold the whipped cream in first, being careful not to overmix, then fold in the beaten egg whites with the same gentle hand. The mousse should be smooth and billowy, not deflated.
- Fill and chill:
- Spoon the mousse over each cookie base and smooth the tops with the back of a spoon. Refrigerate for at least two hours until the mousse is completely set and the flavors have settled together.
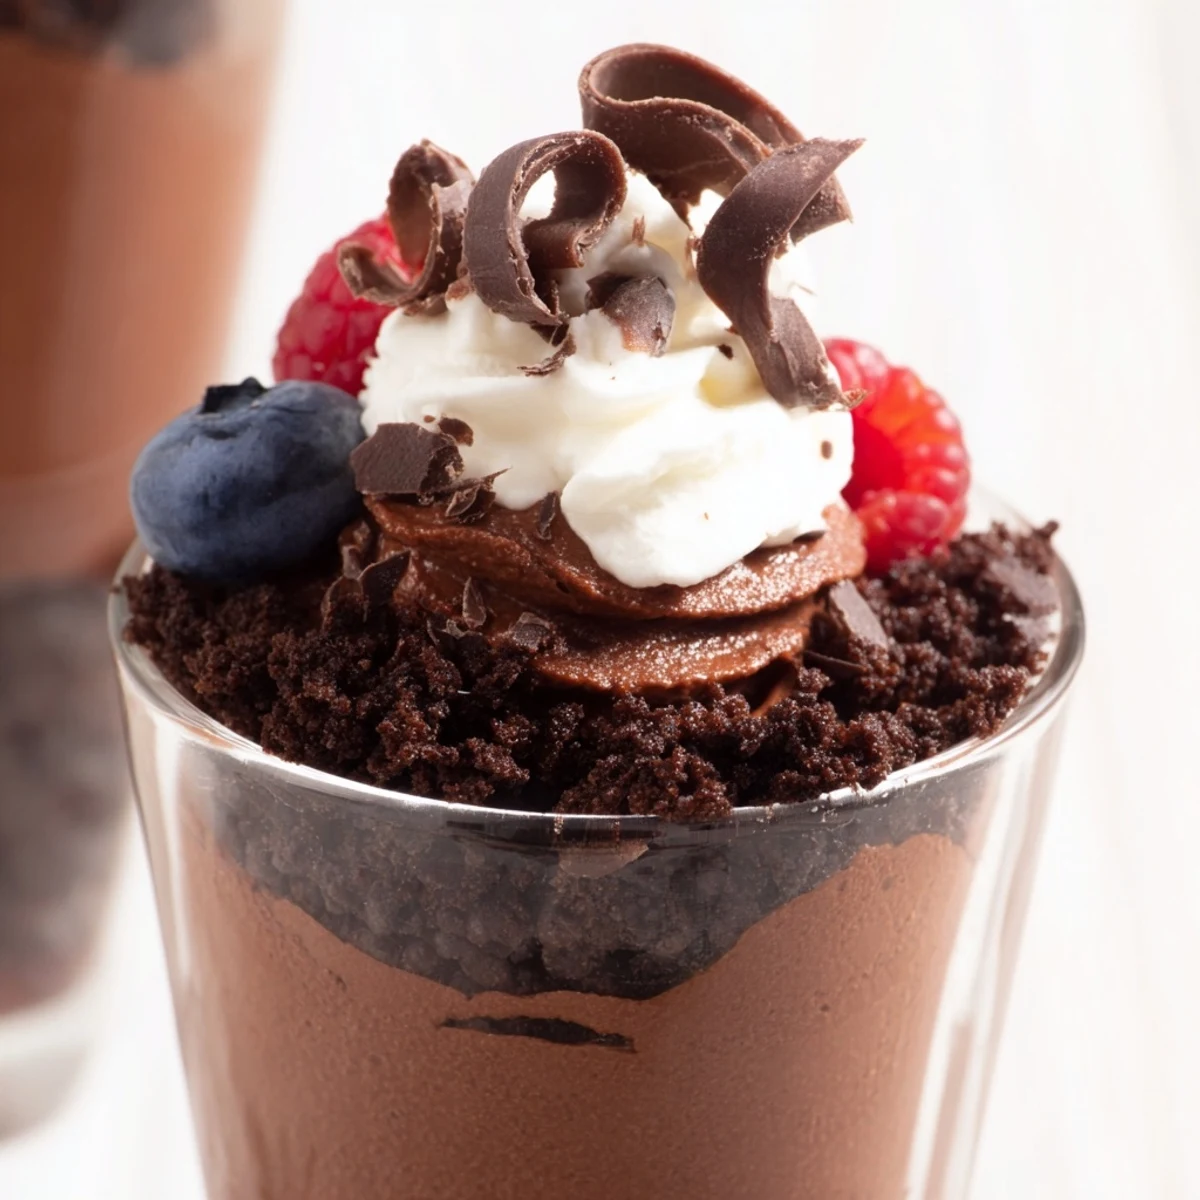 Pin This
 The real magic happens around two hours in when someone takes their first bite and their eyes go wide. There's something about eating a dessert that required just the right timing and technique that makes it taste like more than just chocolate and eggs—it tastes like care.
Making This Your Own
The basic structure is forgiving enough that you can play with it. I've made versions with milk chocolate for someone who finds dark chocolate too intense, and versions where I've switched the cookie base to crushed digestive biscuits or even honeycomb candy for crunch. The mousse itself is a canvas—you could infuse it with coffee, add a hint of orange, or swirl in salted caramel. What matters is keeping the ratio of chocolate to eggs to cream relatively constant so the texture stays light and holds up.
Serving and Timing
These are best served when they're thoroughly chilled but not frozen solid, so if you've made them the day before, pull them out of the refrigerator about ten minutes before you want to serve. The garnish—whipped cream, chocolate shavings, fresh berries—is optional but transforms them from a simple dessert into something that looks like you spent all day on it. I like topping them with raspberries and a dusting of cocoa powder because it adds color and slight tartness that cuts through the richness beautifully.
Storage and Make-Ahead Tips
These desserts actually improve after a few hours as the flavors blend together, and they keep perfectly for up to 24 hours covered in the refrigerator. They don't freeze well because the mousse texture breaks down, but the unassembled components will hold for a few days—just assemble them a few hours before serving for the best results.
- Make the cookie bases in the morning and refrigerate them until you're ready to top with mousse.
- Prepare the mousse just before serving or no more than a few hours ahead for the lightest texture.
- Keep garnishes separate until the moment you serve so everything stays crisp and fresh.
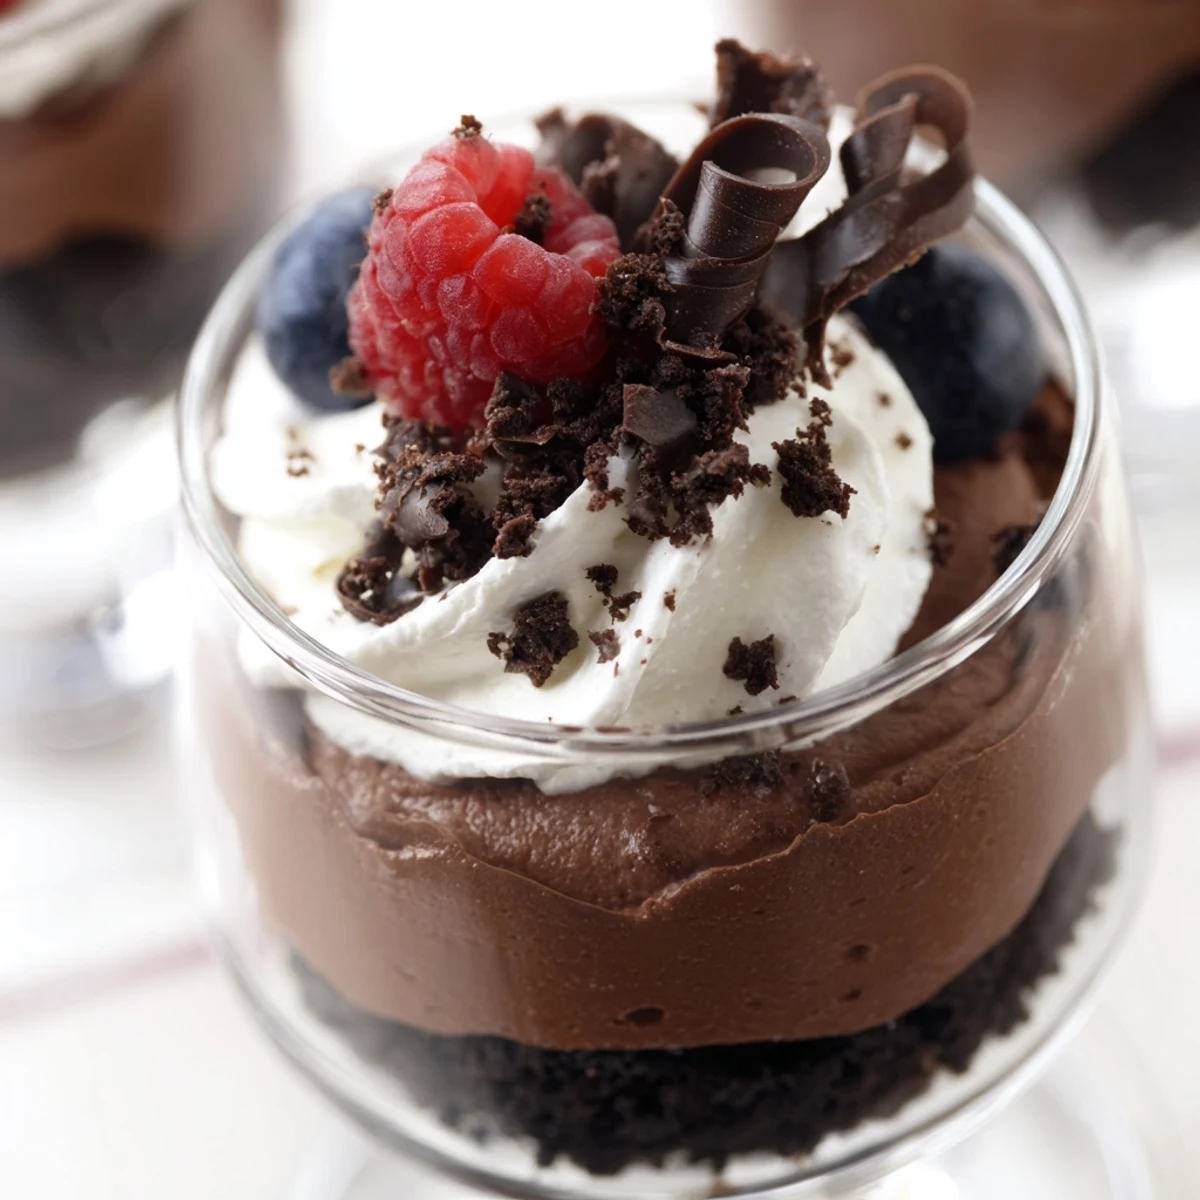 Pin This
 These chocolate cups have become the dessert I make when I want to feel capable and confident in the kitchen, and somehow that confidence is the ingredient that makes them taste even better. They're proof that something genuinely special doesn't need to be complicated.
