 Pin This
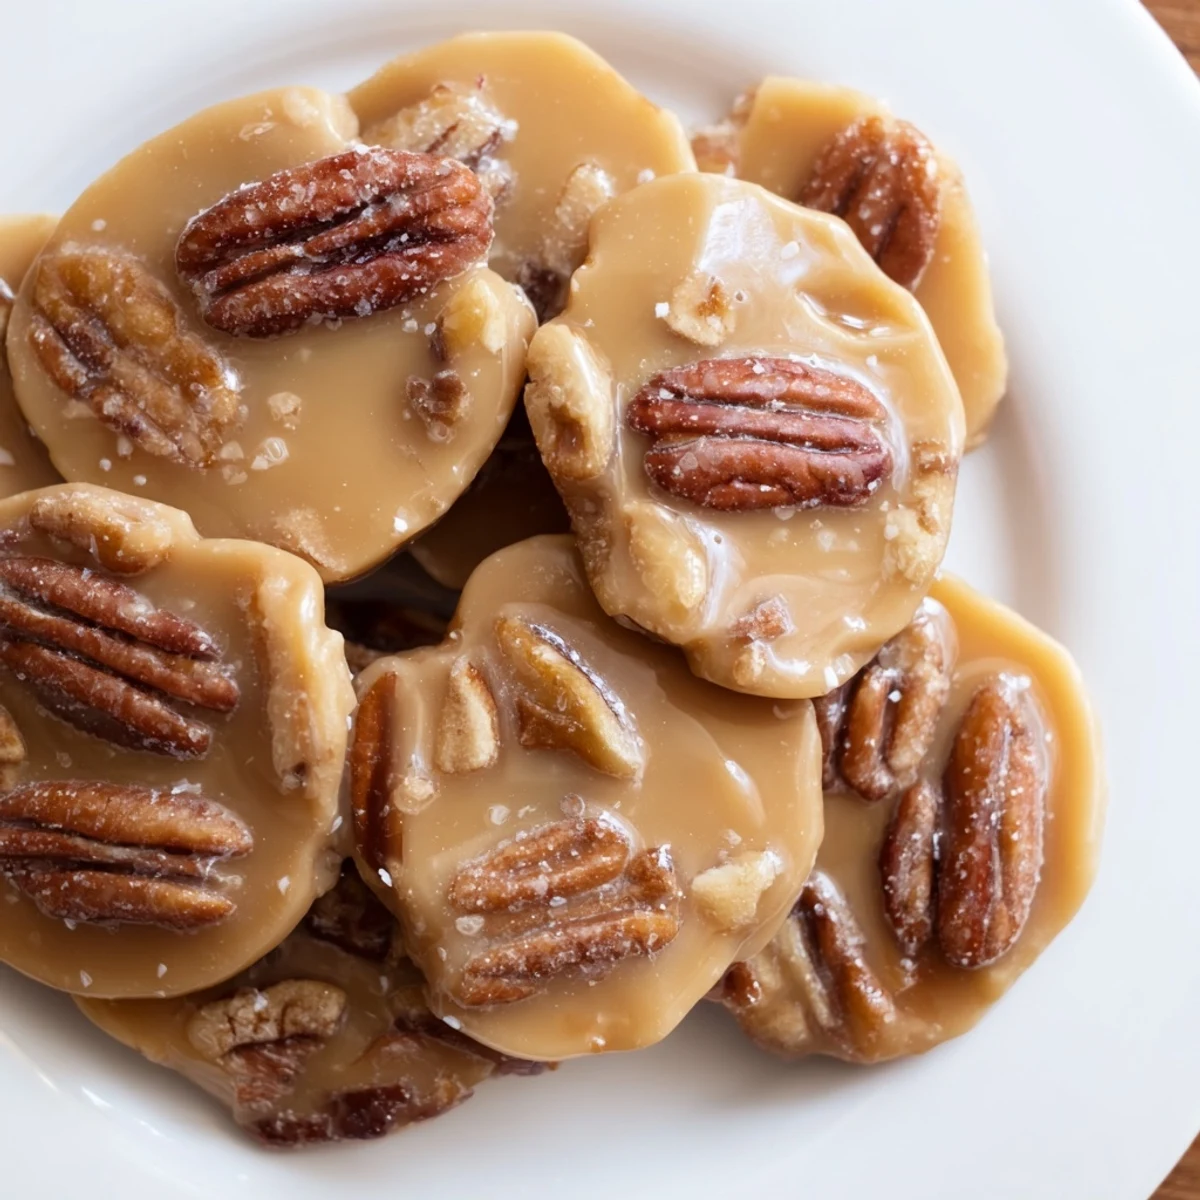
 This treat highlights the rich and creamy texture of pralines crafted from caramelized sugars, butter, and cream. Roasted pecans add a toasted crunch that balances the sweetness, creating a melt-in-your-mouth candy perfect for celebrations or everyday enjoyment. The process involves precise cooking to the soft ball stage, followed by quick stirring and cooling to achieve a creamy consistency. Variations can include different nuts or spices to enhance depth of flavor. Ideal for sharing or gifting during festive occasions.
The first time I attempted pralines, I ended up with a crystallized mess stuck to my favorite wooden spoon. My grandmother later explained that the secret lies in patience and watching that thermometer like a hawk. Now, after dozens of batches, I understand why these sugary pecan studded candies are synonymous with New Orleans celebrations.
Last Fat Tuesday, I made three batches back to back because friends kept dropping by unexpectedly. My kitchen smelled like buttered sugar and toasted nuts for days. Something about stirring that bubbling mixture feels almost meditative, even when youre racing against the clock.
Ingredients
- 1½ cups granulated sugar: White sugar provides the crystal structure that gives pralines their signature grainy texture
- 1½ cups light brown sugar, packed: The molasses in brown sugar adds depth and prevents the candies from becoming too sweet
- ¼ cup unsalted butter: Butter enriches the mixture and helps create that luxurious mouthfeel
- ½ cup heavy cream: The fat content in heavy cream ensures smooth, creamy pralines rather than grainy ones
- ¼ cup whole milk: Milk helps dissolve the sugars and contributes to the final glossy appearance
- 1 teaspoon vanilla extract: Vanilla rounds out the sweetness and adds that classic baked goods flavor
- 2 cups pecan halves: Toasting the pecans first intensifies their nutty flavor and adds satisfying crunch
- ¼ teaspoon salt: Just enough salt balances all that sugar and makes the other flavors pop
Instructions
- Prepare your workspace:
- Line two baking sheets with parchment paper or silicone mats before you start cooking. Have everything measured and ready because once the sugar reaches temperature, you will need to move quickly.
- Combine the sugars and dairy:
- In a heavy-bottomed saucepan over medium heat, combine granulated sugar, brown sugar, butter, heavy cream, milk, and salt. Stir constantly until the butter melts completely and the sugars dissolve into a smooth mixture.
- Reach the soft ball stage:
- Attach a candy thermometer to the pan and continue cooking, stirring occasionally, until the mixture reaches 236°F. This soft ball stage takes about 8 to 10 minutes and is crucial for proper texture.
- Add the finishing touches:
- Remove the pan from heat immediately and stir in vanilla extract and toasted pecans. Beat the mixture vigorously with a wooden spoon for 2 to 3 minutes until it thickens, becomes creamy, and loses some of its gloss.
- Scoop the pralines:
- Working quickly, drop heaping tablespoons of the mixture onto the prepared baking sheets. Space them about 2 inches apart to allow for spreading.
- Let them set:
- Allow the pralines to cool completely at room temperature for at least 20 minutes. They will firm up as they cool and develop that perfect creamy crystalline texture.
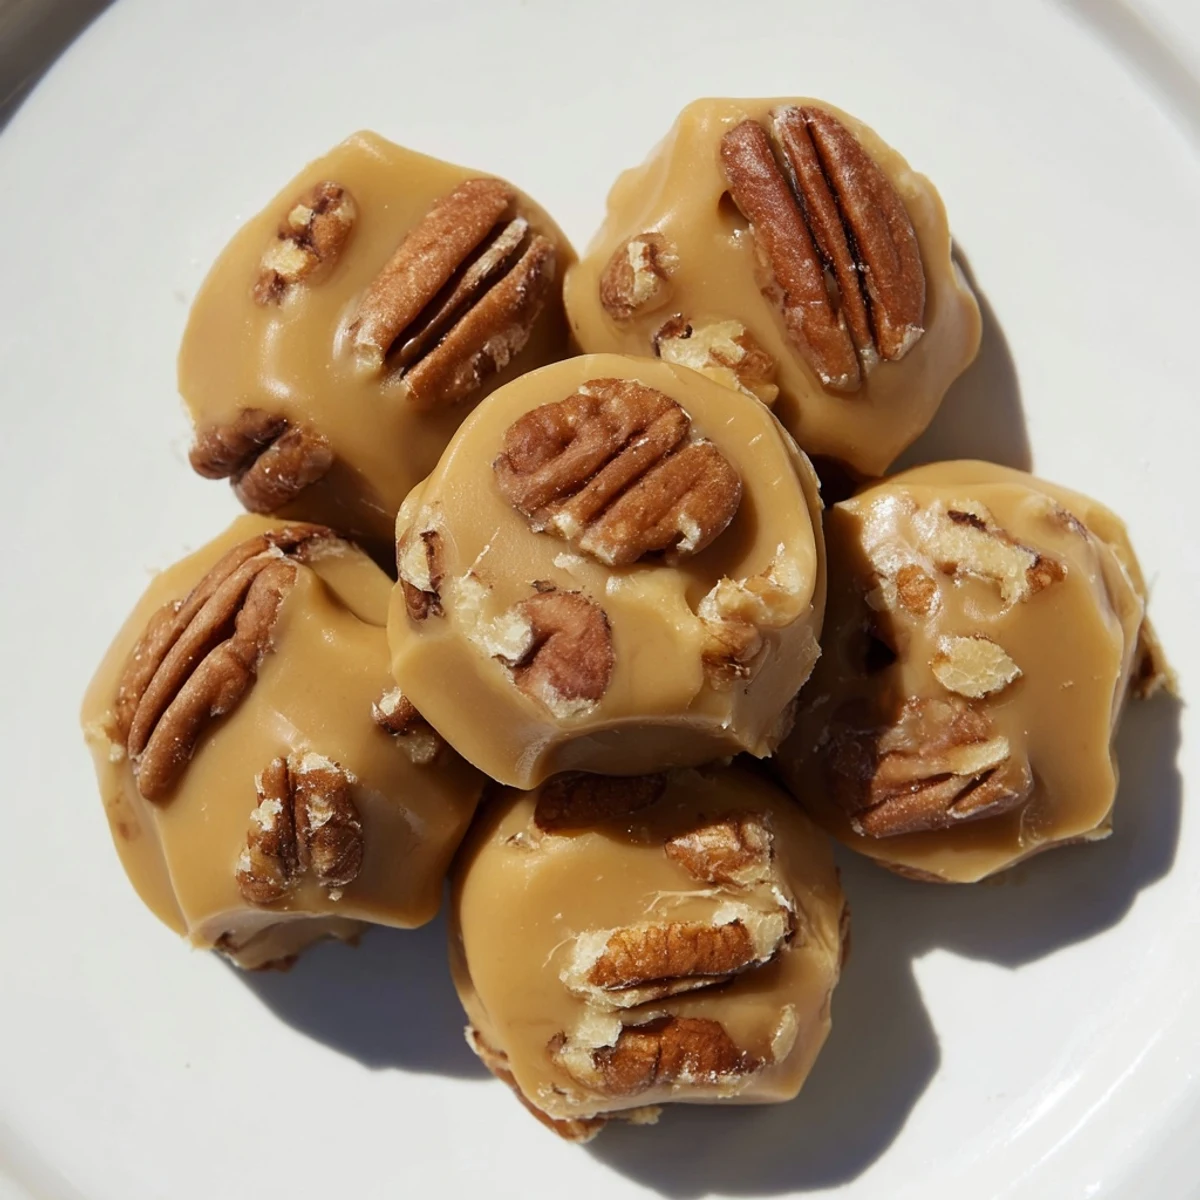 Pin This
 My cousin once called me in a panic because her pralines turned into one giant sheet across her countertop. She had skipped the cooling step and kept stirring. We both learned that sometimes you have to trust the process and step away at exactly the right moment.
Getting the Temperature Right
A candy thermometer is absolutely non-negotiable for this recipe. I tried the old water test method once and ended up with pralines that were either too soft or rock hard. Invest in a good digital thermometer and calibrate it occasionally by boiling water, which should read 212°F at sea level.
Mastering the Stir
The vigorous stirring after removing the pan from heat is where the magic happens. This action helps create those tiny sugar crystals that give pralines their signature texture. You will feel the mixture thicken and become slightly opaque as you stir, which is exactly what you want.
Troubleshooting and Variations
Do not be discouraged if your first batch is not perfect. Praline making is as much art as science, and even experienced candy makers have off days. The weather, your stove, and even the humidity can affect the outcome.
- Try adding a pinch of cinnamon with the vanilla for a spiced version
- Dip half of each cooled praline in dark chocolate for extra decadence
- Crush finished pralines over vanilla ice cream for an incredible sundae topping
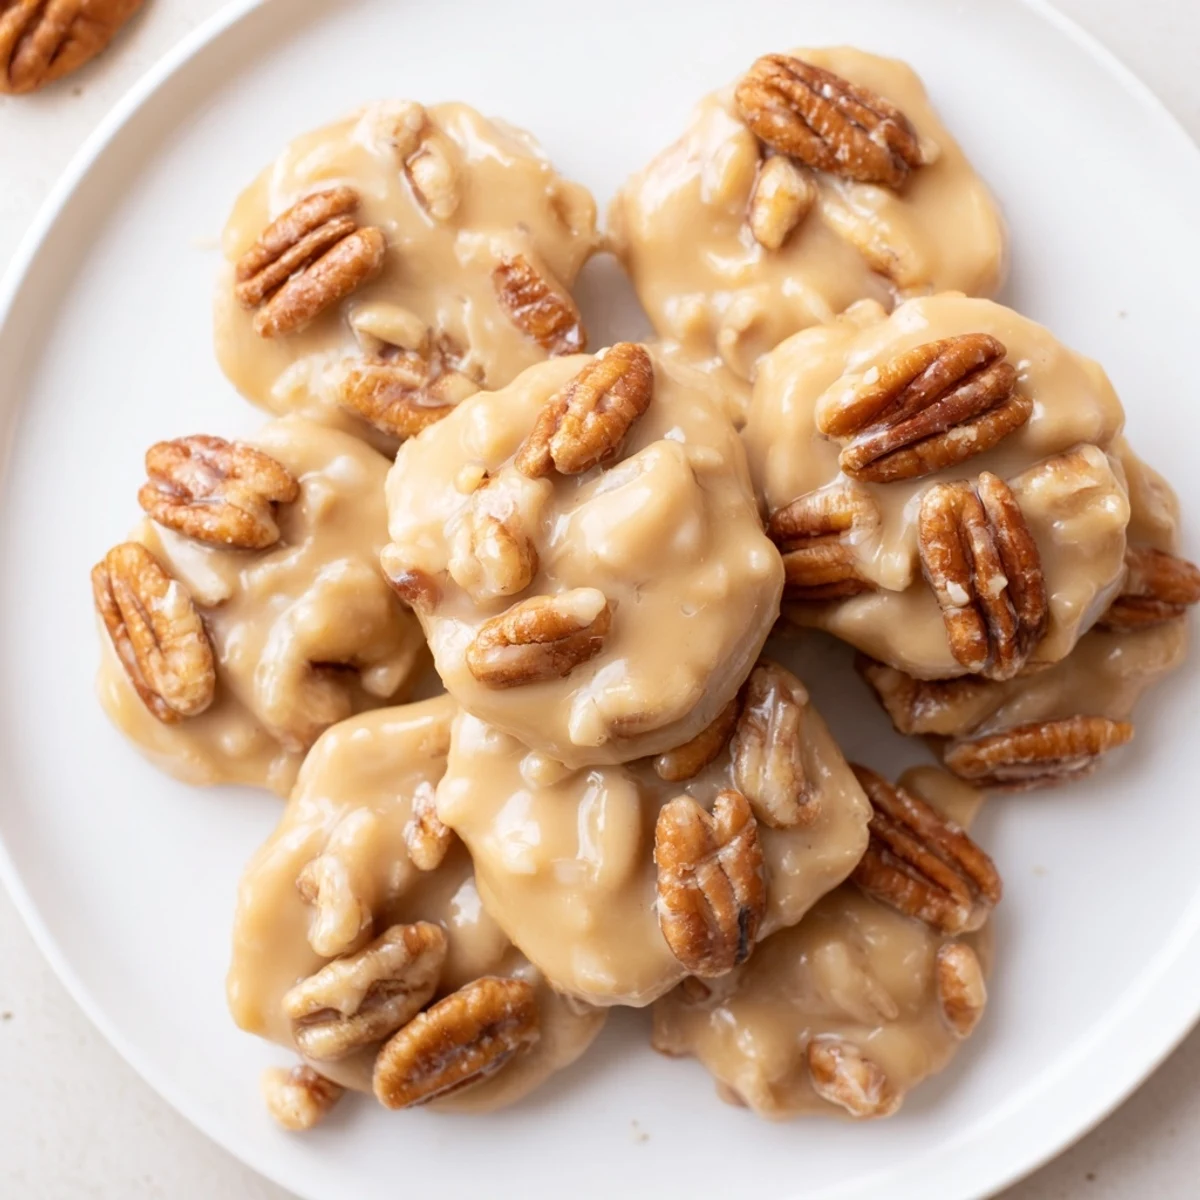 Pin This
 These pralines have become my go-to hostess gift and the first thing friends request when Mardi Gras season rolls around. There is something deeply satisfying about mastering a classic Southern sweet in your own kitchen.
Recipe FAQs
- → What texture should the confection have?
-
The final product is creamy and slightly firm with a melt-in-your-mouth softness, achieved by cooking to the soft ball stage.
- → Can other nuts be used instead of pecans?
-
Yes, walnuts or almonds can substitute pecans to vary the flavor and texture.
- → How do I prevent the mixture from hardening too quickly?
-
If it hardens before shaping, stir in a tablespoon of warm milk to loosen and maintain creaminess.
- → What utensils are essential for this confections?
-
A heavy-bottomed saucepan, candy thermometer, wooden spoon, and baking sheets lined with parchment or silicone mats are needed.
- → How should these sweets be stored?
-
Store them in an airtight container at room temperature for up to one week, ensuring freshness and texture.
- → Are these confections gluten-free?
-
Yes, they contain no gluten ingredients, suitable for gluten-sensitive diets.
