 Pin This
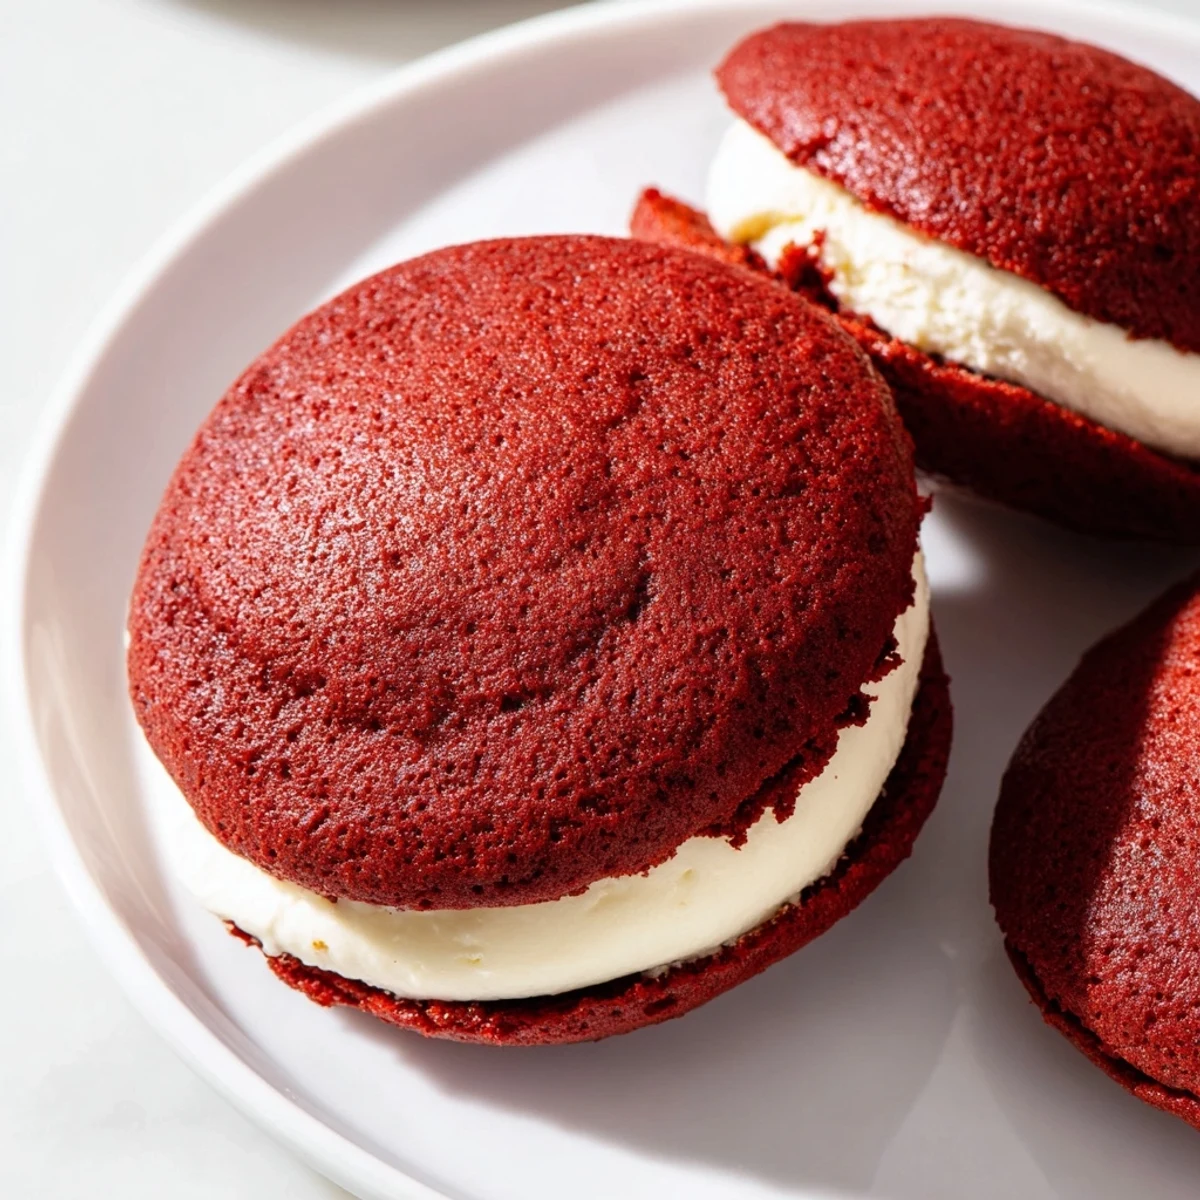
 These red velvet whoopie pies feature tender cocoa-scented cookies paired with a creamy, vanilla-infused cream cheese filling. The batter is gently mixed to keep a soft texture and baked until lightly springy. Once cooled, the filling is spread generously between the cookies to create moist, flavorful sandwiches. Perfectly balanced with creamy sweetness and a hint of cocoa, they make an elegant dessert option for gatherings or celebrations.
The first time I made whoopie pies, my kitchen looked like a crime scene. Red food coloring everywhere, flour dusted across every surface, and me frantically trying to pair up cookies that were all slightly different sizes. But that first bite, that perfect cakey sandwich with creamy filling, made every single mess worth it.
I brought a batch to a potluck last summer and watched them disappear in minutes. My friend Sarah took three and then cornered me in the kitchen demanding the recipe, which is basically the highest compliment you can get at a gathering.
Ingredients
- 2 cups all-purpose flour: The foundation of these tender little cakes, providing structure without making them tough
- 2 tbsp unsweetened cocoa powder: Just enough to give depth without overpowering that classic red velvet flavor
- 1 tsp baking powder and 1/2 tsp baking soda: The lift team that makes these puff up beautifully into perfect rounds
- 1/4 tsp salt: A tiny pinch that balances all the sugar and makes the flavors sing
- 1/2 cup unsalted butter: Room temperature is non negotiable here, it needs to be soft enough to incorporate air
- 1 cup granulated sugar: Sweetens and tenderizes, creating that perfect cakey crumb we want
- 1 large egg: Bind everything together and add richness
- 2 tsp vanilla extract: Never skimp on vanilla, it is the backbone of all good baking
- 1 tbsp red food coloring: Gel coloring gives you that dramatic red without adding extra liquid
- 1/2 cup buttermilk: The secret ingredient that makes these incredibly tender and gives a subtle tang
- 1 tsp white vinegar: Reacts with the baking soda for extra lift and enhances the red color
- 4 oz cream cheese: Full fat and properly softened, this is what makes the filling exceptional
- 1/4 cup unsalted butter: Room temperature butter in the filling makes it pipeable and stable
- 1 1/2 cups powdered sugar: Sifted to prevent lumps and sweeten the filling perfectly
- 1 tsp vanilla extract: Because you can never have too much vanilla in a cream cheese filling
Instructions
- Preheat your oven and prepare your baking space:
- Set your oven to 350°F and line two baking sheets with parchment paper, this will prevent sticking and make cleanup so much easier later.
- Whisk together the dry ingredients:
- In a medium bowl, combine the flour, cocoa powder, baking powder, baking soda, and salt, whisking until everything is evenly distributed.
- Cream the butter and sugar:
- Beat the butter and sugar together for about 2-3 minutes until the mixture is light and fluffy, this incorporates air for a tender crumb.
- Add the egg and vanilla:
- Mix in the egg and vanilla extract until everything is well combined, scraping down the sides of the bowl to incorporate any unmixed bits.
- Add color and acid:
- Pour in the red food coloring and vinegar, mixing until you have that signature vibrant red hue throughout the batter.
- Combine wet and dry ingredients:
- Add half the dry ingredients, then pour in the buttermilk, followed by the remaining dry ingredients, mixing gently until just combined.
- Scoop and bake:
- Drop tablespoon-sized mounds onto your prepared baking sheets, leaving about 2 inches between each one, and bake for 10-12 minutes until set.
- Make the filling:
- Beat together the cream cheese and butter until completely smooth, then gradually add the powdered sugar and vanilla until fluffy and spreadable.
- Assemble your whoopie pies:
- Pair cookies of similar size and spread about 1 tablespoon of filling on the flat side of one, then gently press another cookie on top.
 Pin This
 My daughter now requests these for every birthday instead of cake, and I have to admit, watching her face light up when she bites into that first one has become one of my favorite kitchen moments.
Making Them Ahead
You can bake the cookies a day ahead and store them in an airtight container at room temperature. The filling can also be made ahead and refrigerated, just let it come to room temperature before assembling to make spreading easier.
Getting That Perfect Red Color
Gel food coloring is your best bet for achieving that dramatic red without adding too much liquid to the batter. Liquid coloring works but you might need to reduce the buttermilk slightly to compensate.
Serving and Storage Tips
These are actually better the next day when the flavors have had time to meld together. Store them in the refrigerator in an airtight container, but let them sit at room temperature for about 15 minutes before serving for the best texture.
- Roll the edges in mini chocolate chips or sprinkles for extra flair
- Try adding a pinch of salt to the filling for a salted caramel vibe
- These freeze beautifully if you want to stash some for later
 Pin This
 There is something so satisfying about biting into these little cake sandwiches, and I hope they bring as much joy to your kitchen as they have to mine.
Recipe FAQs
- → What gives the red velvet whoopie pies their unique color?
-
The vibrant red color comes from the addition of red food coloring mixed into the batter, enhancing the deep cocoa notes and creating a classic appearance.
- → How can I ensure the cookies stay moist and tender?
-
To keep the cookies moist, avoid overmixing the batter and bake just until set and slightly springy to the touch. The buttermilk and vinegar also help tenderize the crumb.
- → What is the best way to assemble the whoopie pies?
-
Pair cookies of similar size and spread about a tablespoon of cream cheese filling on the flat side of one cookie before sandwiching with another for even layers.
- → Can I store the whoopie pies ahead of time?
-
Yes, store them in an airtight container in the refrigerator for up to three days to maintain freshness and flavor.
- → Are there any tips to enhance the flavor of the filling?
-
Adding a pinch of salt to the filling balances the sweetness and elevates the cream cheese's richness, creating a more nuanced taste.
- → What tools are recommended for preparation?
-
An electric mixer helps achieve a light and fluffy batter and filling. Use mixing bowls, baking sheets lined with parchment, and a wire rack for cooling.
