 Pin This
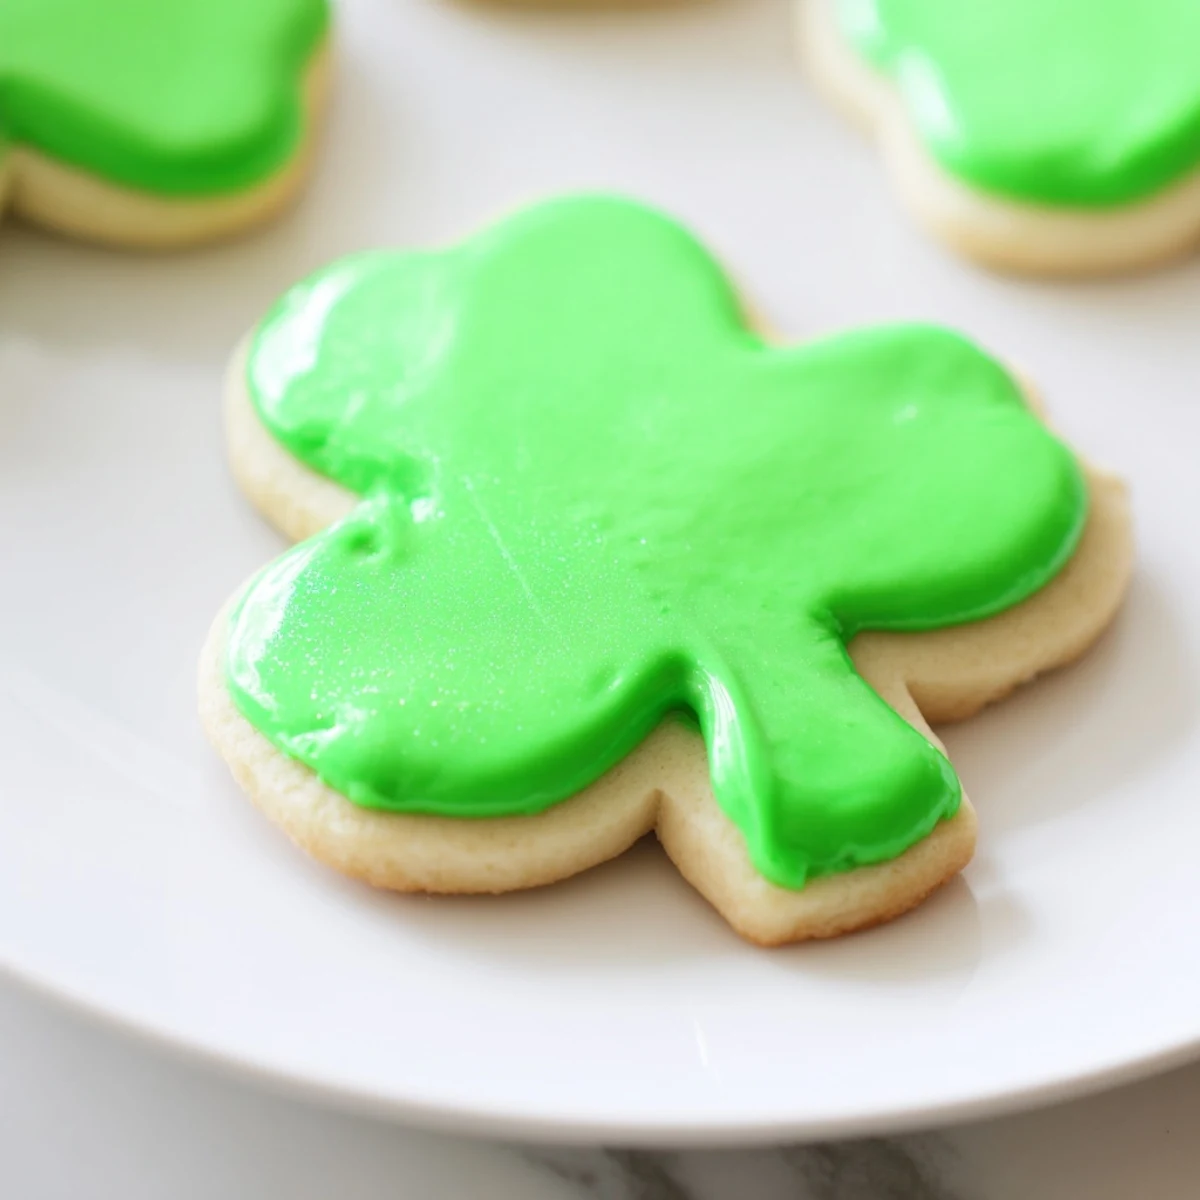
 These shamrock-shaped sugar cookies combine a tender, buttery base with a smooth, vibrant green icing that brings festive charm to any table. The dough is chilled for ease of handling, then cut into shapes, baked until golden, and decorated with a glossy icing made from powdered sugar, milk, and a touch of vanilla. Optional tweaks like lemon zest or sanding sugar add sparkle and brightness to this delightful treat. Perfect for adding a cheerful touch to holiday celebrations or casual get-togethers.
The smell of butter and vanilla hit me before I even opened the oven door, pulling me back to my first apartment March when I decided St. Patrick's Day needed more than just green beer. These shamrock cookies were my rebellion against store bought holiday treats, and somewhere between rolling out that third sheet of dough and accidentally dyeing my palms green, I found myself actually looking forward to March seventeenth.
My roommate wandered into the kitchen midway through icing operations, probably drawn by the sound of me debating aloud whether shamrock shade three was too olive or just right. We ended up eating all the slightly misshapen rejects right there over the sink, green icing smudged on our chins, agreeing these were infinitely better than anything from a bakery.
Ingredients
- All-purpose flour: The structure holding everything together, though do not pack it down when measuring or you will end up with hockey puck cookies
- Baking powder and salt: Just enough to give these a little lift without turning them into cake
- Unsalted butter: Let it soften properly on the counter, those stubborn cold chunks will create weird pockets in your dough
- Granulated sugar: Cream this thoroughly with the butter until it looks pale and fluffy, that air is what makes them tender
- Egg: Room temperature eggs incorporate better than cold ones straight from the fridge
- Vanilla extract: Do not be tempted to skip or reduce this, it is the soul of the cookie
- Powdered sugar: Sift it first or prepare for lumpy icing that will ruin your zen decorating moment
- Milk: Start with two tablespoons, you can always add more but you cannot take it back
- Corn syrup: The secret ingredient that keeps icing shiny instead of dull and crusty
- Green food coloring: Gel coloring gives you that vibrant shamrock green without thinning your icing like liquid drops do
Instructions
- Whisk the dry foundation:
- In a medium bowl, combine the flour, baking powder, and salt until everything looks evenly distributed
- Cream butter and sugar:
- Beat that butter and sugar for a solid two minutes until it looks pale and fluffy, do not rush this step
- Add egg and vanilla:
- Crack in the egg and pour in the vanilla, beating until everything is smoothly combined
- Bring dough together:
- Gradually mix in the dry ingredients, stopping as soon as the flour streaks disappear
- Chill the dough:
- Form into two discs, wrap tightly, and refrigerate for at least an hour or the dough will stick to everything when you try to roll it
- Heat the oven:
- Preheat to 350°F and line your baking sheets with parchment paper
- Roll and cut:
- On a floured surface, roll dough to a quarter inch thickness and cut out those shamrocks
- Arrange and reroll:
- Place cookies an inch apart on prepared sheets, gathering and rerolling scraps until all the dough is used
- Bake to perfection:
- Bake for eight to ten minutes until the edges are just barely starting to turn golden
- Cool completely:
- Let them sit on the baking sheet for five minutes before moving to a wire rack
- Whisk the icing:
- Combine powdered sugar, milk, corn syrup, and vanilla until smooth
- Add the magic:
- Stir in green food coloring drop by drop until you hit your perfect shamrock shade
- Decorate:
- Drizzle or spread icing over cooled cookies and let it set before serving
 Pin This
 Last year I brought these to a party where someone confessed they usually hated sugar cookies for being dry and flavorless. Watching them reach for a third shamrock, green frosting smudged on their thumb, felt like the ultimate victory for homemade baking over store bought mediocrity.
Getting That Perfect Green
Start with a tiny amount of gel coloring because you can always add more, but you cannot undo neon green icing. I learned this the hard way my second year making these, ending up with cookies that glowed under black light at my apartment party.
Rolling Without Sticking
Keep a small bowl of flour beside your work surface and dust your rolling pin frequently. The trick is to use just enough flour to prevent sticking without working too much into the dough, which changes the texture.
Storage And Make Ahead Tips
The dough balls freeze beautifully for up to three months if you want to get ahead of holiday prep. Just thaw overnight in the refrigerator before rolling and baking.
- Stack cooled cookies between wax paper layers in an airtight container
- Undecorated baked cookies freeze well for a month, thaw and ice later
- Room temperature storage keeps them fresh for five days max
 Pin This
 There is something genuinely joyful about pulling a sheet of these from the oven, knowing you have created something that will make people smile before they even take a bite.
Recipe FAQs
- → How do I achieve the bright green color in the icing?
-
Use gel food coloring a few drops at a time for a vibrant shade without thinning the icing consistency.
- → Can I prepare the dough ahead of time?
-
Yes, refrigerate the dough for at least one hour or overnight to firm it up, which helps with easier shaping.
- → What’s the best way to prevent spreading during baking?
-
Chilling the dough thoroughly and placing cookies an inch apart on parchment-lined sheets helps maintain shape.
- → How thick should I roll out the dough?
-
Roll the dough to about 1/4 inch (6 mm) for even baking and sturdy cookies that hold their shape well.
- → Can I substitute ingredients for dietary needs?
-
Butter can be swapped with plant-based alternatives, but texture and flavor might vary slightly.
